Aloe plants are some of the most popular indoor plants, prized for their easy care and useful properties.
Known for their thick, spiky leaves and healing gel, aloe plants are both decorative and practical additions to any home.
If you’re a beginner gardener or just looking to start with something low-maintenance, aloe is a fantastic choice.
In this guide, we’ll walk you through everything you need to know to grow and care for an aloe plant like a pro.
From choosing the right pot and soil to watering tips and common problems, you’ll have all the info you need to keep your aloe thriving.
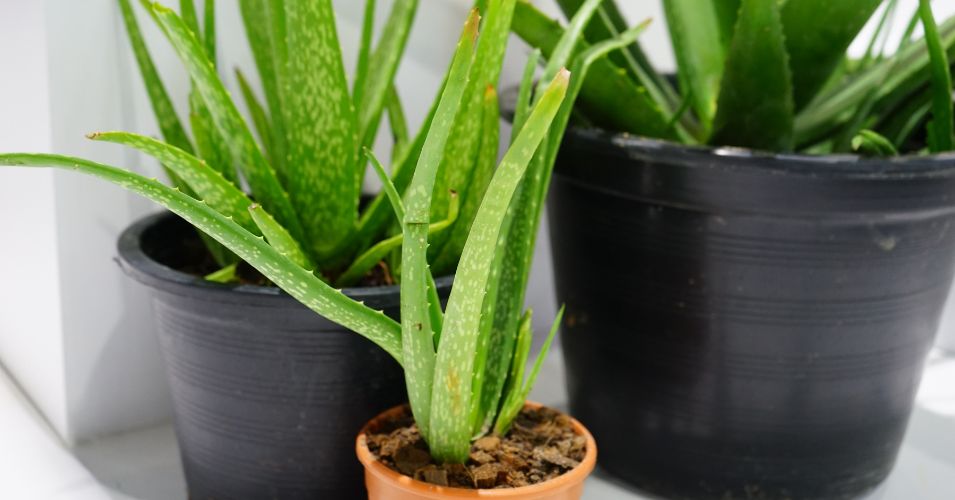
Choosing the Right Pot for Your Aloe Plant
The first step to growing a healthy aloe plant is selecting the right pot.
Aloe plants prefer well-draining containers to prevent root rot, so look for pots with drainage holes at the bottom.
Terracotta or clay pots are excellent choices because they allow moisture to escape, helping the soil dry out more quickly.
Avoid using pots without drainage, as aloe plants do not like to sit in water.
Choose a pot that’s slightly wider than the plant’s root ball, as aloe plants don’t mind being a bit snug in their pots.
A good-sized pot will support the plant’s growth while keeping it easy to manage.
The right pot can make all the difference in keeping your aloe plant happy and healthy.
Picking the Best Soil for Aloe Plants
Aloe plants thrive in sandy, well-draining soil that mimics their natural desert habitat.
Regular potting soil can hold too much moisture for an aloe plant, so it’s best to use a cactus or succulent mix.
You can also make your own mix by combining equal parts potting soil, sand, and perlite for extra drainage.
Avoid heavy, dense soils that can lead to waterlogging and root rot.
Good drainage is essential, as aloe plants store water in their leaves and don’t need constantly moist soil.
With the right soil, your aloe plant will have the perfect foundation to grow strong and healthy.
How to Plant an Aloe
Once you have your pot and soil ready, it’s time to plant your aloe.
If you’ve purchased a new aloe plant, gently remove it from its original container.
Place a small layer of soil at the bottom of your pot, then position the aloe plant in the center.
Fill in around the root ball with more soil, pressing it down lightly to eliminate air pockets.
Make sure the base of the plant is just above the soil line, as burying it too deep can cause rot.
After planting, give the soil a light watering to help it settle around the roots.
Planting your aloe correctly will set it up for healthy growth from the start.
Light Requirements for Aloe Plants
Aloe plants love sunlight, so finding a bright spot for your plant is key to its health.
Place your aloe near a south or west-facing window where it can receive plenty of direct or bright, indirect light.
If your aloe doesn’t get enough light, it may become leggy and stretched out as it searches for the sun.
Too much direct sunlight, however, can cause the leaves to turn brown or dry out.
If you notice signs of sunburn, try moving your aloe to a spot with a bit of shade during the hottest parts of the day.
In winter, when sunlight is weaker, you may need to move your aloe to a sunnier spot or supplement with a grow light.
The right amount of light will keep your aloe plant compact and vibrant.
Watering Your Aloe Plant
Watering is one of the most important aspects of aloe plant care.
Aloe plants are drought-tolerant and prefer to dry out completely between waterings.
A good rule of thumb is to water your aloe every two to three weeks, depending on the season and humidity.
During the summer, your aloe may need more frequent watering, while in winter, it may only need water once a month.
To check if your aloe needs water, stick your finger into the soil about two inches deep.
If it feels dry, it’s time to water.
When watering, pour slowly and thoroughly until water drains out the bottom of the pot, but avoid leaving the pot sitting in water.
Proper watering will help prevent root rot and keep your aloe plant healthy and thriving.
Fertilizing Aloe Plants for Better Growth
Although aloe plants are not heavy feeders, a little fertilizer during the growing season can boost their growth.
Use a balanced, water-soluble fertilizer diluted to half strength once in the spring and again in early summer.
Cactus or succulent fertilizer works well for aloe plants, as it provides the nutrients they need without overloading the soil.
Avoid fertilizing in the fall and winter when the plant’s growth naturally slows.
Too much fertilizer can lead to weak, leggy growth, so stick to a light feeding schedule.
A little bit of feeding will keep your aloe plant strong, helping it produce new leaves and stay vibrant.
Repotting Your Aloe Plant
Over time, your aloe plant may outgrow its pot, especially if it produces “pups” or baby plants around its base.
Repotting every two to three years can keep the plant’s roots healthy and give it room to grow.
The best time to repot an aloe is in the spring or early summer, during its active growing period.
To repot, carefully remove the plant from its pot and shake off any excess soil from the roots.
Place it in a slightly larger pot with fresh succulent or cactus soil, and fill in around the roots.
If your aloe has produced pups, you can separate them during repotting to start new plants.
Repotting gives your aloe a fresh start and encourages healthy root growth.
Pruning and Propagating Aloe Plants
Aloe plants don’t require much pruning, but removing damaged or yellow leaves can keep them looking neat.
To prune, simply cut off the leaf at the base with a clean, sharp knife or scissors.
If you’re interested in propagating your aloe, the process is easy and rewarding.
Aloe plants often produce small offshoots, or pups, around the base that can be separated and potted individually.
To propagate, gently remove the pup from the mother plant, making sure it has some roots attached.
Plant it in a small pot with succulent soil, water lightly, and place it in a bright, indirect light.
Propagating aloe is a great way to expand your plant collection or share with friends!
Common Aloe Plant Problems and Solutions
While aloe plants are hardy, they can sometimes face issues like pests, overwatering, or sunburn.
One common problem is root rot, which usually occurs due to overwatering or poor drainage.
If your aloe’s leaves are soft or mushy, reduce watering and make sure the pot has drainage holes.
Sunburn can cause brown, dry spots on the leaves, which can be solved by moving the plant to a shadier spot.
Pests like mealybugs and spider mites may also appear, especially if the plant is stressed.
To remove pests, wipe down the leaves with a damp cloth or apply insecticidal soap if needed.
By keeping an eye on your plant and adjusting care as needed, you can quickly address any issues.
Benefits of Growing Aloe Plants
Aloe plants aren’t just beautiful to look at—they offer a range of benefits that make them worth having around.
The gel inside aloe leaves is known for its soothing, healing properties, especially for minor burns and skin irritation.
Keeping an aloe plant in your home can provide a natural, chemical-free remedy right at your fingertips.
Aloe plants also purify the air by removing toxins, helping to create a healthier indoor environment.
Additionally, they’re low-maintenance, making them ideal for busy people or beginner gardeners.
With their easy care and useful properties, aloe plants are a fantastic addition to any space.
Final Thoughts
Growing and caring for an aloe plant is simple and rewarding, making it a perfect choice for beginners.
With the right pot, soil, and a bit of sunlight, your aloe will thrive and bring a touch of green to your home.
Remember to let the soil dry between waterings, and don’t be afraid to propagate pups for more plants.
Aloe plants are resilient, easy to care for, and offer the bonus of a natural remedy within reach.
By following these basic care steps, you’ll have a happy, healthy aloe plant that grows beautifully over the years.
Enjoy your aloe journey, and may your plant thrive!