
Hello, fellow garden enthusiasts!
Today, I’m thrilled to share with you everything you need to know about growing and caring for Amaryllis. This stunning flower, with its bold blooms and easy-to-grow nature, is a must-have in any garden. Whether you’re an experienced gardener or a beginner looking to add some color to your space, Amaryllis is a fantastic choice.
Let’s dive into the world of these beautiful blooms!
Benefits of Growing Amaryllis
1. Show-Stopping Blooms
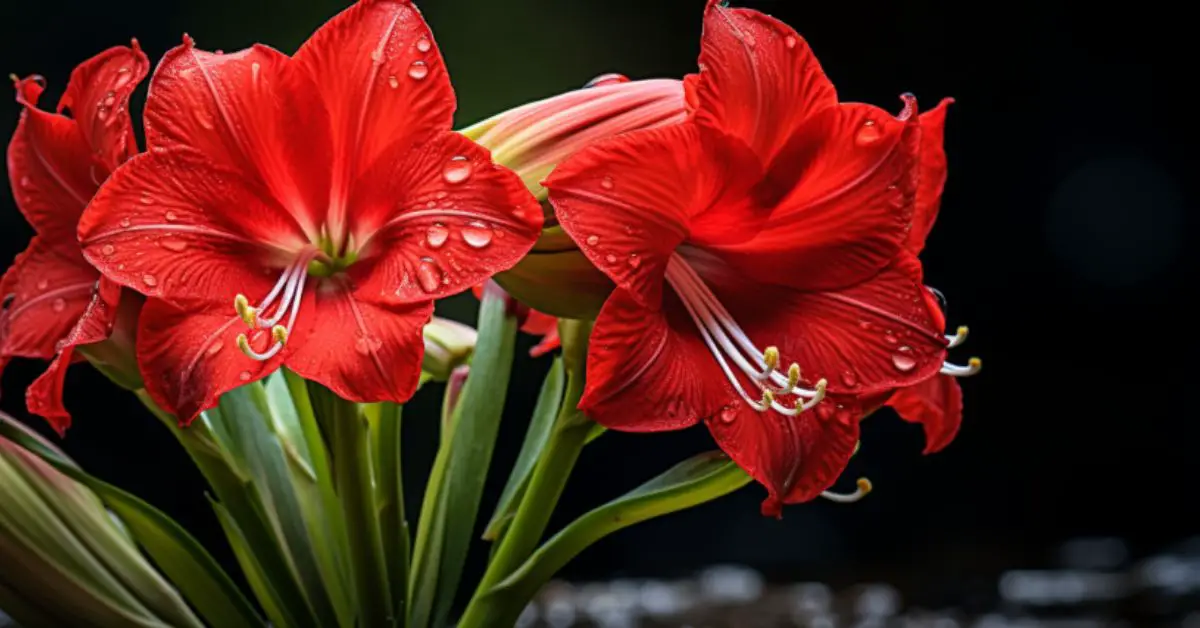
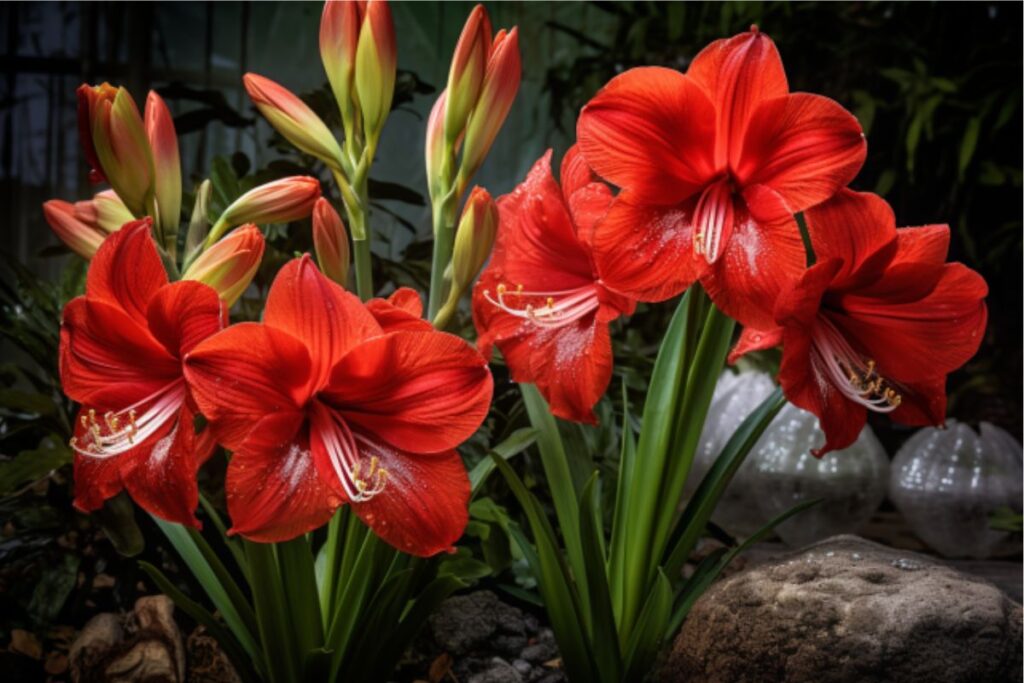
The most immediate benefit of growing Amaryllis is the spectacular display of blooms. These large, trumpet-shaped flowers come in a variety of colors, from radiant reds to delicate pinks and pristine whites. They’re guaranteed to be show-stoppers, bringing a vibrant burst of life to any setting.
2. Ease of Care
For those who love the idea of lush, blooming plants but are intimidated by complicated care routines, Amaryllis is a perfect choice. They’re incredibly forgiving and low-maintenance, thriving with just basic watering and lighting conditions. This makes them ideal for both seasoned gardeners and novices alike.
3. Year-Round Interest
Amaryllis isn’t just a one-season wonder. With proper care, these plants can be encouraged to bloom at different times of the year, even in the colder months. This means you can enjoy their beauty and uplifting presence throughout the year, a rare trait in the world of flowering plants.
My Favorite Amaryllis Varieties
Choosing the right variety of Amaryllis can be as exciting as seeing them bloom. Here are my top three favorites that have never failed to impress:
1. Red Lion

This variety is a true show-stopper with its deep, radiant red blooms. It’s a classic choice that brings a traditional yet bold touch to any setting. I find its color especially festive around the holidays, making it a perfect natural decoration for Christmas.
2. Apple Blossom
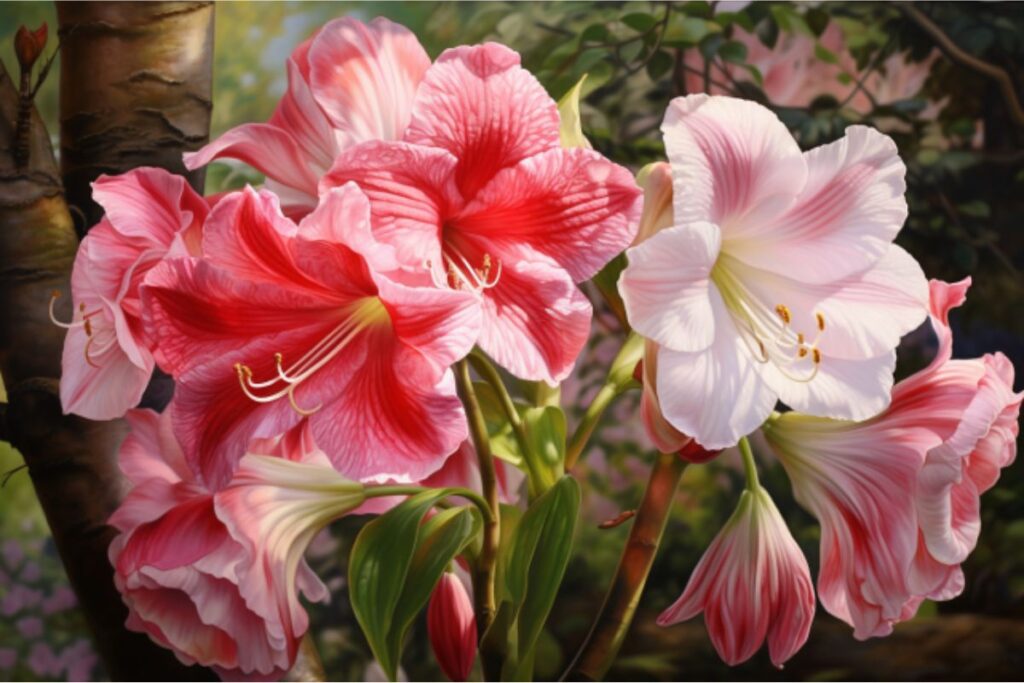

For those who prefer softer hues, ‘Apple Blossom’ is a dream. Its delicate white and pink petals, with hints of green, remind me of a serene spring garden. This variety has a more subtle presence, but its beauty is unmatched.
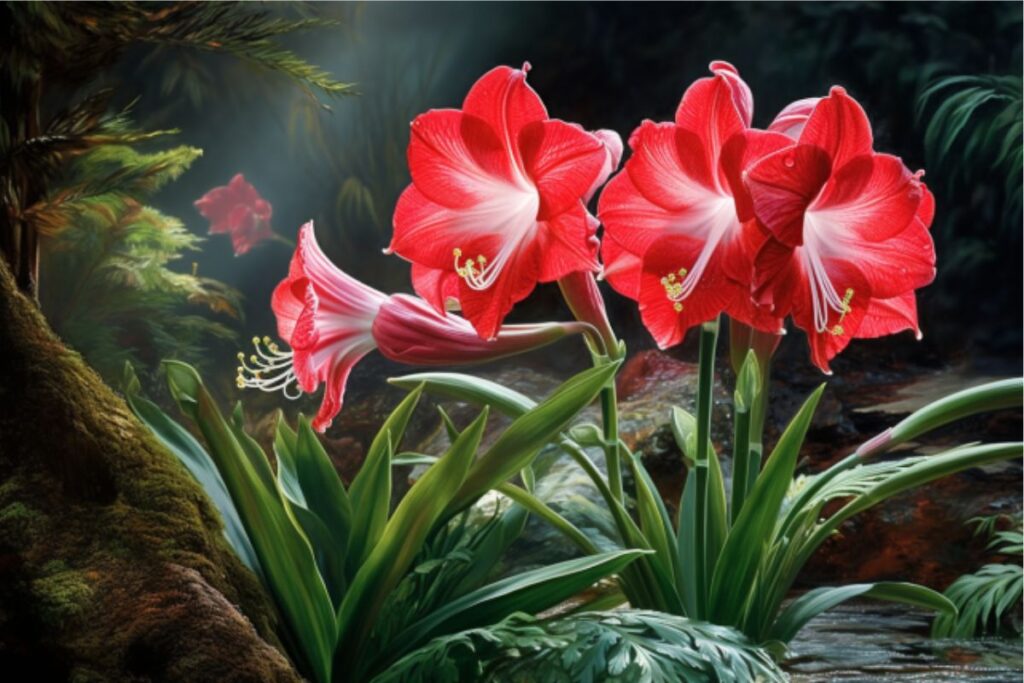
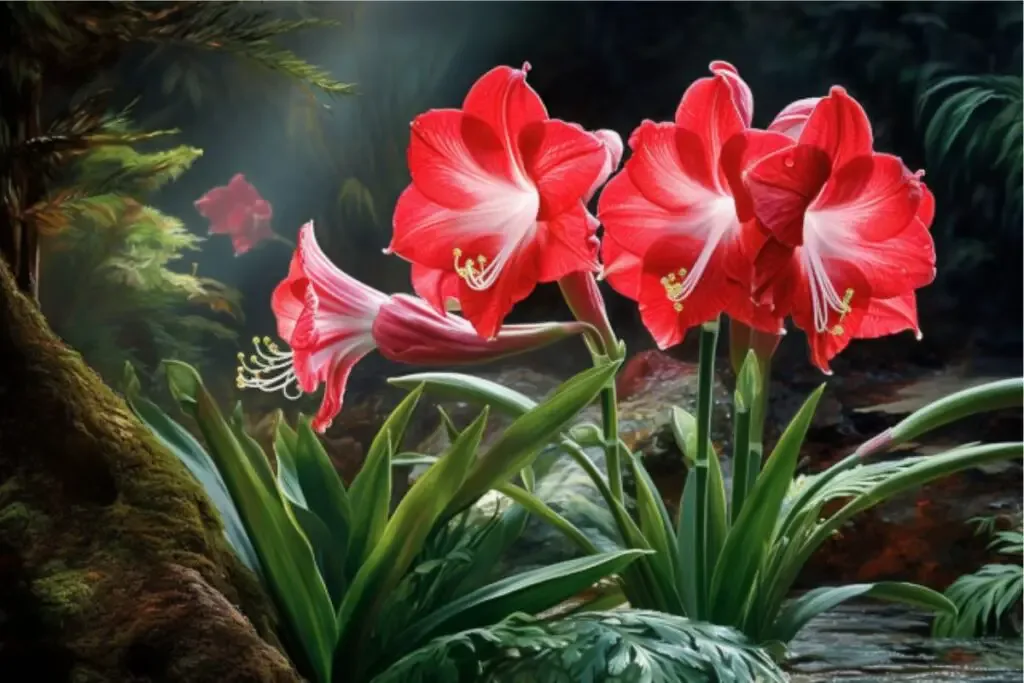
3. Minerva
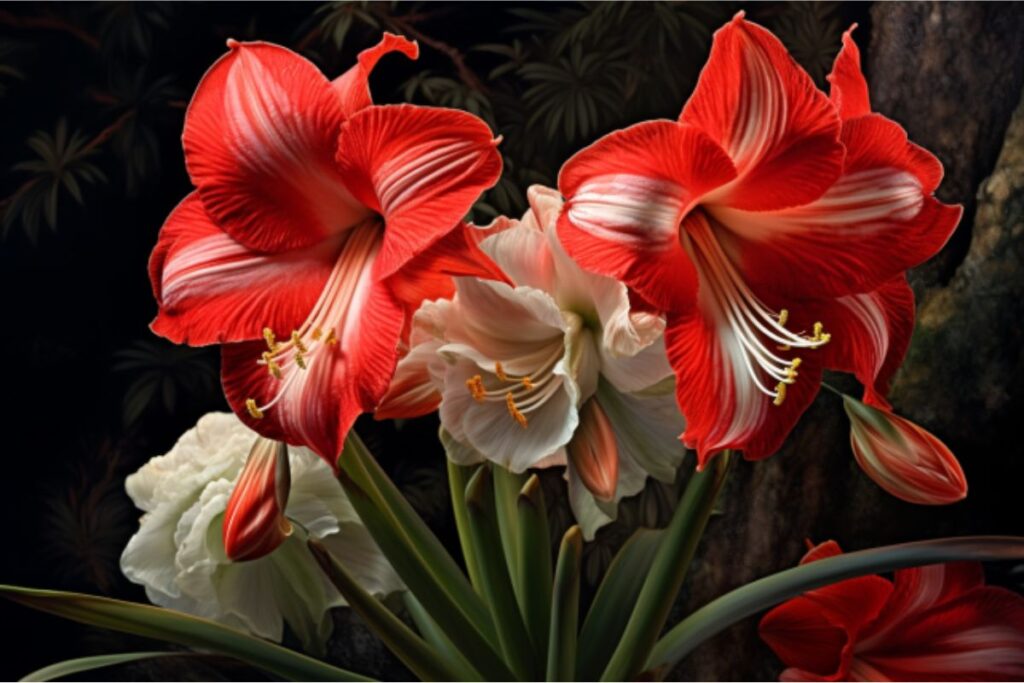

‘Minerva’ is a striking variety, featuring red flowers with white stars in the center. It’s perfect for adding a splash of color and personality to any room. I love how the bold contrast in its petals draws the eye and becomes a conversation starter.
Amaryllis Care
Caring for Amaryllis is a rewarding experience, not just for the beauty they add to our homes and gardens, but also for the simplicity of their maintenance. Let’s look at some key aspects of Amaryllis care that will ensure your plants thrive and bring joy year after year.
Planting

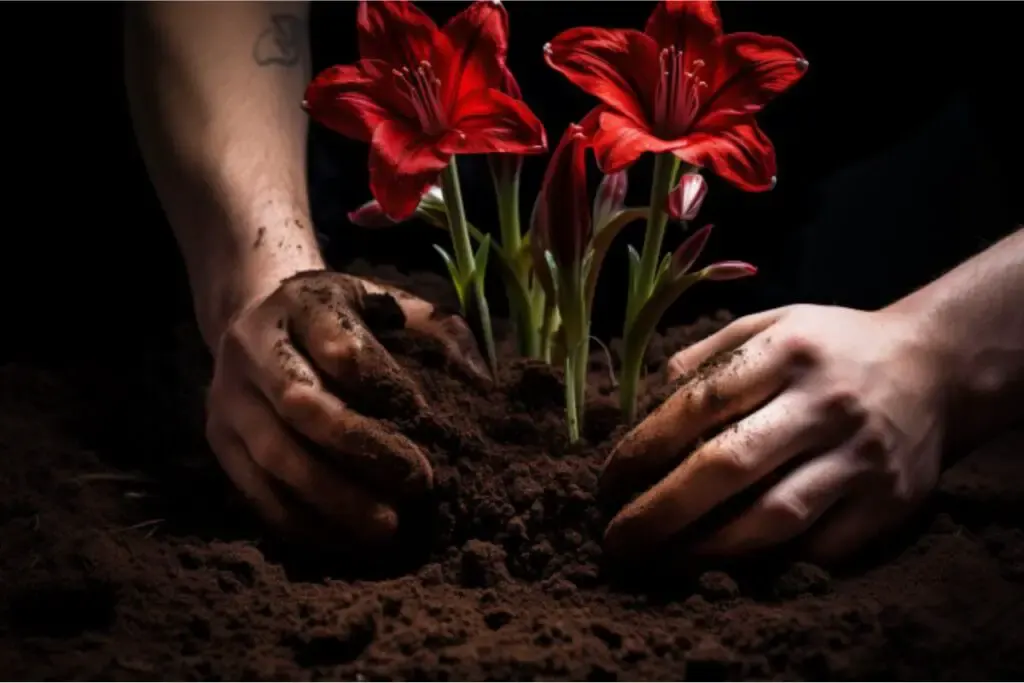
Planting Amaryllis is like embarking on a delightful journey with a beautiful destination. Here’s a quick guide to get you started:
- Choose a Quality Bulb: Look for firm, sizable bulbs – they promise the most impressive blooms.
- Pick the Right Pot: Amaryllis likes a snug fit. Choose a pot that’s slightly larger than the bulb, with good drainage.
- Use Well-Draining Soil: A mix that drains well yet retains some moisture is perfect for Amaryllis.
- Plant Properly: Set the bulb so that about a third of it is above the soil. This encourages the best growth.
- Find a Sunny Spot: Place your pot in bright, indirect light to give your Amaryllis the warmth and light it craves.
Light
Just like a sunbather soaking up the perfect amount of sunshine, Amaryllis flourishes in bright, indirect light. A spot where it can bask in the sun’s glow without getting too hot is ideal. This balance of light is the secret to its vibrant blooms and cheerful growth. Let your Amaryllis enjoy the light, and it will surely brighten your space in return!
Soil
Choosing the right soil for Amaryllis is like picking the perfect bed for a good night’s sleep. Go for well-draining, nutrient-rich soil – it’s the ideal foundation for robust growth and stunning blooms. A blend of loam, peat, and a dash of perlite or sand works wonders. Remember, happy roots lead to happy blooms!
Water
Watering Amaryllis is like quenching its thirst with just the right amount. Keep the soil moist but not waterlogged, especially during growth and blooming phases. After flowering, ease up a bit, allowing the soil to dry out slightly between waterings. Just like a well-timed sip, the right watering routine keeps your Amaryllis blooming beautifully.
Temperature and Humidity
Amaryllis loves a cozy and comfortable environment. It thrives in moderate temperatures, around 65-75°F (18-24°C), reminiscent of a pleasant spring day. As for humidity, it’s pretty adaptable, but a bit of moisture in the air keeps it happy. Think of it like creating a snug corner that’s not too hot or too cold, but just right for your Amaryllis to flourish.
Fertilizer
Feeding your Amaryllis is like giving it a little treat to boost its growth and blooms. A balanced, water-soluble fertilizer every few weeks during the growing season does the trick. It’s like a sprinkle of magic that helps produce those stunning flowers. Just remember, a little goes a long way – over-fertilizing is a no-no. Happy feeding!
Pruning
Pruning your Amaryllis is an essential step in its care, helping to direct the plant’s energy towards healthy growth and future blooming. Once the splendid blooms have wilted and lost their luster, it’s time for a trim. Here’s how to do it effectively:
- Remove Spent Blooms: After the flowers fade, snip them off to encourage the plant to focus on bulb strengthening.
- Leave the Leaves: Keep the foliage intact, as it helps nourish the bulb for future blooms.
- Post-Bloom Care: A little tidy-up after blooming keeps your Amaryllis looking neat and ready for its next show.
Propagating
If you’re as smitten with Amaryllis as I am, you’ll be thrilled to know that propagating these beauties is like sharing a bit of gardening joy. It’s a simple and gratifying process, perfect for expanding your collection or gifting to fellow plant lovers. Here’s how you can get started:
- Bulb Division: Gently separate the small offset bulbs that form around the main bulb and plant them individually.
- Seed Propagation: A fun challenge for gardeners – grow Amaryllis from seeds collected from the pods.
- Patience is Key: Whether using offsets or seeds, remember that Amaryllis takes time to grow and bloom.
How to Grow Amaryllis from Seeds
Growing Amaryllis from seeds is like nurturing a tiny secret, waiting for it to unfurl into something beautiful. It’s a slow but rewarding process. Here’s how to get started:
- Seed Harvesting: Wait for the Amaryllis seed pods to mature and open, then collect the seeds.
- Sowing the Seeds: Plant them in a light, well-draining mix, pressing the seeds gently into the soil surface.
- Germination Care: Keep the soil moist and cover with plastic wrap to create a humid environment. Patience is key, as germination takes a few weeks.
Growing in Pots
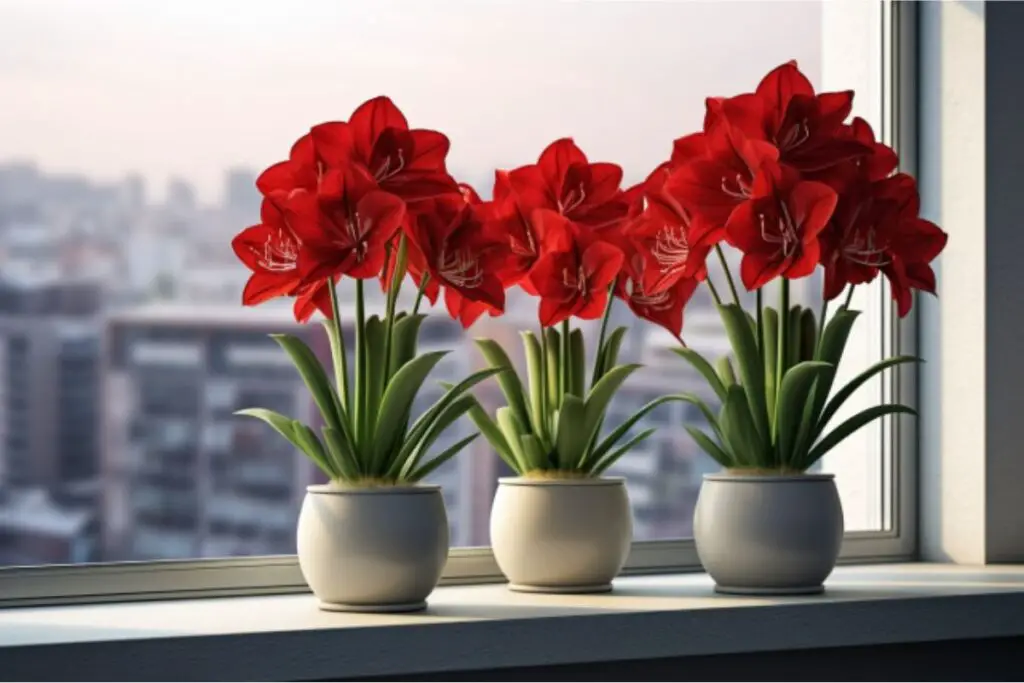

Amaryllis that grow in pots is a perfect way to bring a splash of color indoors. It’s surprisingly easy and incredibly rewarding. Here’s how to do it:
- Select the Right Pot: Choose a pot that’s just a bit larger than the bulb and ensures good drainage.
- Use Suitable Soil: Opt for well-draining soil that retains some moisture to keep your Amaryllis happy.
- Planting: Plant the bulb with about a third of it above the soil surface, giving it the perfect start.
- Bright Spot: Place the pot in a location with bright, indirect light to encourage vibrant blooms.
Overwintering
It is like giving your Amaryllis a cozy winter nap. It’s a rest period that helps ensure vibrant blooms for the next season. Here’s how to tuck your Amaryllis in for its winter rest:
- Reduce Watering: After the blooms fade and the leaves begin to yellow, gradually cut back on watering. This signals to the plant that it’s time to rest.
- Find a Cool Spot: Move your Amaryllis to a cooler, darker place, like a basement or a cool room, where it can enjoy a peaceful dormancy.
- Let It Rest: Keep the plant in this resting phase for a couple of months, providing just enough water to prevent the soil from completely drying out.
- Wake-Up Call: As winter ends, bring the plant back to a warmer, brighter spot and resume regular watering to encourage new growth.
Transplanting
Think of transplanting Amaryllis as a refreshing room change for your plant. It’s quick, easy, and revitalizes your blooming buddy. Here’s the lively lowdown:
- Select a New Pot: Choose one that’s slightly larger than the current pot for the Amaryllis.
- Prepare Fresh Soil: Use a well-draining, nutrient-rich soil mix.
- Gently Transplant: Carefully move the Amaryllis bulb to the new pot, keeping the top third above the soil.
- Settle In: Position the pot in a bright spot and water lightly to help the plant adjust to its new home.
Common Pests and Diseases
Even the most carefully tended Amaryllis can encounter some bumps along the road in the form of pests and diseases. Being aware and proactive can keep your plant healthy and blooming. Here are some common troubles to watch out for:
- Bulb Rot: Prevent by ensuring proper drainage and avoiding overwatering, as stagnant moisture is the main culprit.
- Red Blotch: This fungal disease causes red spots on leaves and stems. Improve air circulation and reduce leaf wetness to prevent it.
- Aphids and Spider Mites: Regularly inspect for these pests. If spotted, use insecticidal soap or neem oil for treatment.
- Leaf Scorch: Another fungal issue, marked by yellow or red bands on leaves. Keeping the plant dry and well-ventilated helps prevent it.
By keeping an eye out for these common pests and diseases, you can take quick action to keep your Amaryllis healthy. Remember, prevention is key – proper care and regular check-ups are your best defense against these garden challenges.
