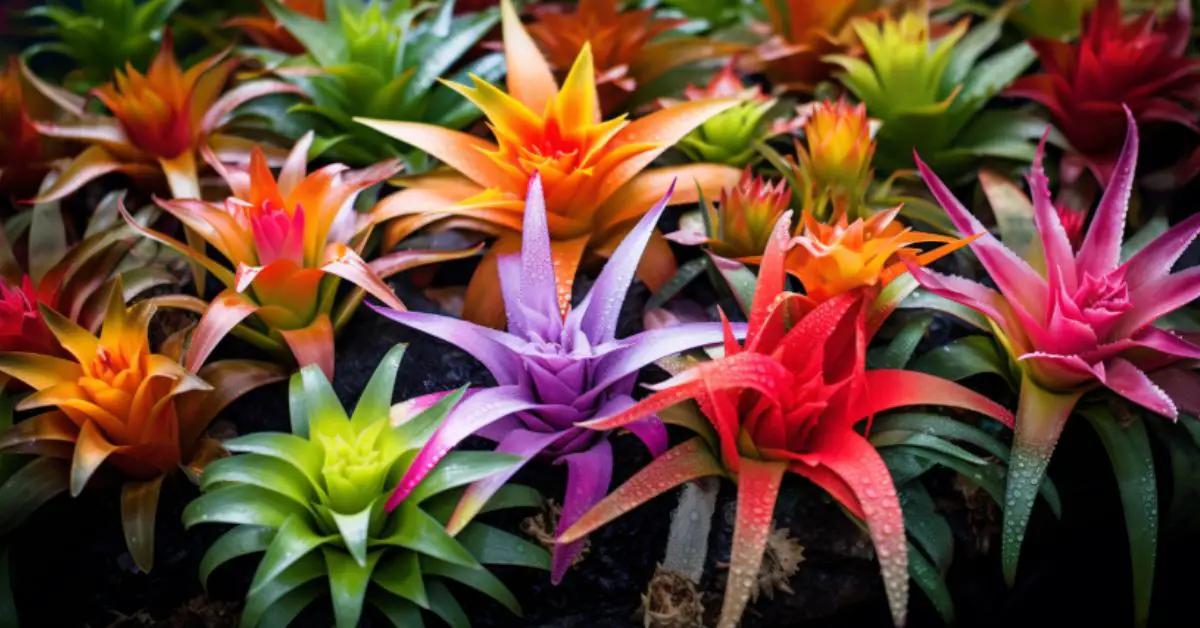

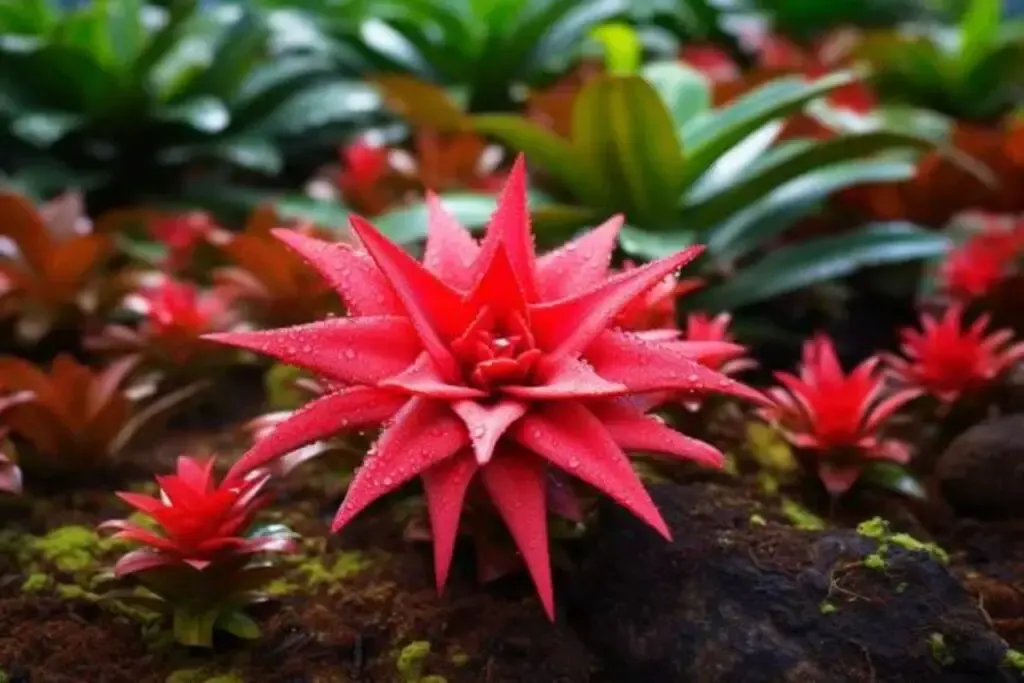
Bromeliads are a vibrant and exotic addition to any garden or indoor space. Known for their striking appearance and unique growth habits, these tropical plants bring a splash of color and a hint of the tropics to your home.
They’re not just beautiful; bromeliads are also incredibly versatile and adaptable, making them perfect for both experienced gardeners and those just starting out.
In this guide, we’ll explore the benefits of growing bromeliads and delve into some of my favorite varieties.
Benefits of Growing Bromeliads
1. Easy to Care For
One of the most appealing aspects of bromeliads is their low maintenance nature. They don’t require much watering, as they can absorb moisture and nutrients through their leaves. This makes them ideal for busy plant lovers or those who are new to gardening.
2. Air Purification
Bromeliads have the remarkable ability to purify the air. They can remove toxins like formaldehyde, making your home not just more beautiful, but healthier too. This is particularly beneficial if you live in an urban area with limited outdoor space.
3. Versatility in Design
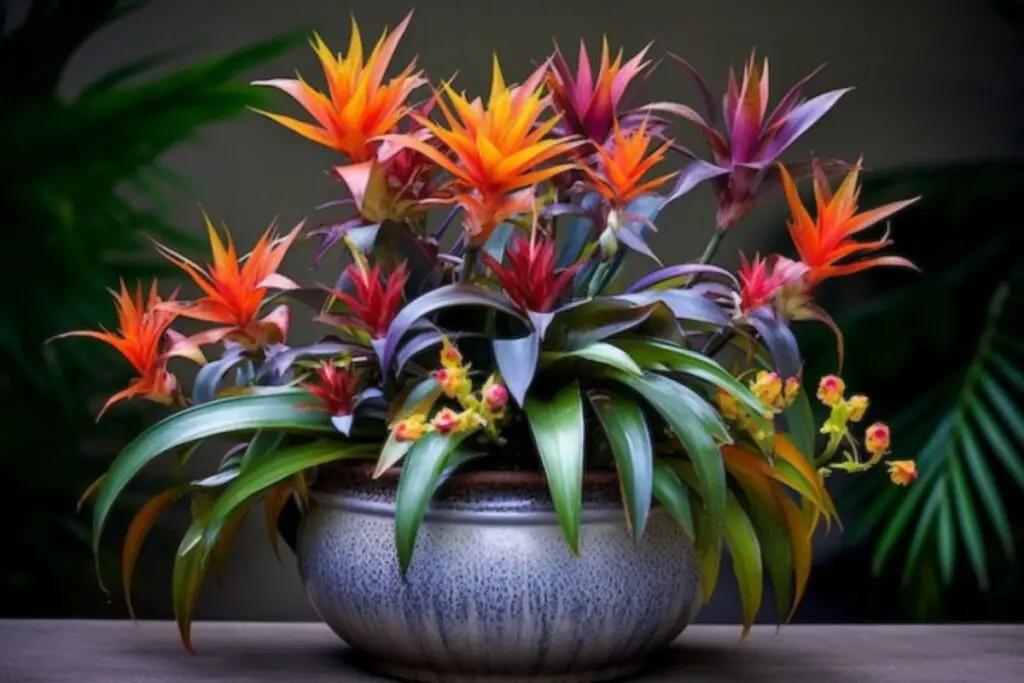
With their variety of colors, sizes, and shapes, bromeliads are a designer’s dream. Whether you’re crafting a tropical-themed garden or looking for a striking indoor accent, these plants offer endless possibilities. They can be used in hanging baskets, as part of a green wall, or simply as an eye-catching centerpiece.
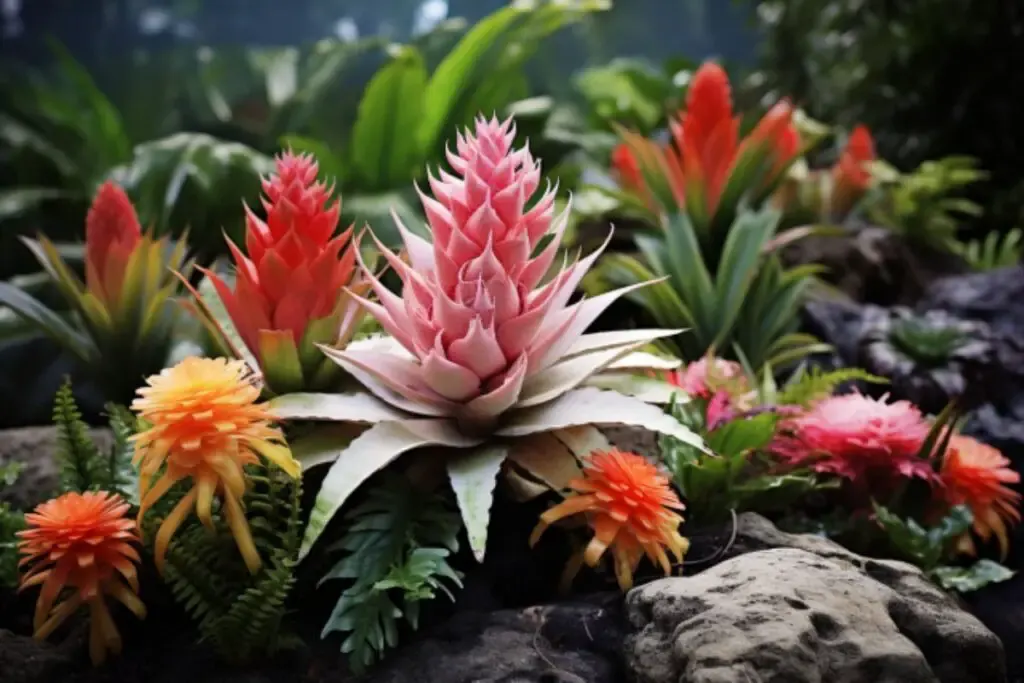
My Favorite Bromeliad Varieties
Choosing just a few favorites from the vast array of bromeliad varieties is no easy task, but there are certainly some that stand out for their unique beauty and resilience.
Here are three varieties that I find particularly captivating, each with its own distinct charm:
1. Aechmea Fasciata (Silver Vase Plant)

This variety is renowned for its stunning silvery-green leaves and spectacular pink flower bract. It’s a real showstopper and adds a touch of elegance to any setting.
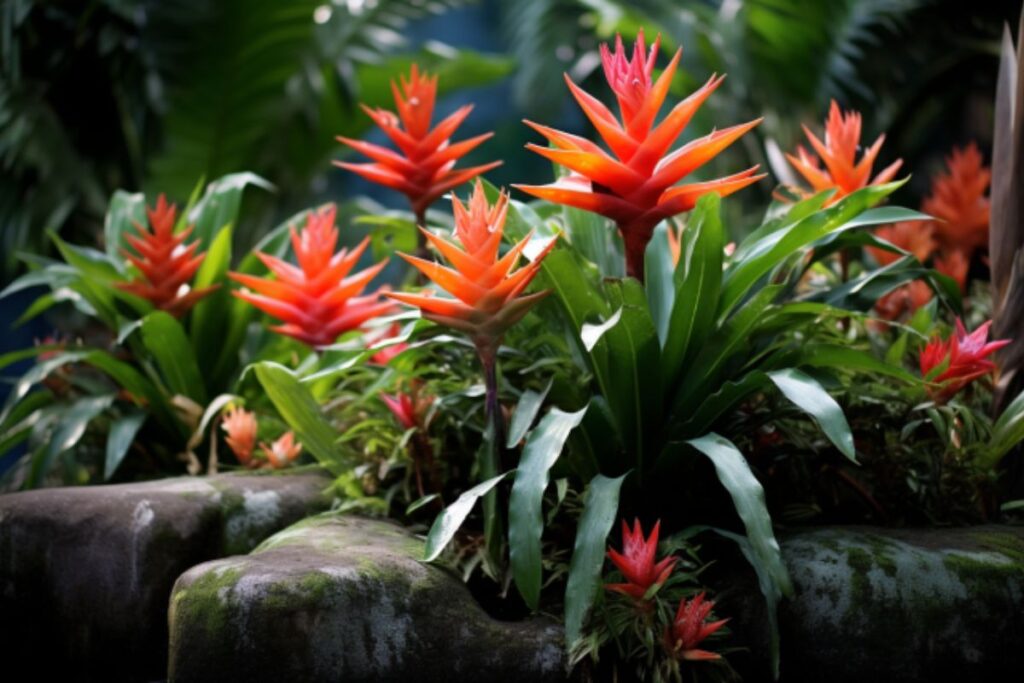
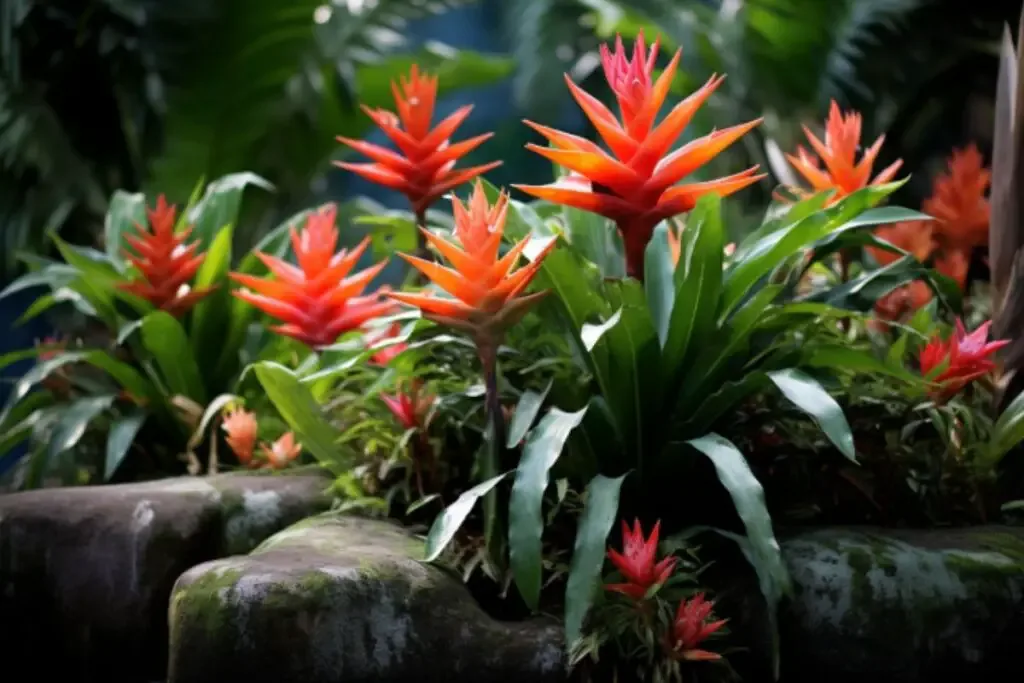
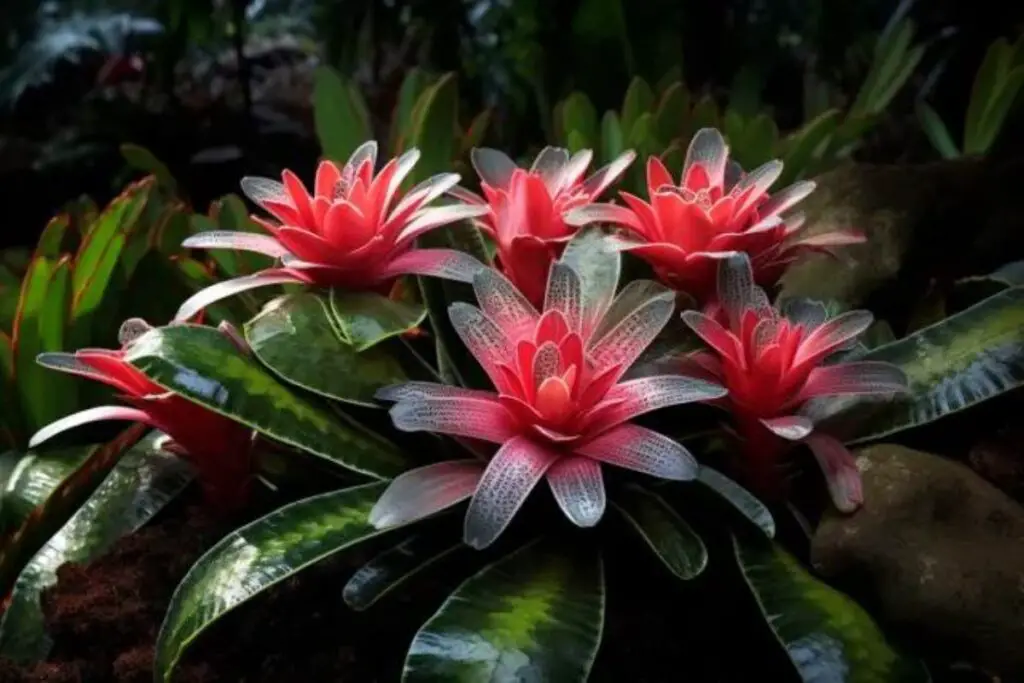
2. Guzmania Lingulata (Scarlet Star)

The Scarlet Star is famous for its bright red flower spike and lush green foliage. It’s a vibrant plant that brings a burst of color to your garden or home.
3. Neoregelia Carolinae (Blushing Bromeliad)

This variety is unique for the way its center turns a vivid red when it’s about to flower, giving it the ‘blushing’ moniker. It’s a stunning and playful addition to any collection.
Bromeliad Care
Caring for bromeliads is a delightful journey that doesn’t demand too much of your time or resources, but it does require some specific knowledge to ensure these stunning plants thrive.
Here are the key aspects of bromeliad care to keep in mind:
Planting
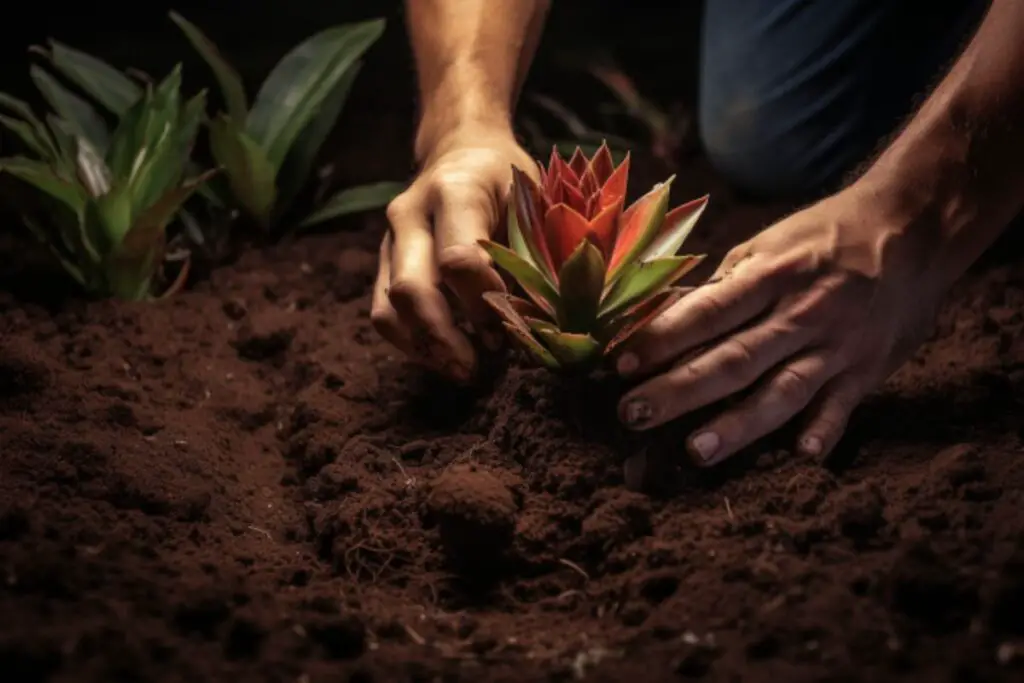

Bromeliads are not just stunning; they’re also surprisingly easy to plant and nurture. Whether you’re introducing these exotic beauties to your indoor plant collection or your outdoor garden, here’s a simple five-step guide to get them off to a flourishing start:
- Choose the Right Pot: Select a small to medium-sized container with drainage holes, suitable for the compact root system of bromeliads.
- Prepare the Potting Mix: Opt for a well-draining, airy mix, such as one designed for orchids or bromeliads, which provides the perfect balance of drainage and aeration.
- Planting the Bromeliad: Place the plant in the pot so the base is level with the top of the soil. Ensure it’s not buried too deep to prevent stem rot.
- Water Thoroughly: After planting, water the bromeliad well. Fill its central cup with water and lightly moisten the soil around it.
- Proper Placement: Position the plant in an area with appropriate lighting, considering the specific needs of your bromeliad variety.
Light
Bromeliads prefer bright, indirect light. If you’re growing them indoors, place them near a window where they can receive plenty of light but are shielded from the harsh midday sun. Outdoor bromeliads should be in a spot that gets filtered sunlight – under a tree canopy or a shade cloth works wonders.
Soil
Creating the ideal soil for bromeliads is key to their success. They thrive in a well-draining, aerated mixture, like a blend of orchid bark, perlite, and peat moss. This setup prevents root rot and allows air to reach the roots.
Bromeliads prefer a slightly acidic pH (around 5.5 to 6.0), and benefit from soil with some organic matter, but be cautious with overly rich or fertilized soils. When repotting, refreshing the soil and pruning any unhealthy roots helps maintain their vibrant health.
Water
The unique structure of bromeliads allows them to hold water in their central cup. This natural reservoir should be filled with water, and the soil around the plant should be kept slightly moist.
However, be cautious not to overwater, as this can lead to root rot. Using rainwater or distilled water is best to avoid the build-up of minerals.
Temperature and Humidity
Bromeliads enjoy warm temperatures, ideally between 60-80°F (15-27°C). They can tolerate fluctuations but should be protected from extreme cold, which can damage their foliage.
Being tropical plants, bromeliads thrive in humid conditions. In drier environments, increasing humidity can be as simple as placing a humidifier nearby or grouping plants together. For those grown indoors, a regular misting helps to replicate their natural habitat.
Fertilizer
Bromeliads are not heavy feeders, but they do benefit from occasional light fertilization. Use a balanced, water-soluble fertilizer at half strength, and apply it to the soil rather than the central cup to avoid damaging the plant.
Pruning
Pruning is an integral part of bromeliad care, focusing on maintaining their health and appearance. It’s a simple process due to their straightforward growth pattern. Here are three essential pruning steps:
- Removing Dead or Damaged Leaves: Regularly remove brown or yellow leaves by cutting them at the base. This keeps the bromeliad tidy and healthy, preventing pest and disease problems.
- Pruning After Flowering: Once a bromeliad’s flower fades, remove it to encourage the plant to produce pups (new plants). This helps redirect the plant’s energy towards new growth and propagation.
- Handling Pups: When pups reach about one-third the size of the parent plant, carefully separate them with a clean knife, ensuring each has some roots. These pups can be potted individually to start a new growth cycle.
Propagating
Propagating bromeliads is a straightforward and rewarding process, allowing you to expand your collection and share these beautiful plants. Here are three essential steps for successful propagation:
- Identifying and Separating Pups: Watch for pups emerging at the base of the bromeliad after it flowers. When they’re about one-third the size of the parent, carefully separate them using a sharp, clean knife, ensuring they have some roots.
- Potting the Pups: Plant the pups in individual pots with well-draining soil. Water them lightly and place in a location with bright, indirect light, avoiding direct sunlight which can be harsh for young plants.
- Caring for New Plants: Maintain moist soil conditions, but avoid overwatering to prevent root rot. In a few weeks, the pups will establish their roots and start new growth, at which point they can be treated like mature bromeliads.
How to Grow Bromeliads From Seed
Growing bromeliads from seed is a challenging but rewarding process, ideal for patient gardeners who enjoy seeing a plant’s full lifecycle. Here’s a four-step guide to growing bromeliads from seed:
- Obtaining Seeds: You can collect seeds from a mature bromeliad’s flower or purchase them from a reputable nursery. Fresh seeds have a higher germination rate.
- Seed Sowing: Sow the seeds on a surface of a fine, well-draining soil mix, lightly pressing them into the soil. They require light for germination, so do not cover them.
- Creating a Humid Environment: Place the seed tray in a warm, humid environment, ideally under clear plastic to mimic a greenhouse. Keep the tray in bright, indirect light.
- Germination and Early Care: Be patient as seeds can take several weeks to germinate. Once sprouted, ensure the soil remains lightly moist and gradually acclimate the seedlings to less humid conditions.
Growing in Pots

Growing bromeliads in pots is an excellent way to cultivate these tropical beauties, especially for indoor gardeners or those in cooler climates. Here are four key steps to ensure success:
- Choosing the Right Pot: Opt for a pot that comfortably fits the bromeliad’s root system, with drainage holes to prevent water accumulation. Bromeliads do well in slightly snug pots.
- Soil and Placement: Use a well-draining potting mix, ideal for bromeliads or orchids. Place the pot in a spot where the plant receives bright, indirect light to encourage growth without risking leaf burn.
- Watering and Humidity: Maintain slight moisture in the soil and regularly fill the central cup of the plant with water. Increase humidity if needed, through misting or using a humidifier, to mimic tropical conditions.
- Feeding and Care: Fertilize with a diluted balanced fertilizer during the growing season. Regularly prune dead leaves and spent flowers to keep the plant healthy and attractive.
Overwintering
Overwintering bromeliads is crucial for those living in climates that experience colder temperatures. These tropical plants can be sensitive to frost and require specific care during the winter months to ensure their survival and continued health. Here are three important steps for successful overwintering:
- Indoor Relocation: Before the onset of frost, move outdoor bromeliads indoors to a bright location with indirect sunlight. Ensure the indoor temperature is consistently above freezing to protect the plants from cold shock.
- Watering and Humidity: Reduce watering in winter, keeping the soil slightly moist but not wet. Eliminate water from the central cup to prevent rot. Use a humidifier or a pebble tray with water to maintain humidity around the plants, compensating for dry indoor heating.
- Pausing Fertilization: Avoid fertilizing bromeliads during winter as their growth slows. Resume fertilization in the spring to support new growth as the plant recovers from the dormant period.
Transplanting
Transplanting bromeliads can invigorate their growth and refresh their environment. Here’s a concise guide to effectively transplant bromeliads:
- Timing: The best time to transplant bromeliads is in the spring or early summer when they are actively growing.
- Choosing the Right Soil: Use a well-draining potting mix, suitable for bromeliads or orchids, to ensure proper root health.
- Pot Selection: Select a new pot that is slightly larger than the current one, ensuring it has good drainage.
- Transplanting Process: Carefully remove the bromeliad from its current pot, place it in the new pot, and fill in with soil, keeping the plant at the same depth as before.
Common Pests & Diseases
Bromeliads, like any other plants, can be susceptible to certain pests and diseases. Understanding and identifying these common issues can help you keep your bromeliads healthy. Here are some of the most prevalent pests and diseases to watch out for:
- Mealybugs: These tiny, white, cotton-like pests often hide in the crevices of the plant and can cause yellowing of leaves. Treat mealybugs by wiping them off with alcohol-soaked cotton swabs or using insecticidal soap.
- Scale Insects: Scale can appear as small, brown, shell-like bumps on leaves and stems. They suck sap from the plant, weakening it. Remove them manually and treat the plant with neem oil or horticultural oil.
- Root Rot: Often caused by overwatering, root rot can be deadly. Ensure proper drainage and avoid letting the plant sit in water. If root rot is detected, remove the affected roots and repot the bromeliad in fresh, well-draining soil.
By regularly inspecting your bromeliads and addressing pests and diseases promptly, you can maintain the health and beauty of these exotic plants. Early detection and treatment are key to managing these issues effectively.
