
Chives, with their delicate, onion-like flavor, are a must-have herb in any herb garden. These slender, green stalks not only add a burst of freshness to a variety of dishes but also offer numerous benefits to gardeners.
In this comprehensive guide, we’ll explore the art of growing and caring for chives, sharing valuable insights and tips along the way.
Benefits of Growing Chives

1. Flavorful Herb
Chives impart a mild, onion-like flavor to dishes, adding a delightful kick to salads, soups, omelets, and more.
2. Versatile Culinary Use
Chives are incredibly versatile and can be used fresh or snipped into dishes. They also make an excellent garnish.
3. Natural Pest Repellent
Chives are known to repel certain garden pests due to their strong scent. Planting them alongside other crops can help deter unwanted insects.
My Favorite Chive Varieties
Now, let’s explore some chive varieties that I particularly enjoy growing in my herb garden. These varieties are not only flavorful but also relatively easy to cultivate, making them perfect for gardeners of all levels:
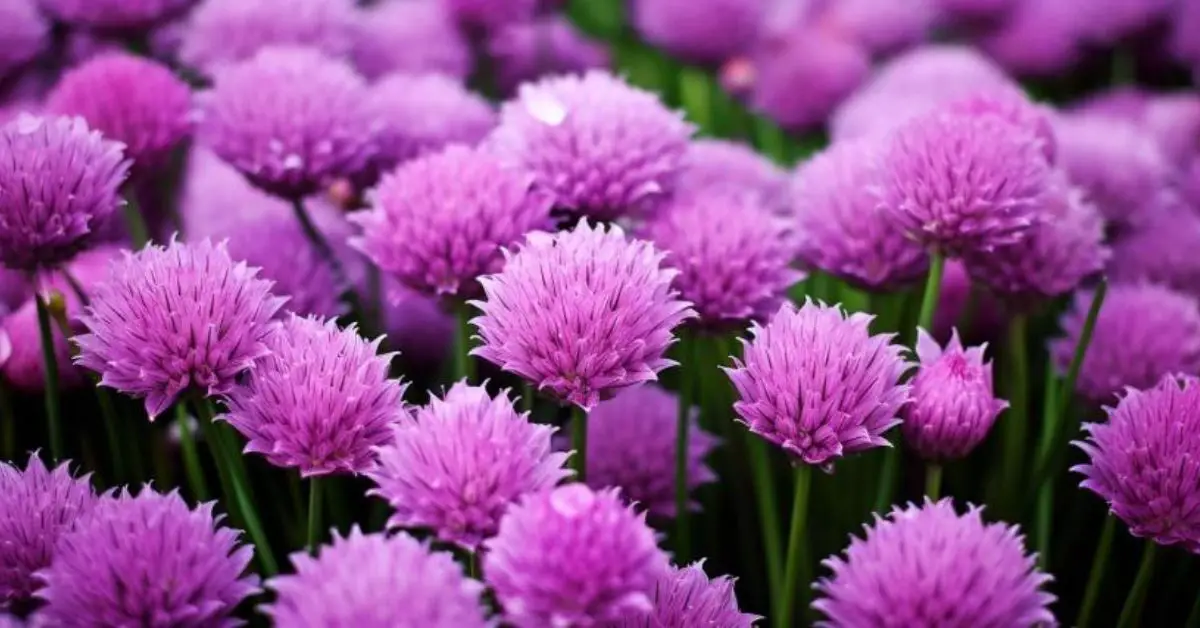
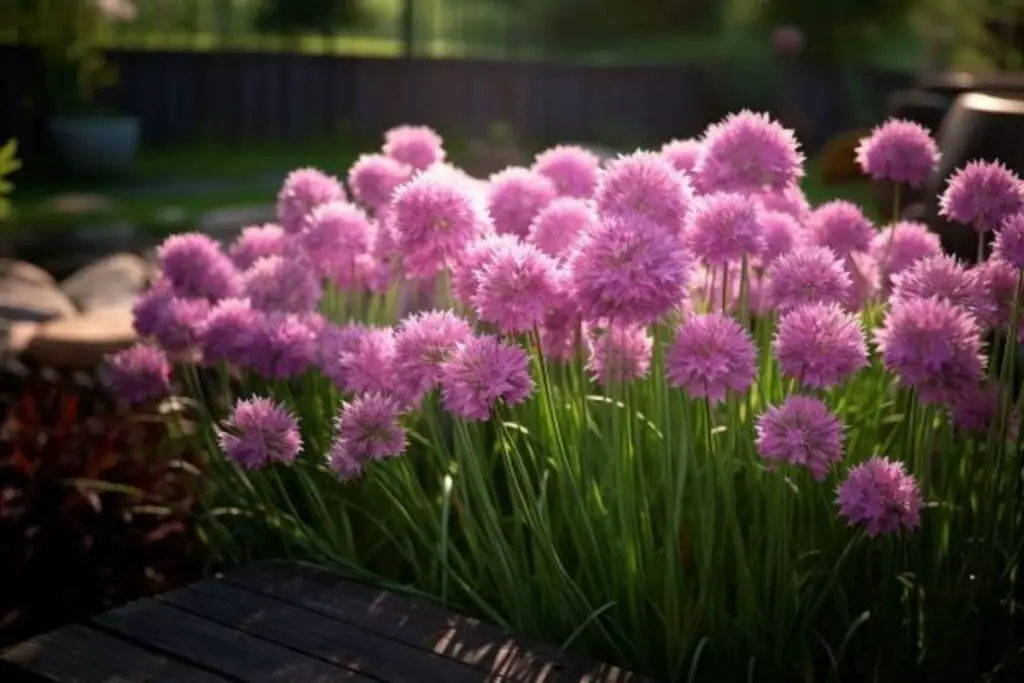
1. Common Chives

Common chives, also known as Allium schoenoprasum, are the classic variety of chives. They produce slender, hollow, green stalks with a mild onion flavor. These are the easiest to grow and a favorite among beginners.
2. Garlic Chives
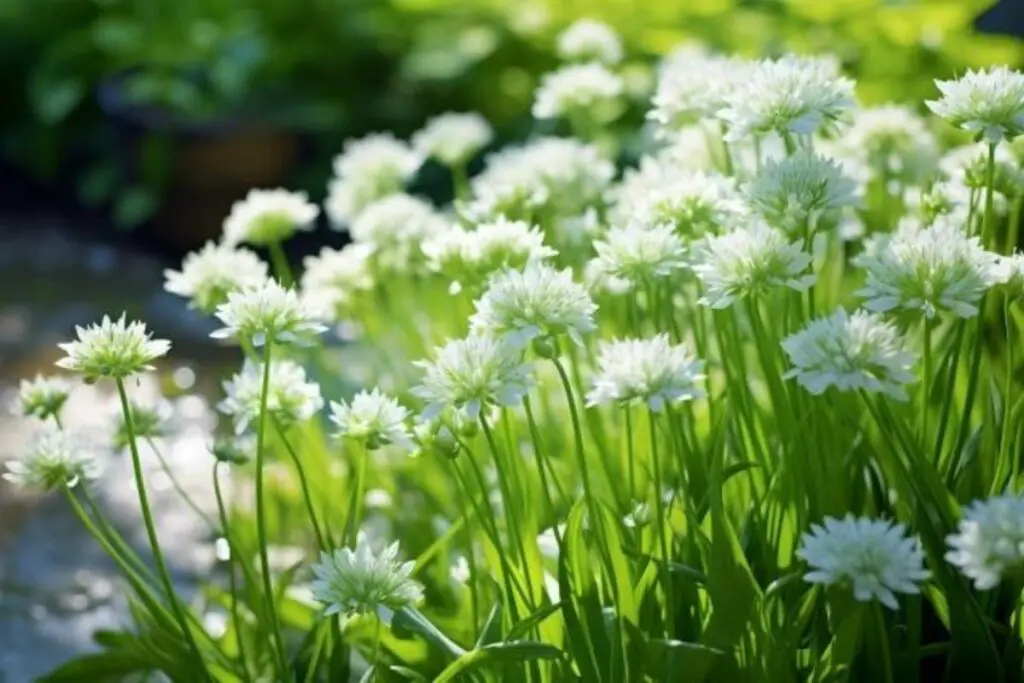
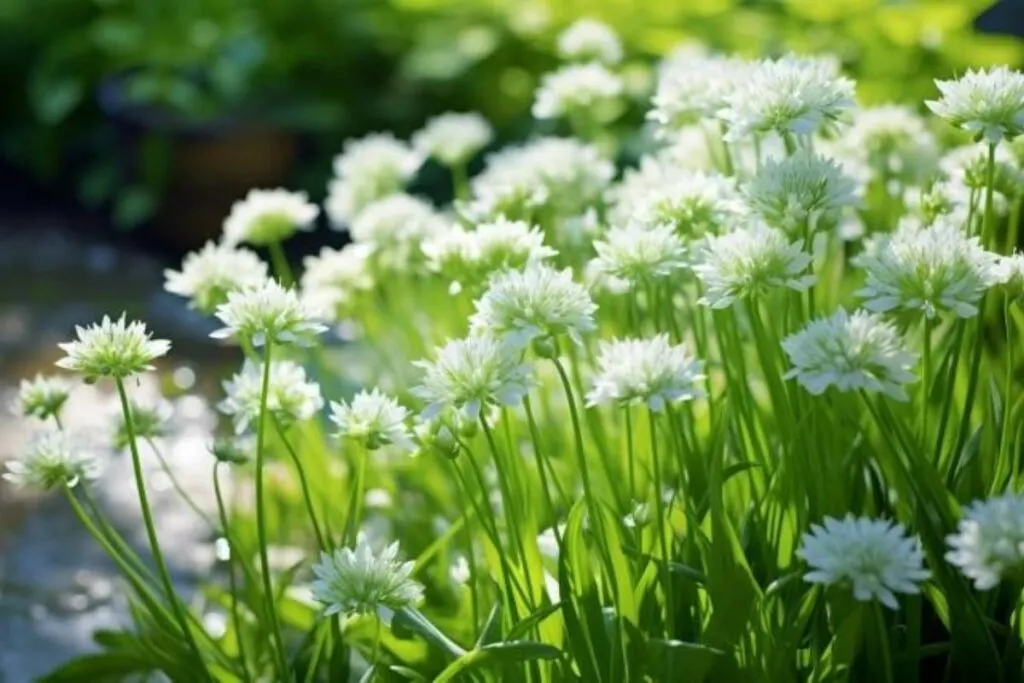
Garlic chives, or Allium tuberosum, offer a unique twist with a subtle garlic flavor. They have flat, broader leaves and are equally easy to grow. Their mild garlic aroma makes them a great addition to various dishes.
3. Giant Siberian Chives

If you’re looking for a chive variety that stands out with its height and robustness, consider Giant Siberian chives. They produce larger, thicker stalks and have a milder flavor compared to common chives.
Chive Care
Caring for your chive plants is essential to ensure a bountiful harvest of those flavorful, slender stalks. In this section, we’ll cover various aspects of chive care, from planting to providing the right conditions for optimal growth.
Planting

Proper planting is the first step in growing healthy chives. Here’s what you need to know:
- Select the Right Location: Choose a planting location that receives at least 4-6 hours of sunlight daily. Chives prefer well-draining soil and full sun but can tolerate partial shade.
- Soil Preparation: Chives thrive in well-draining, fertile soil. Prepare the soil by amending it with organic matter to improve fertility and drainage.
- Spacing: Plant chive clumps or individual chive plants 6-8 inches apart in rows or groups. Providing enough space ensures good airflow and prevents overcrowding.
Light
Chives appreciate ample sunlight to grow vigorously. Here’s what you need to know about providing the right light conditions:
- Full Sun: While chives can tolerate partial shade, they do best in full sun. Ensure they receive at least 4-6 hours of direct sunlight daily for optimal growth and flavor.
Soil
Well-prepared soil is crucial for healthy chive growth. Pay attention to soil quality:
- Well-Draining Soil: Chives dislike standing water, so well-draining soil is a must. Incorporate organic matter like compost to improve drainage.
- pH Level: Aim for a slightly acidic to neutral soil pH, ideally around 6.0 to 7.0.
Water
Proper watering is vital to prevent issues like drought stress and poor growth. Here are some watering tips:
- Consistent Moisture: Keep the soil consistently moist but not waterlogged. Chives require regular watering, especially during dry spells.
- Mulch: Apply a layer of organic mulch around the base of chive plants to help retain moisture and regulate soil temperature.
Temperature and Humidity
Chives thrive in temperate conditions. Here’s what to consider:
- Temperature: Chives grow best in temperatures between 50°F and 75°F (10°C to 24°C). They are relatively hardy and can tolerate light frost.
- Humidity: Chives are adaptable to various humidity levels and typically don’t require special attention regarding humidity.
Fertilizer
Feeding your chive plants with the right nutrients is key to a successful harvest:
- Organic Matter: Chives benefit from regular applications of compost or well-rotted manure to enhance soil fertility.
- Light Fertilization: Avoid over-fertilizing chives, as it can lead to excessive leaf growth and reduced flavor. A balanced, slow-release fertilizer can be applied sparingly during the growing season.
Harvesting Chives
Harvesting chives is a rewarding experience, as you get to enjoy the fresh, flavorful stalks in your dishes. Here’s how to do it:
- Continuous Harvest: Chives are a cut-and-come-again herb, which means you can harvest them continually throughout the growing season. Begin harvesting when the stalks are at least 6 inches (15 cm) tall.
- Snipping Method: Use scissors or garden shears to snip individual chive stalks at the base. Be sure to leave a few inches of growth to allow the plant to regrow.
- Regular Harvesting: Regularly harvesting chives encourages new growth and prevents the plant from becoming too leggy or flowering.
Pruning
Pruning chives helps maintain their vigor and appearance:
- Deadhead Flowers: If chive plants produce flowers, consider deadheading them. This prevents the plant from investing energy in seed production and encourages more leaf growth.
Propagating
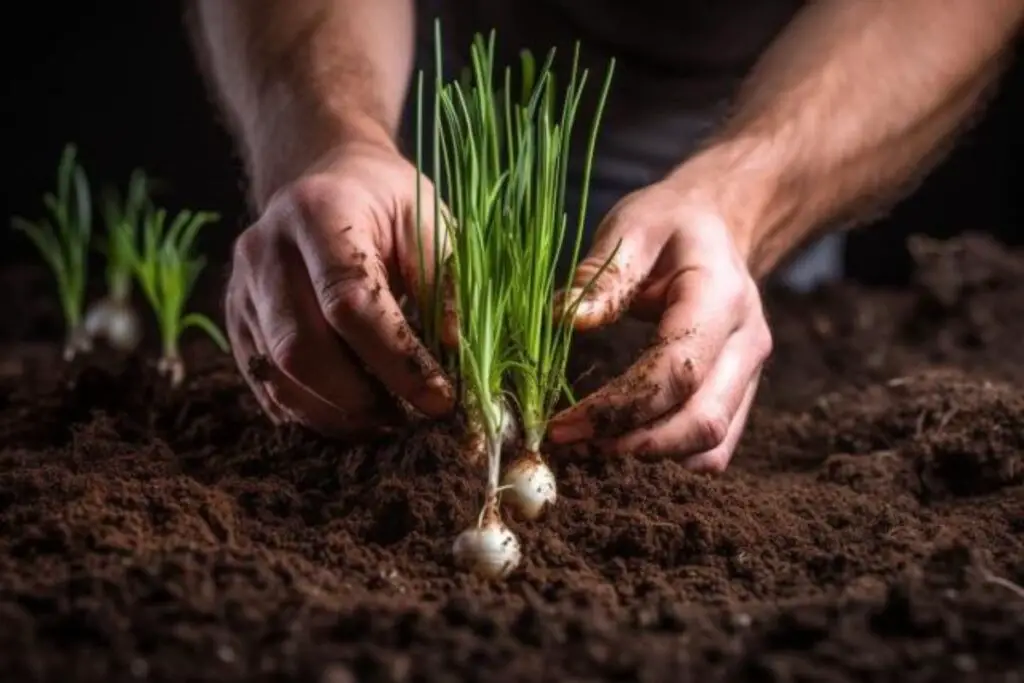
Chives are easy to propagate, making them a great addition to your garden or for sharing with fellow gardeners:
- Division: Chives can be propagated by dividing established clumps. In early spring or fall, carefully dig up a clump, separate it into smaller sections, and replant them in the desired location.
- Root Division: Another method involves taking root divisions from established plants. Dig up a mature plant, divide the root ball into sections, and replant them.
How to Grow Chives From Seed
Growing chives from seed is a straightforward process:
- Seed Selection: Choose high-quality chive seeds from a reputable source. Chive seeds are readily available at garden centers and online.
- Starting Indoors: Start chive seeds indoors in early spring, about 6-8 weeks before the last expected frost date in your area. Plant seeds in small pots or seed trays filled with a quality seed starting mix.
- Transplanting: Once seedlings have grown a few inches tall and have at least two sets of leaves, they can be transplanted outdoors. Space them 6-8 inches apart in rows or groups.
- Direct Seeding: Alternatively, chive seeds can be sown directly in the garden in early spring or late summer. Plant them ¼ inch deep and thin seedlings to the desired spacing once they emerge.
Growing in Pots


Chives are well-suited for container gardening, making them a versatile herb for small spaces:
- Container Selection: Choose a medium-sized container with good drainage. A pot that’s at least 8 inches (20 cm) deep is ideal.
- Potting Mix: Use a well-draining potting mix enriched with organic matter.
- Planting: Plant chive seedlings or seeds in the container, ensuring they are spaced appropriately.
- Water and Fertilize: Container-grown chives may require more frequent watering and light fertilization during the growing season. Keep the soil consistently moist but not waterlogged.
Overwintering
Chives are known for their hardiness and ability to withstand cold weather. In many regions, they can be overwintered in the garden with minimal protection:
- Mulch: In late fall, apply a layer of mulch around the base of chive plants to insulate the roots and protect them from extreme cold. This will also help prevent the soil from freezing too deeply.
- Trim Back: Before winter sets in, trim chive plants back to about 2 inches (5 cm) above the soil level. This not only keeps the plants more compact but also reduces the risk of disease over the winter.
- Container Protection: If you’re growing chives in containers, consider moving the pots to a sheltered area or providing additional insulation with bubble wrap or burlap.
Transplanting
Transplanting chives can be done to expand your herb garden or to share with fellow gardeners:
- Timing: Chives can be transplanted in early spring or early fall when the weather is mild. Dig up the clump and divide it into smaller sections, each with roots and green growth.
- Replanting: Plant the divided sections in their new location, ensuring they are at the same depth as they were originally planted.
- Watering: Water the transplants thoroughly after planting to help them establish their new spot.
Common Pests & Diseases
Chives are relatively pest and disease-resistant, but occasional issues may arise:
- Aphids: Aphids can infest chive plants, causing distorted growth and yellowing leaves. Use a strong spray of water or insecticidal soap to control them.
- Thrips: Thrips are tiny insects that can damage chive leaves. Regularly inspect plants and use neem oil or insecticidal soap if needed.
- Fungal Diseases: Chives can occasionally suffer from fungal diseases like powdery mildew or leaf spot. Ensure good air circulation, avoid overhead watering, and apply fungicides as necessary.
Chives are a low-maintenance herb, and with proper care and attention, they can thrive in your garden, providing you with fresh, flavorful leaves for your culinary creations year-round.
Whether you’re snipping fresh chives into your favorite dishes or enjoying the ease of growing them, chives bring a burst of flavor and freshness to your culinary endeavors.
Happy gardening, and may your chives flourish in every season, enhancing your meals with their delightful taste!