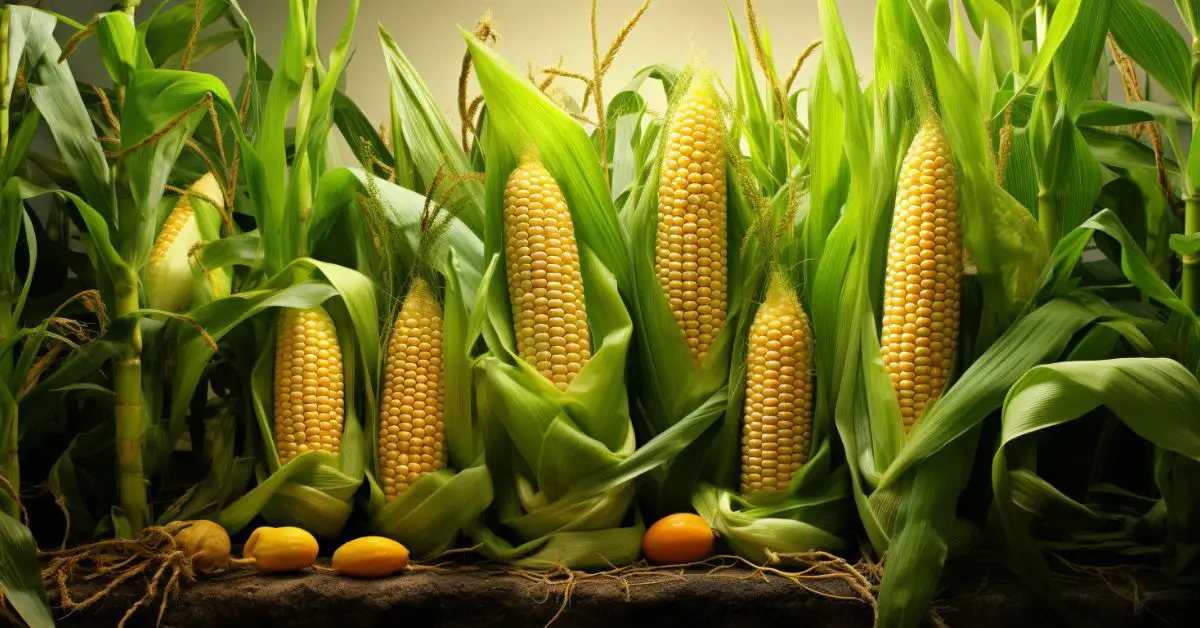

Corn, also known as maize, is a staple crop that has been cultivated for thousands of years. It’s a versatile and rewarding plant to grow in your garden, and with a little know-how, you can enjoy fresh, sweet corn on your dinner table.
In this guide, we’ll explore the benefits of growing corn and discuss some of my favorite corn varieties to get you started on your corn-growing journey.
Benefits of Growing Corn

1. Delicious Freshness
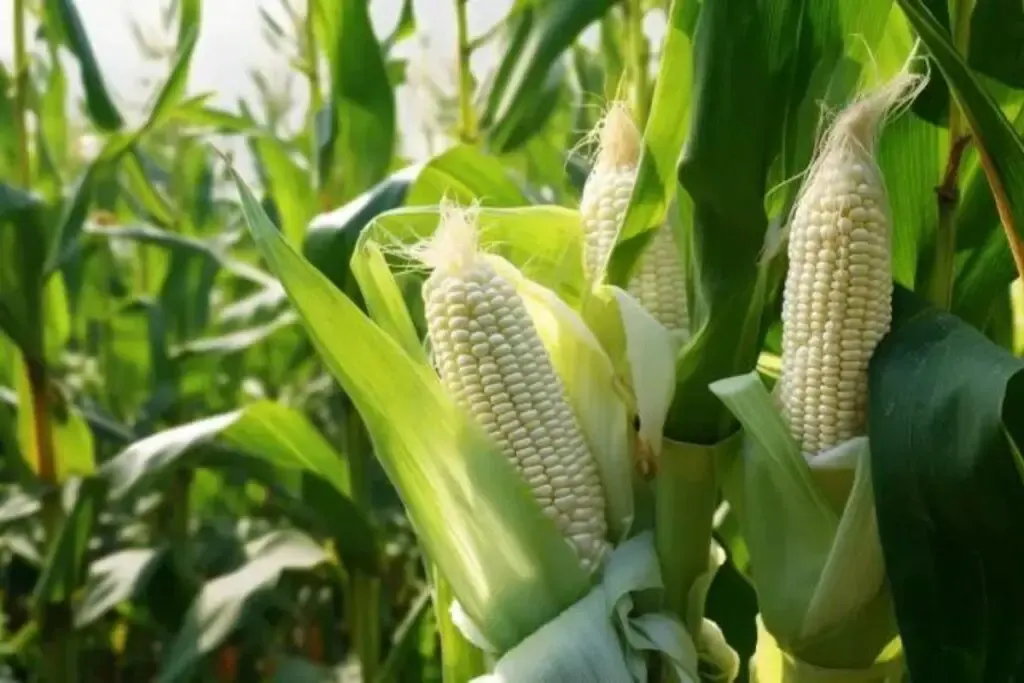
One of the most significant benefits of growing your own corn is the unparalleled taste of fresh-picked ears. Nothing quite compares to the juicy, sweet kernels of corn that you can harvest right from your garden.
The sugars in corn begin converting to starch as soon as it’s picked, so the sooner you enjoy it after harvest, the better it tastes. Store-bought corn simply can’t compete with the flavor of homegrown varieties.
2. Versatility in the Kitchen
Corn is an incredibly versatile ingredient in the kitchen. You can boil, grill, roast, or steam it, and it can be used in a wide range of dishes, from salads and soups to casseroles and salsas.
The possibilities are nearly endless, making corn a valuable addition to any home garden. Plus, you can also preserve your corn by freezing or canning it to enjoy throughout the year.
3. Nutritional Value
Corn is not only delicious but also nutritious. It’s a good source of dietary fiber, vitamins (especially B vitamins), and essential minerals like magnesium and phosphorus.
Yellow corn, in particular, contains high levels of carotenoids, including beta-carotene, which is converted into vitamin A in the body. Corn is a wholesome addition to your diet, offering both flavor and health benefits.
My Favorite Corn Varieties
1. ‘Honey Select’ (Sweet Corn)

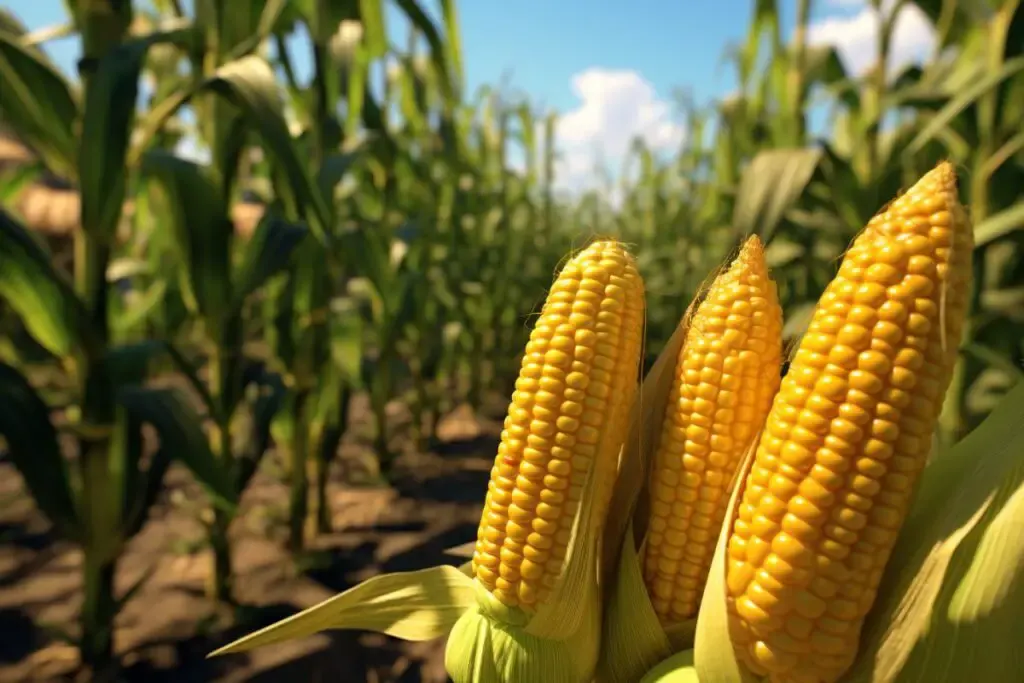
‘Honey Select’ is a top pick for sweet corn lovers. It’s renowned for its exceptional sweetness and tenderness. The kernels are golden-yellow and bursting with flavor, making it perfect for fresh eating.
This variety is an early maturing type, ready to harvest in about 75 days. Plant ‘Honey Select’ for a delectable, sweet corn experience.
2. ‘Glass Gem’ (Ornamental Corn)

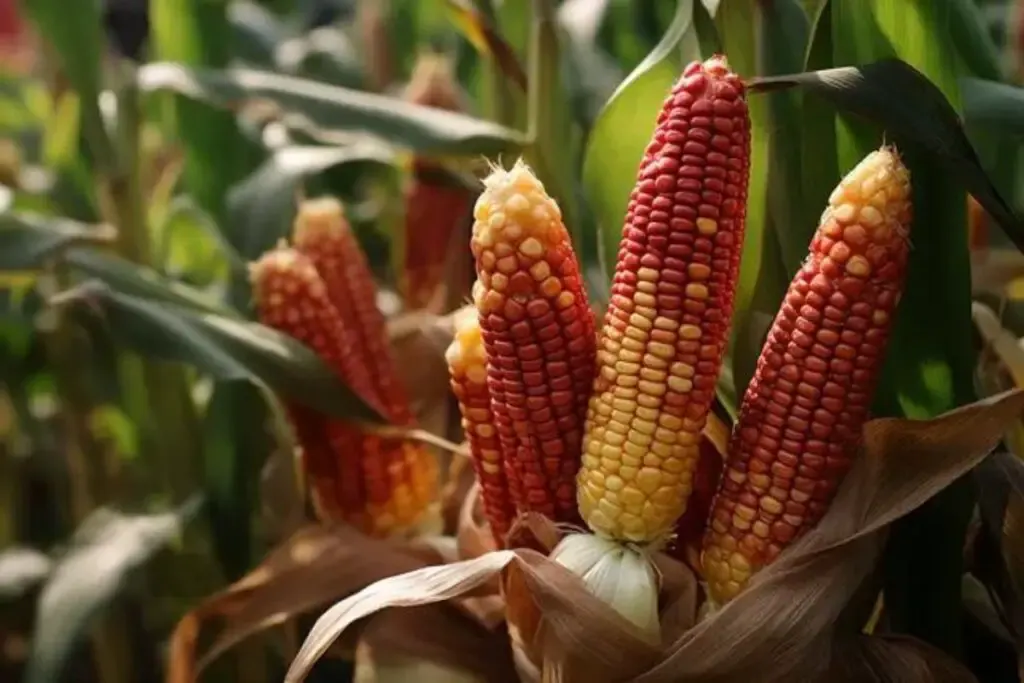
If you’re looking to add a pop of color to your garden, ‘Glass Gem’ is the corn variety for you. While not typically used for culinary purposes, it’s a stunning ornamental corn with translucent, jewel-like kernels in a dazzling array of colors.
Plant ‘Glass Gem’ as a decorative accent in your garden or for unique fall decorations.
3. ‘Country Gentleman’ (Sweet Corn)

For those who appreciate a traditional sweet corn flavor, ‘Country Gentleman’ is a classic choice. What sets it apart is its unique, shoepeg-shaped kernels that are exceptionally tender and sweet.
This variety is perfect for canning or freezing to savor that sweet, buttery taste throughout the year.
Corn Care
Growing corn successfully requires attention to various aspects of care, from planting to maintaining the right environmental conditions and providing adequate nutrients.
In this section, we’ll delve into the key aspects of caring for your corn crop to ensure a bountiful harvest.
Planting
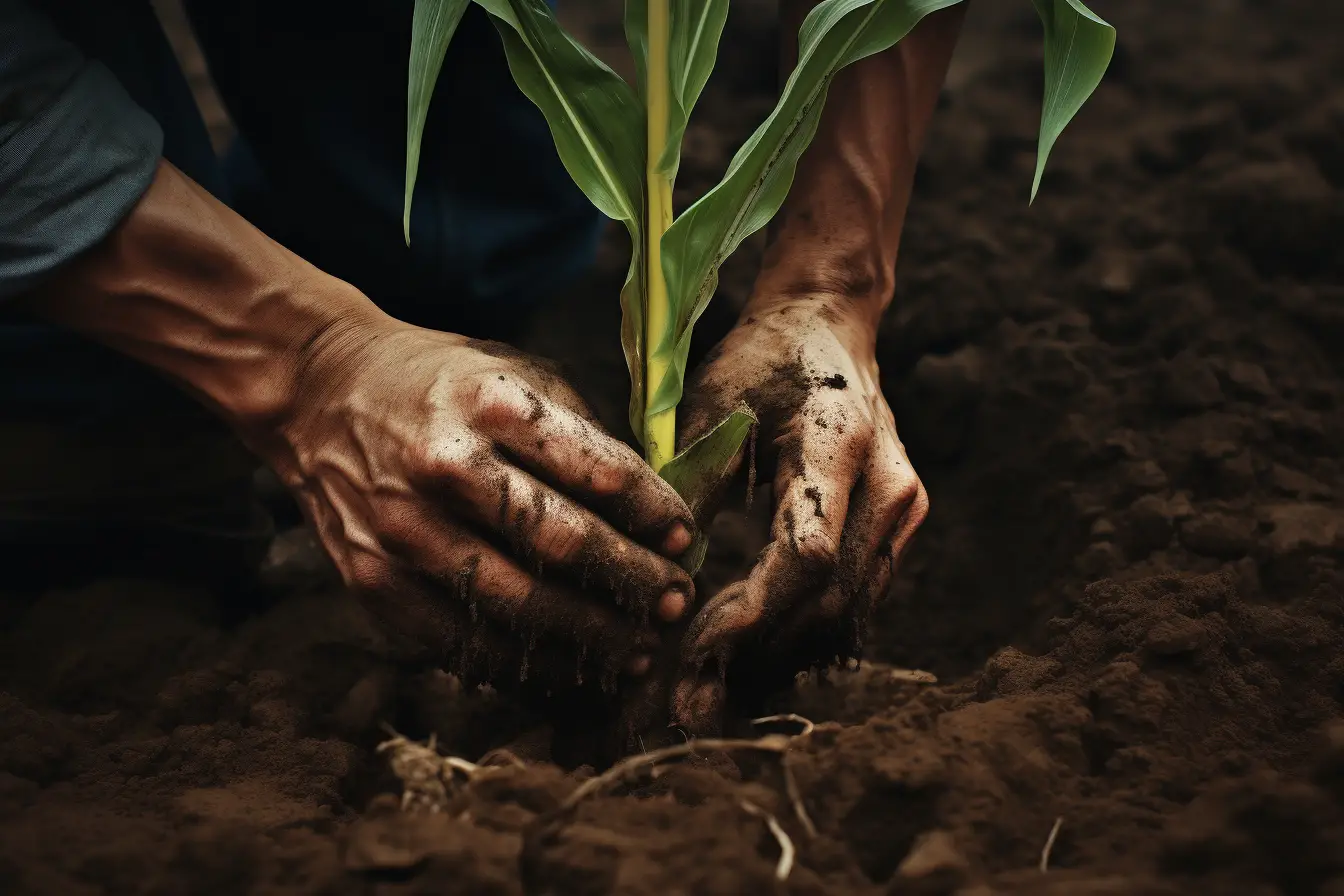
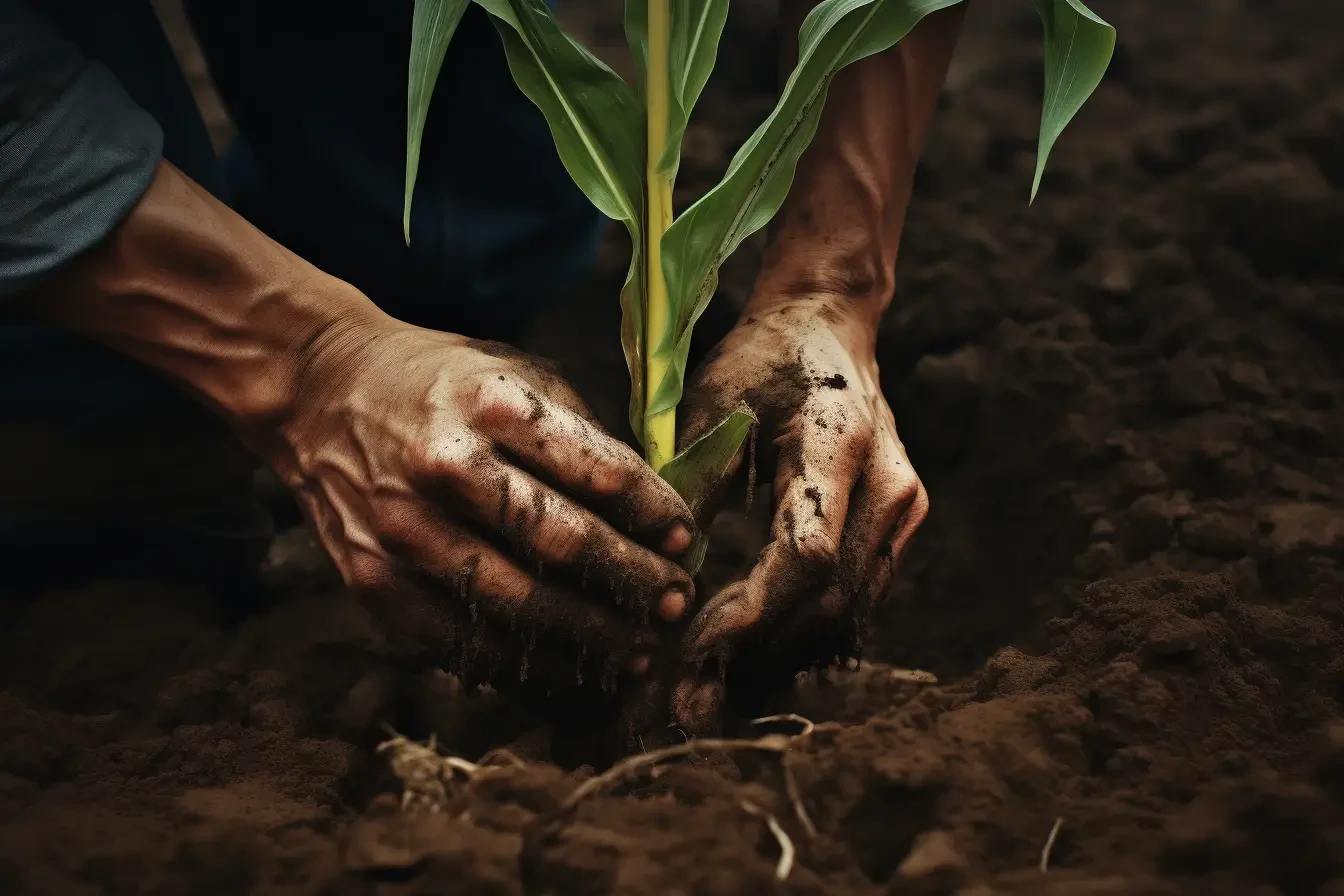
When planting corn, ensure that you space the seeds properly. Plant them about 9-12 inches apart in rows that are spaced 30-36 inches apart. The seeds should be sown approximately 1-2 inches deep in well-prepared soil. Corn is typically grown in blocks or multiple rows to aid in pollination.
Corn is a warm-season crop, so it should be planted after the last frost date in your area. Soil temperatures should be at least 50°F (10°C) for successful germination. Planting too early in cold soil can result in poor germination and stunted growth.
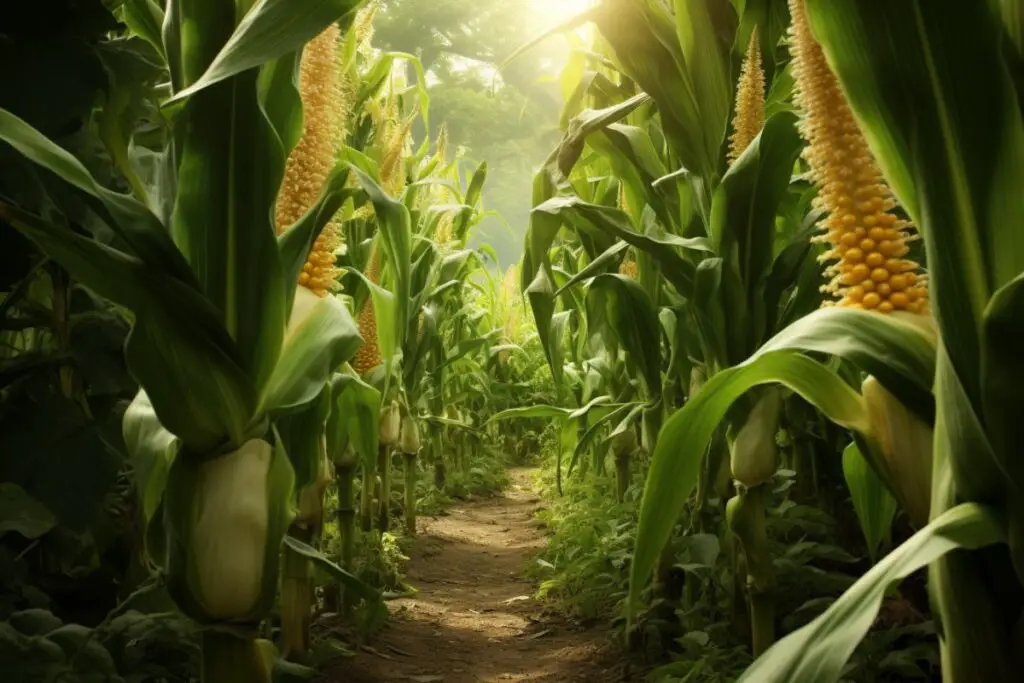
Light
Corn demands full sunlight to reach its full potential, necessitating at least 6-8 hours of direct sunlight daily. The sunny location aids in robust stalk development and proper ear formation.
If your garden receives varying sunlight, allocate the brightest spots for corn. Insufficient sunlight can lead to weak plants and poor ear development, underscoring the importance of this requirement.
Soil
Ideal corn cultivation requires well-drained, nutrient-rich soil. Aim for a pH of slightly acidic to neutral, around 6.0 to 7.0. Enriching the soil with organic matter such as compost or aged manure before planting enhances soil fertility. Loosen the soil deeply to facilitate extensive root growth. Good soil structure and drainage are vital, as corn is sensitive to waterlogged conditions.
Water
Consistent moisture is vital for corn, especially during key growth stages like germination, tasseling, and ear development. Aim for 1-2 inches of water per week, maintaining soil moisture but avoiding waterlogging.
Drip irrigation or soaker hoses are effective for deep, even watering. Avoid overhead watering, which can disrupt pollen distribution and reduce pollination efficiency.
Temperature and Humidity
Corn grows best in temperatures between 77°F to 95°F (25°C to 35°C). However, it can tolerate a range of temperatures, making it adaptable to various climates.
Also, corn generally prefers moderate humidity levels. High humidity can promote fungal diseases, so proper spacing and ventilation in your cornfield can help reduce humidity-related issues.
Fertilizer
Corn is a heavy feeder, meaning it requires a lot of nutrients to grow vigorously. Use a balanced, granular fertilizer with a higher nitrogen content (N-P-K ratio of 10-10-10 or similar) at planting time. Side-dress the corn with additional fertilizer when it reaches knee height and again when it tassels.
Organic gardeners can use well-rotted compost or aged manure to provide essential nutrients to their corn crops. These organic amendments not only nourish the soil but also enhance its structure.
Harvesting Corn
Harvesting corn at the right time and in the correct manner is crucial for enjoying its optimal flavor and texture. Here’s a detailed step-by-step guide for harvesting corn:
- Timing the Harvest: The right time to harvest corn is typically 17-24 days after the first silk strands appear, though this can vary based on the variety. The silks will dry out and turn brown, and the kernels will fill out the ears. A good indication of maturity is when the ears feel plump and the end of the ear is rounded rather than pointed.
- Test for Ripeness: Gently pull back a small portion of the husk on an ear of corn and use your thumbnail to puncture a kernel. If a milky liquid squirts out, the corn is ripe and ready for harvest. If the liquid is clear, the corn is still immature. If no liquid comes out, it’s overripe.
- Harvesting Technique: Once you’ve determined the corn is ripe, it’s time to harvest. Grab the ear firmly with one hand, and the stalk with the other. Twist and pull the ear downward with a sharp motion. This action should cleanly separate the ear from the stalk.
- Handling Multiple Ears: Work your way down each row, repeating this process. If you have multiple rows, start at one end and systematically move to the other, ensuring you don’t miss any ripe ears.
- Post-Harvest Handling: After harvesting, husk the corn as soon as possible if you plan to use it immediately. For the sweetest flavor, corn should be cooked and eaten shortly after harvesting, as its sugars start converting into starches.
- Storing Corn: If you’re not planning to eat the corn right away, leave the husks on and store them in a cool, moist place. Corn can be refrigerated to slow down the sugar-to-starch conversion, extending its freshness for a couple of days.
- Preserving Corn: For long-term storage, blanch the ears of corn in boiling water, then immediately cool them in ice water. After cooling, cut the kernels off the cob and freeze them in airtight containers or freezer bags.
- Monitoring for Peak Harvest: Keep an eye on your cornfield, as different ears may reach maturity at slightly different times. Regular monitoring ensures you harvest each ear at its peak flavor.
By following these steps, you can enjoy the fruits of your labor with delicious, sweet, and fresh corn directly from your garden. Remember, the sweetness of the corn is best right after it’s picked, so timing your harvest and handling your corn properly post-harvest is key to enjoying the best possible taste.
Pruning
While corn doesn’t require traditional pruning, removing side shoots or suckers can help concentrate the plant’s energy on the main stalk and ear development. Be cautious not to damage the main stalk. Regularly removing any diseased or damaged foliage can also promote healthier growth and reduce disease spread.
Propagating Corn
Propagation of corn is typically done through seeds. To maintain genetic purity, especially for sweet corn varieties, separate different types by distance or stagger planting times to prevent cross-pollination. Planting heirloom varieties in isolation can also help preserve specific genetic traits.
How to Grow Corn From Seed
Direct sowing is the most effective way to grow corn from seed. Plant seeds in well-prepared, fertile soil after the risk of frost has passed and the soil has warmed.
Place seeds at a depth of 1-2 inches and space them appropriately for your variety. Ensure consistent soil moisture for successful germination, which usually occurs within 7-10 days under ideal conditions.
Growing in Pots
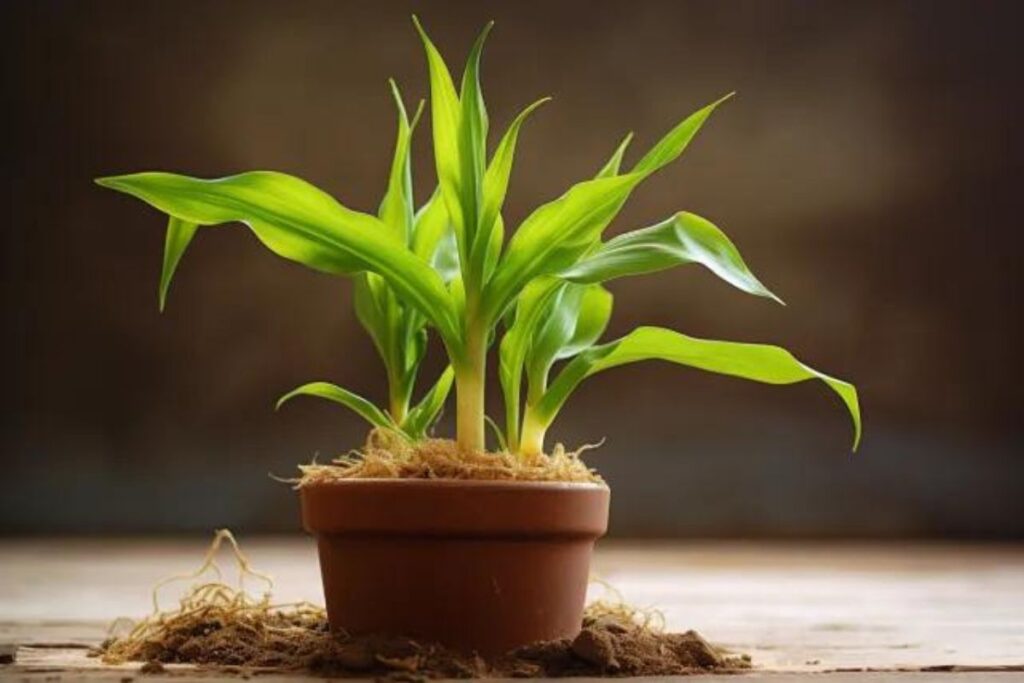

Growing corn in pots is challenging but possible. Use large containers with ample depth and width to accommodate the plant’s root system and ensure adequate space for multiple plants for pollination.
The pot should have excellent drainage, and the plant should be positioned in a spot with full sunlight. Regular watering is crucial, as potted plants dry out faster
Overwintering
As an annual plant, corn does not survive through winter. After harvesting, remove and compost the plants if they are disease-free. This practice helps prevent soil-borne diseases and pest issues in the following growing season, ensuring a healthy start for the next crop.
Transplanting
Transplanting corn is generally not recommended due to its deep root system. If necessary, transplant when seedlings are young, handling them with care to minimize root disturbance. Ensure the transplant site is well-prepared with fertile, well-draining soil and located in a full-sun area.
Common Pests & Diseases
Corn can be susceptible to various pests and diseases, including corn earworms, aphids, armyworms, and fungal diseases like rust and smut.
To manage these issues, practice good garden hygiene, monitor your plants regularly for signs of trouble, and consider using organic or chemical treatments when necessary. Crop rotation can also help prevent the buildup of pests and diseases in the soil over time.
By following these guidelines for harvesting, pruning (when necessary), propagating, and caring for corn, you’ll be well-equipped to cultivate a successful corn crop in your garden. Whether you’re a novice or an experienced gardener, growing corn can be a rewarding and enjoyable experience.
Happy gardening!
