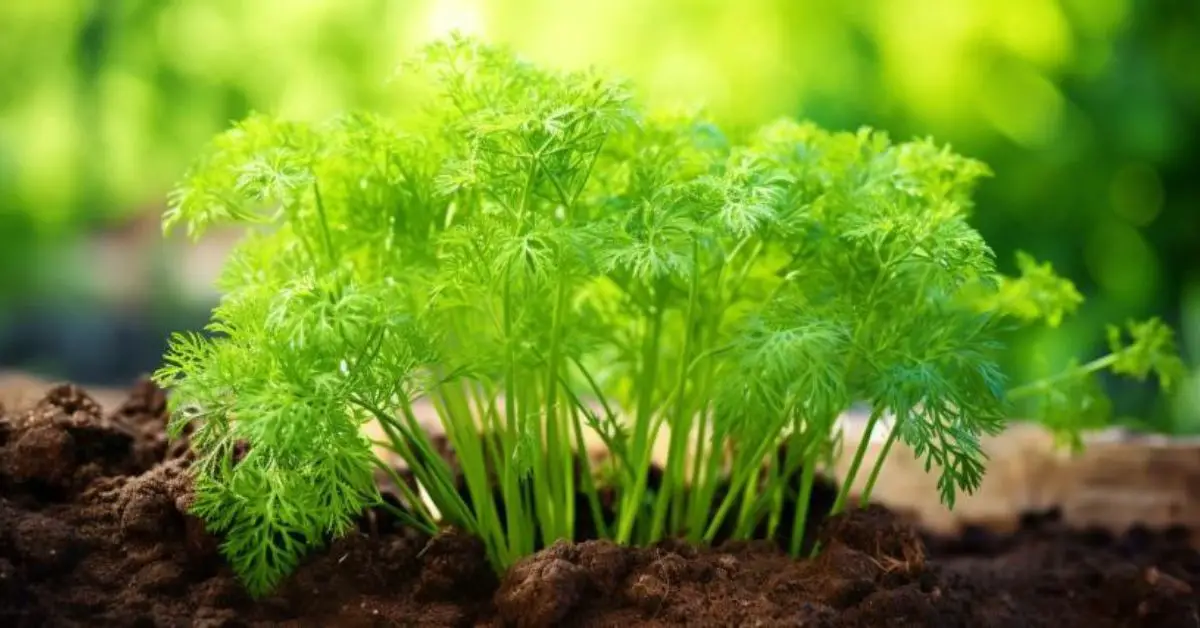

Dill, with its feathery green fronds and distinctive flavor, is a delightful herb to have in your garden.
Whether you’re a seasoned gardener or just starting out, this aromatic herb can be a rewarding addition to your outdoor space.
In this comprehensive guide, we’ll explore the art of growing and caring for dill, sharing valuable insights and tips along the way.
Benefits of Growing Dill
1. Culinary Versatility
Dill is a versatile herb that adds a burst of flavor to a wide range of dishes, from salads and sauces to pickles and fish recipes.
2. Attracts Beneficial Insects
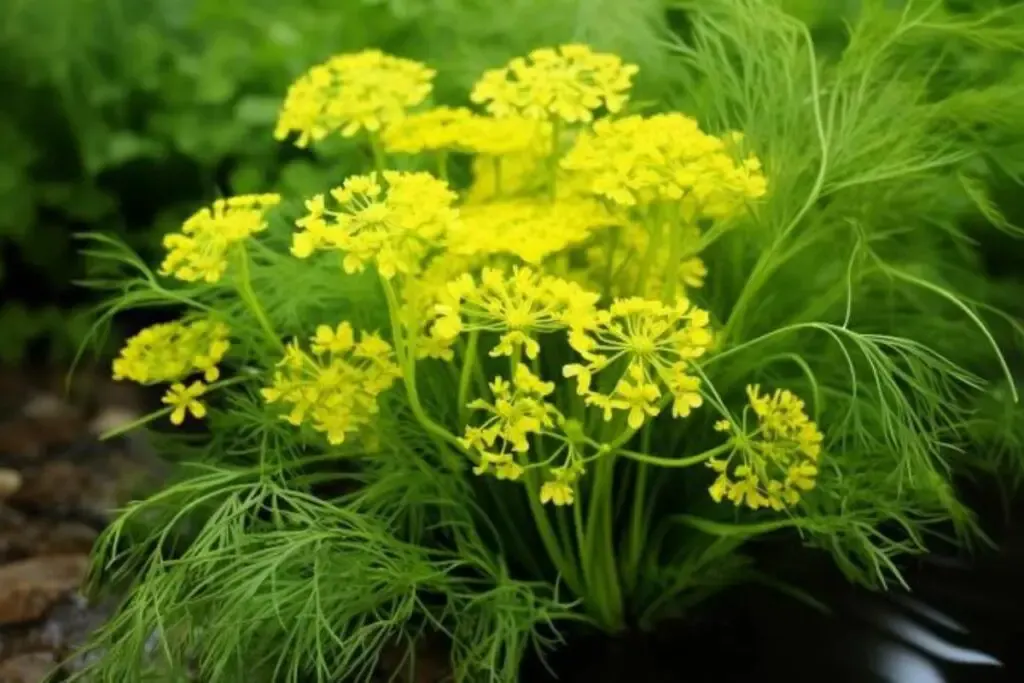
Dill’s delicate flowers attract beneficial insects like bees and butterflies to your garden, promoting pollination and biodiversity.
3. Easy to Grow
Dill is relatively easy to cultivate, making it a great choice for novice gardeners. It’s a fast-growing herb that can yield an abundant harvest with minimal effort.
My Favorite Dill Varieties
Now, let’s explore some dill varieties that I particularly enjoy growing in my herb garden.
These varieties not only offer unique flavors but are also relatively easy to cultivate, making them perfect for gardeners of all levels:
1. Bouquet Dill

Bouquet dill is a classic variety known for its flavorful leaves and seeds. It’s a compact plant that’s ideal for smaller gardens or containers. This variety is often considered the easiest to grow.
2. Fernleaf Dill

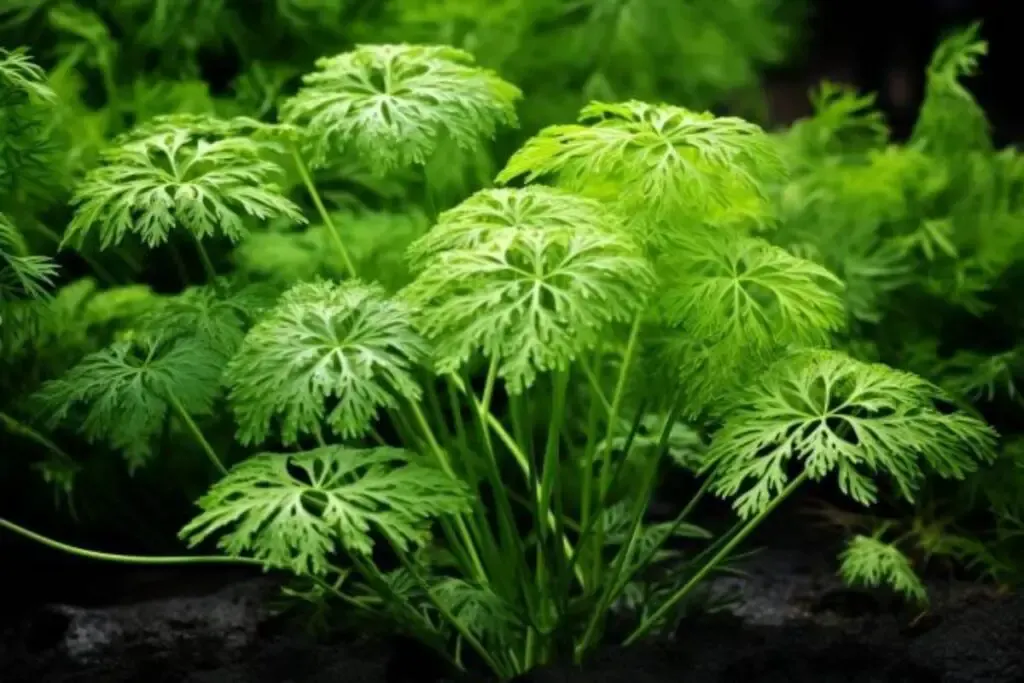
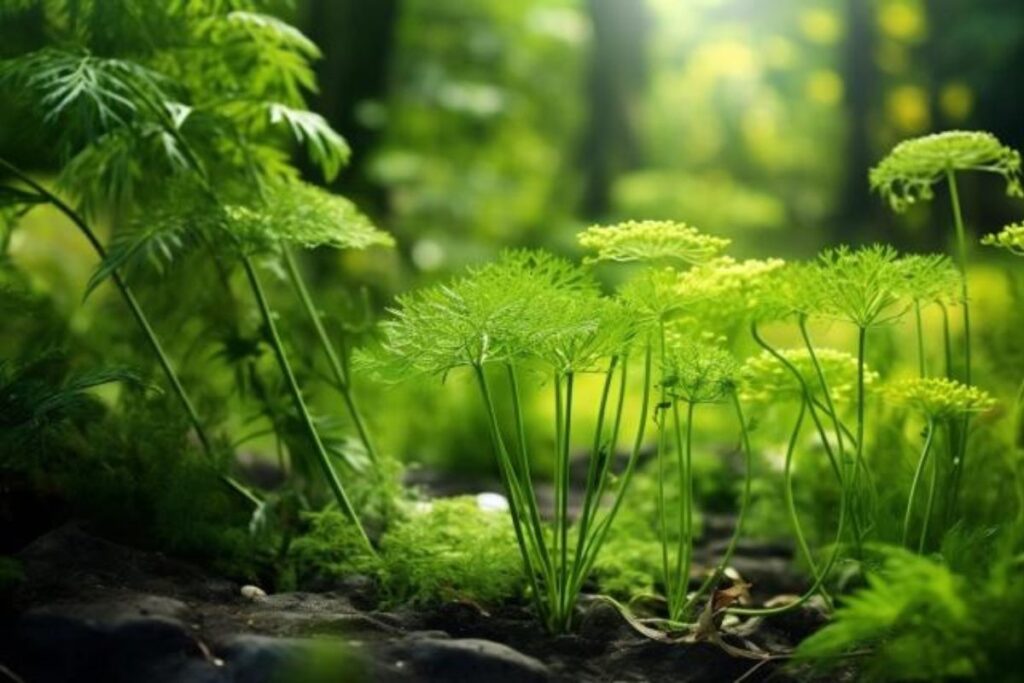
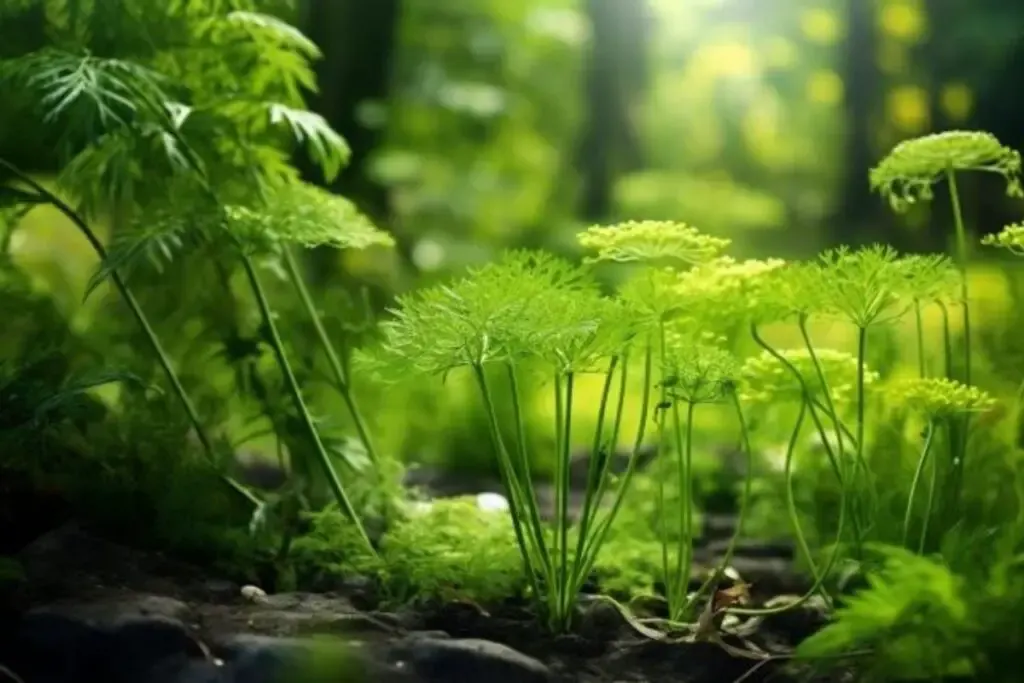
Fernleaf dill is a dwarf variety with delicate, fern-like foliage. It’s perfect for small spaces and can be grown in pots. Despite its compact size, it packs a punch of dill flavor.
3. Mammoth Dill
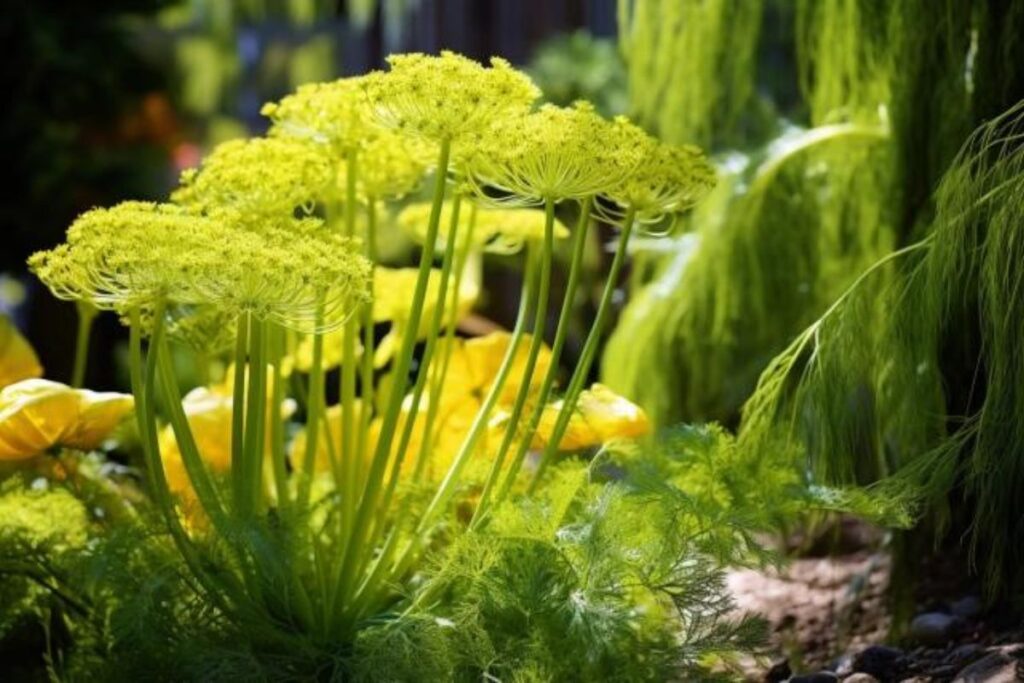

Mammoth dill lives up to its name with larger leaves and taller growth. It’s a prolific producer of dill fronds and seeds, making it an excellent choice if you use dill frequently in your kitchen.
Dill Care
Caring for your dill plants is crucial to ensure a bountiful harvest of those aromatic fronds and seeds.
In this section, we’ll cover various aspects of dill care, from planting to providing the right conditions for optimal growth.
Planting
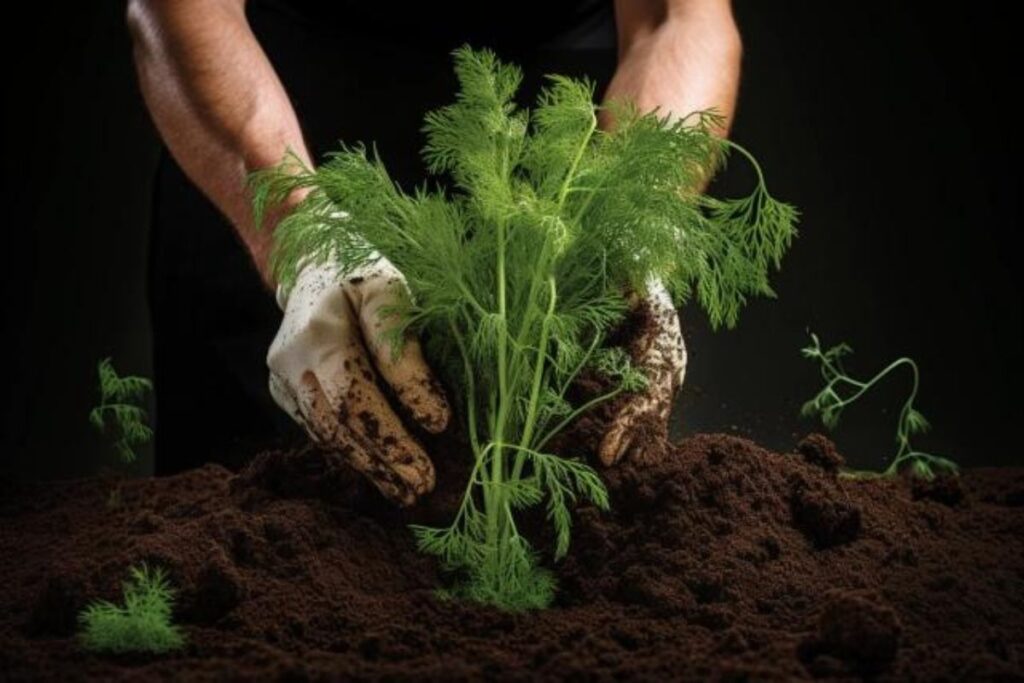

Proper planting is the first step in growing healthy dill. Here’s what you need to know:
- Select the Right Location: Choose a planting location that receives full sun, as dill thrives in bright, direct sunlight. Ensure the soil is well-draining.
- Soil Preparation: Dill prefers well-draining, loamy soil with a pH level between 5.5 and 6.5. You can amend the soil with organic matter to improve its fertility.
- Spacing: Plant dill seeds or seedlings 12 to 18 inches apart in rows or clusters. Providing adequate space allows for good air circulation and prevents overcrowding.
Light
Dill loves sunlight and requires plenty of it to grow vigorously. Here’s what you need to know about providing the right light conditions:
- Full Sun: Dill thrives in full sun, which means it should receive at least 6-8 hours of direct sunlight daily. Ensure it’s not shaded by other taller plants.
Soil
Well-prepared soil is crucial for healthy dill growth. Pay attention to soil quality:
- Well-Draining Soil: Dill dislikes waterlogged soil, so ensure it’s well-draining. Incorporating compost or organic matter can improve drainage.
- pH Level: Maintain the soil pH level in the slightly acidic to neutral range, around 6.0 to 6.5.
Water
Proper watering is vital to prevent issues like wilting and bolting in dill. Here are some watering tips:
- Consistent Moisture: Keep the soil consistently moist, but avoid overwatering, which can lead to root rot. Water dill plants deeply when the top inch of soil feels dry to the touch.
- Mulch: Applying a layer of organic mulch around dill plants helps retain soil moisture and regulate temperature.
Temperature and Humidity
Dill is sensitive to extreme heat and prefers moderate temperatures. Here’s what to consider:
- Temperature: Dill grows best in temperatures between 60°F and 75°F (15°C to 24°C). It may bolt (go to seed prematurely) in hot weather, so consider providing some shade during scorching summer days.
- Humidity: Dill is adaptable to various humidity levels and doesn’t require special attention regarding humidity.
Fertilizer
Feeding your dill plants with the right nutrients is essential for robust growth:
- Balanced Fertilizer: Use a balanced, slow-release fertilizer or a fertilizer high in nitrogen to promote leafy growth. Apply it according to the manufacturer’s recommendations, typically during planting and once during the growing season.
Harvesting Dill
Harvesting dill is a rewarding task that allows you to enjoy its fresh flavor in your culinary creations. Here’s how to do it:
- Timing: Begin harvesting dill when the fern-like foliage is lush and green, and the plant reaches a height of 18-24 inches (45-60 cm).
- Harvesting Leaves: Snip the individual leaves or fronds as needed for your recipes. Use scissors or garden shears to make clean cuts close to the stem.
- Harvesting Seeds: If you’re interested in dill seeds, allow the plant to produce flowers. When the flowers turn brown and the seeds mature, cut the seed heads and place them in a paper bag to dry. Shake the bag to release the seeds, which you can store for future use.
- Continuous Harvest: Dill is a cut-and-come-again herb, meaning you can harvest it continually throughout the growing season. Regular harvesting encourages the plant to produce more foliage.
Pruning
Pruning dill helps maintain its vigor and appearance:
- Deadheading: If you want to prolong the leaf production, consider removing the flower heads as they form. This prevents the plant from investing energy in seed production, allowing you to harvest more leaves.
Propagating
Propagating dill is relatively straightforward and can be done through the following methods:
- Allowing Self-Seeding: Dill is known for self-seeding. If you let some of your dill plants go to seed, they may produce volunteer seedlings in the following growing season. Simply thin and transplant these seedlings as needed.
- Collecting Seeds: You can also collect dill seeds from mature plants and store them for planting in the next season.
How to Grow Dill From Seed
Growing dill from seed is a straightforward process:
- Seed Selection: Choose high-quality dill seeds from a reputable source. Dill seeds are readily available at garden centers and online.
- Direct Sowing: Dill is best sown directly in the garden. Plant seeds about ¼ inch deep and 18 inches apart in rows or clusters.
- Thinning: Once the seedlings emerge, thin them to a spacing of 12-18 inches apart to allow for proper growth.
- Care: Provide the necessary care as mentioned in the previous sections, including sunlight, well-draining soil, adequate water, and occasional fertilization.
Growing in Pots

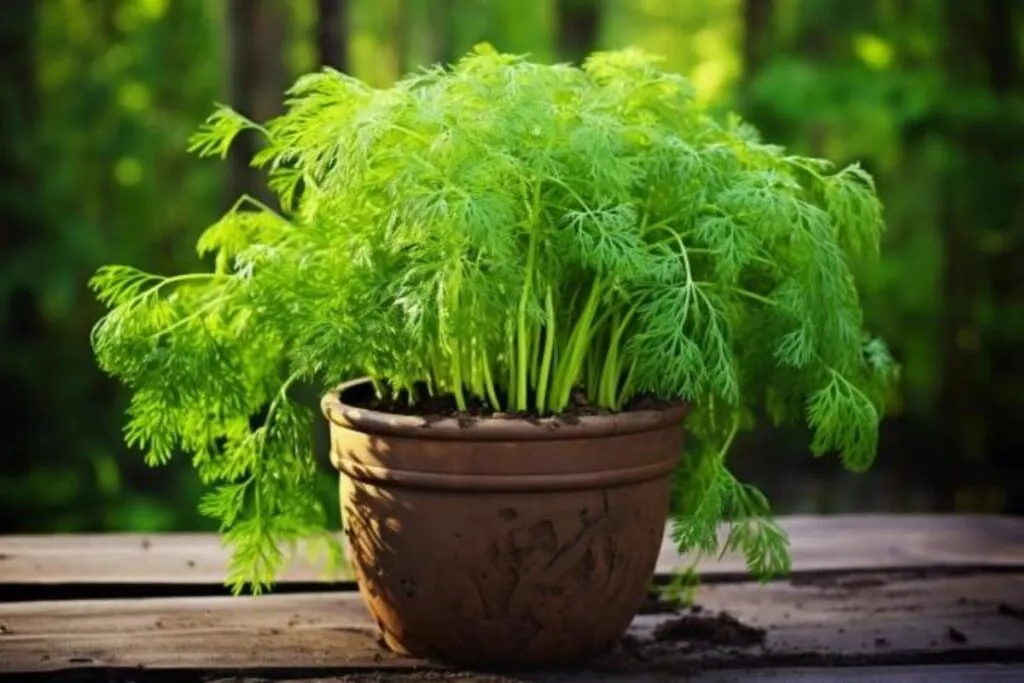
If you have limited garden space or prefer container gardening, you can successfully grow dill in pots:
- Container Selection: Choose a deep container with a capacity of at least 5 gallons for each dill plant. Ensure the container has good drainage.
- Potting Mix: Use a high-quality potting mix enriched with organic matter for optimal growth.
- Planting: Plant dill seeds or seedlings in the container, following the recommended spacing. Place the container in a sunny location.
- Water and Fertilize: Container-grown dill may require more frequent watering and light fertilization. Keep the soil consistently moist but not waterlogged.
Overwintering
Dill is an annual herb, which means it completes its life cycle in one growing season. However, it’s relatively easy to encourage dill to self-seed and return in subsequent years, effectively “overwintering” in your garden:
- Allow Self-Seeding: As dill plants reach the end of their life cycle and produce seeds, allow some of these seeds to fall to the ground naturally. Dill is known for self-seeding, and these seeds may sprout in the following growing season.
- Mulch: In regions with mild winters, you can apply a layer of mulch around dill plants to protect the soil and any self-sown seedlings. This can help insulate the seeds and prevent them from freezing.
- Container Gardening: If you’re growing dill in pots, consider bringing the container indoors during the winter months, especially if you have harsh winters in your area. Place it near a sunny window, and your dill may continue to grow indoors.
Transplanting
Transplanting dill seedlings can be done to expand your herb garden or to move them to a more suitable location:
- Timing: Dill seedlings can be transplanted when they are 3-4 weeks old and have at least two sets of true leaves. Ensure the threat of frost has passed.
- Transplanting Depth: When transplanting, make a hole in the soil that is slightly larger than the root ball of the seedling. Place the seedling in the hole, ensuring it’s at the same depth as it was in its previous container or location.
- Watering: Water the transplants immediately after planting to help them settle into their new home.
Common Pests & Diseases
While dill is generally a hardy and resilient herb, it can still encounter some common pests and diseases:
- Aphids: Aphids are small insects that may infest dill plants, causing damage to the foliage. You can dislodge them with a strong spray of water or use insecticidal soap if necessary.
- Caterpillars: Some caterpillar species may feed on dill leaves. Handpick caterpillars or use natural predators like ladybugs to control them.
- Powdery Mildew: Powdery mildew can affect dill, causing a white, powdery growth on the leaves. Improve air circulation, avoid overhead watering, and use fungicides if necessary.
- Leaf Spot: Leaf spot can cause dark spots on dill leaves. Remove and destroy affected leaves, and apply fungicides if the issue persists.
In your journey of growing and caring for dill, occasional encounters with pests and diseases are a natural part of gardening.
With vigilance and proper care, you can overcome these challenges and enjoy the satisfaction of harvesting your own homegrown dill.
Whether you’re snipping fresh fronds for your culinary creations or enjoying the vibrant greenery in your outdoor space, dill brings a touch of freshness and flavor to your gardening experience.
Happy gardening!