
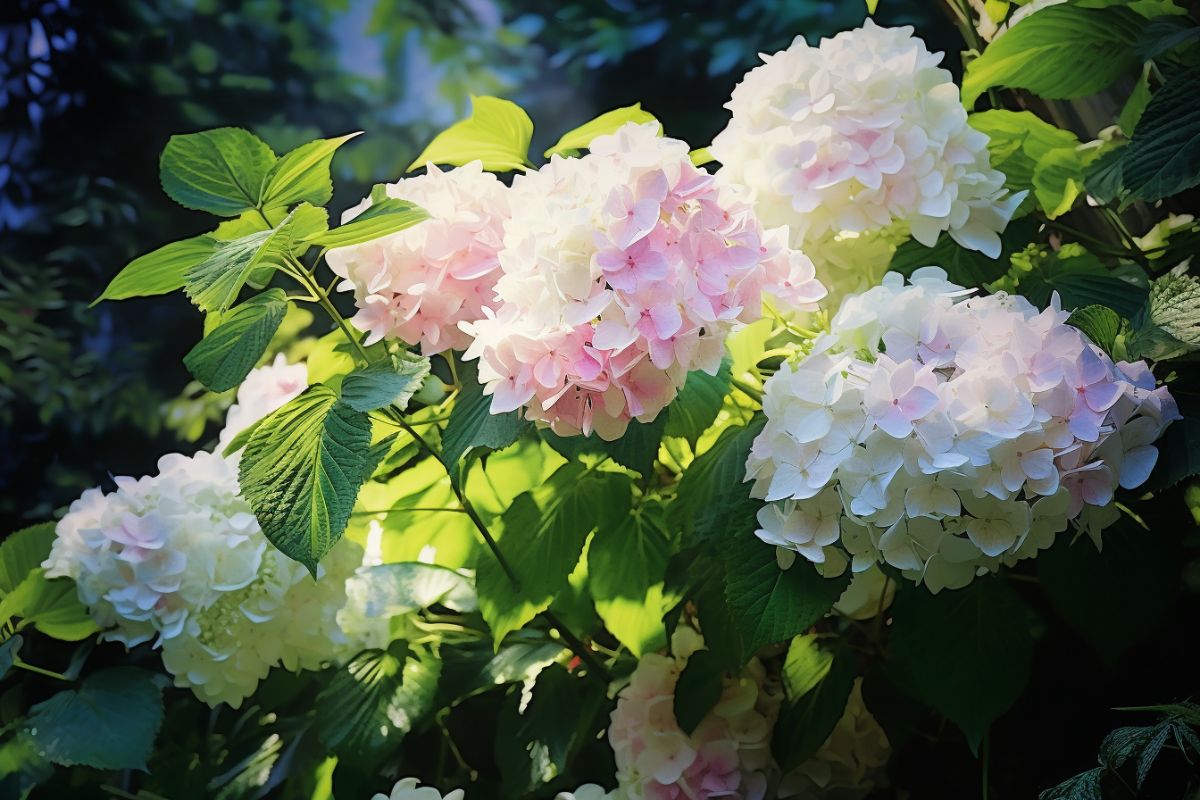
Hydrangeas have long been a darling of many gardens. Their large, vibrant blooms and versatile nature have captured the hearts of novice and experienced gardeners alike.
As someone who has spent countless hours tending to these beauties and being rewarded with spectacular floral displays, I’ve come to deeply appreciate what they bring to a garden. If you’re thinking of adding hydrangeas to your garden, or simply wish to know more about their care, you’ve come to the right place.
Benefits of Growing Hydrangeas

Hydrangeas aren’t just another pretty face in the garden; they come packed with a host of advantages. Here are my top three reasons to make some space for them in your yard:
1. Extended Blooming Season
One of the most delightful aspects of hydrangeas is their prolonged blooming time. While many flowers have a brief moment in the sun, hydrangeas can grace your garden with their presence from late spring to fall, ensuring you have a colorful spectacle for a good part of the year.
2. Low Maintenance
For plants that offer such spectacular blooms, hydrangeas are surprisingly low fuss. Given the right conditions and a bit of basic care, they’ll thrive and flourish. So, if you’re someone who loves a showstopper without the associated hard work, hydrangeas are the way to go.
3. Versatility in Color and Form
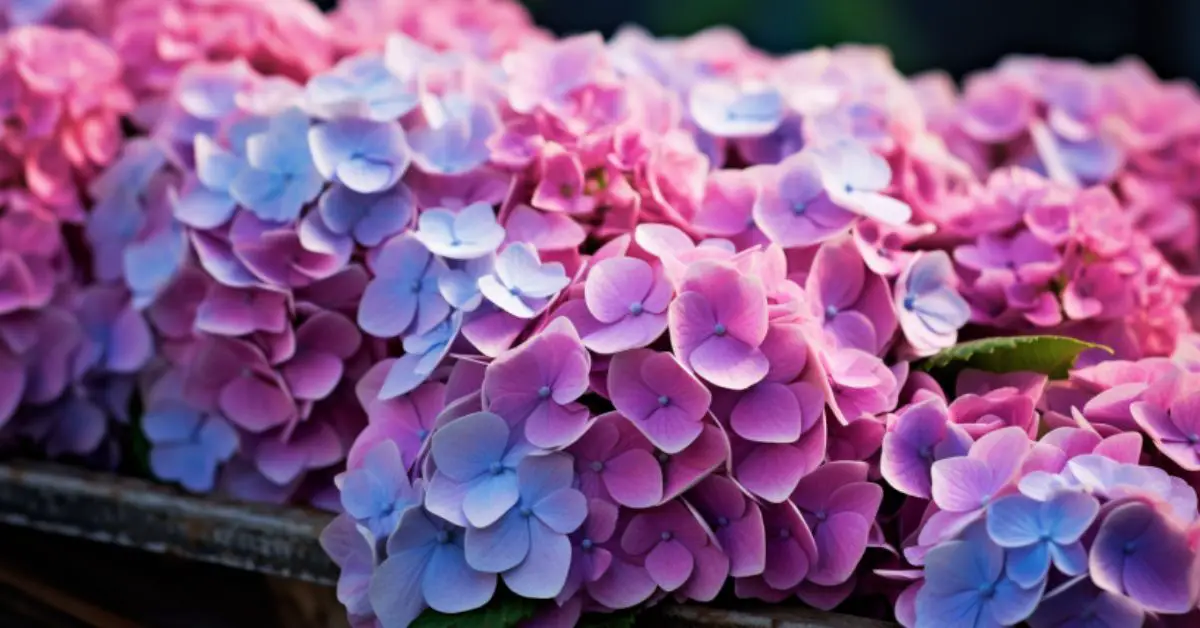
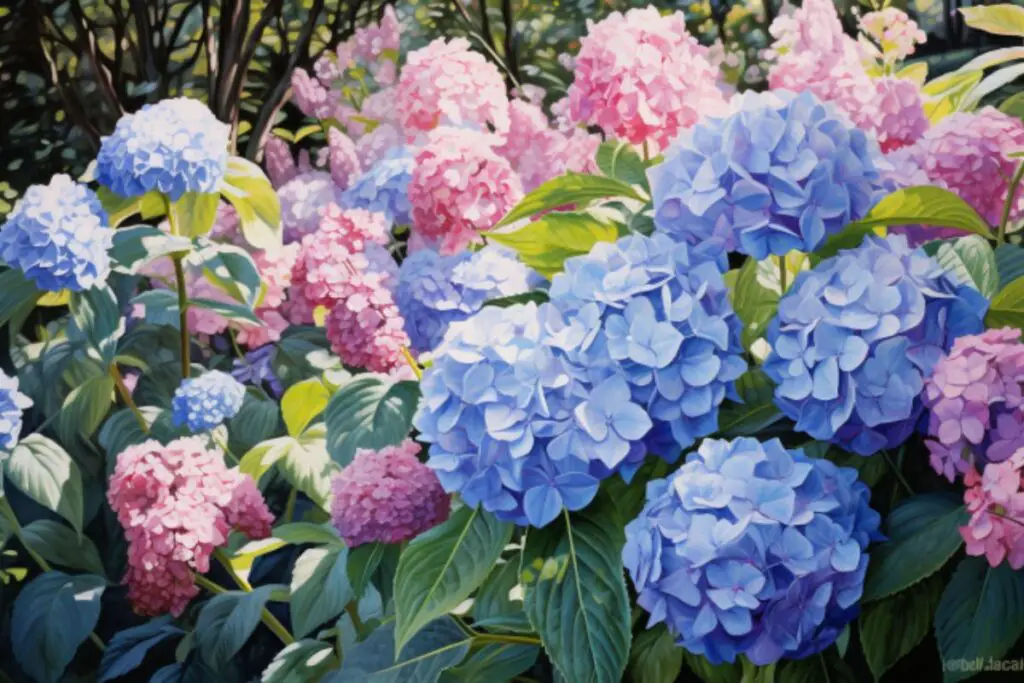
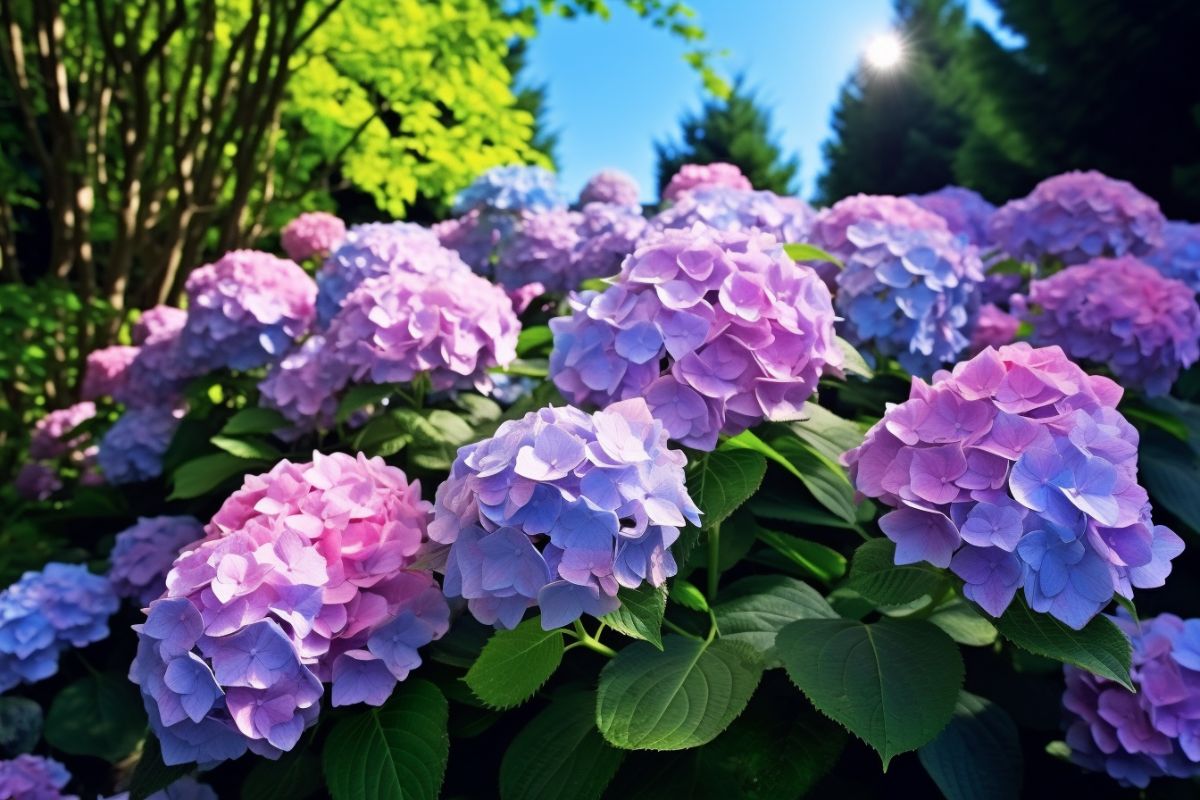
Here’s a fun fact – the color of your hydrangea blooms can change based on the pH of the soil. Acidic soils can give you beautiful blue flowers, while alkaline soils tend towards pink. This unique trait allows for a dynamic garden, and for those who enjoy experimenting, hydrangeas offer endless fun.
My Favorite Hydrangeas Varieties
Over the years, I’ve had the pleasure of growing numerous hydrangea varieties, each with its unique charm. However, if I had to narrow it down, here are my top three favorites:
1. ‘Annabelle’ (Hydrangea arborescens ‘Annabelle’)

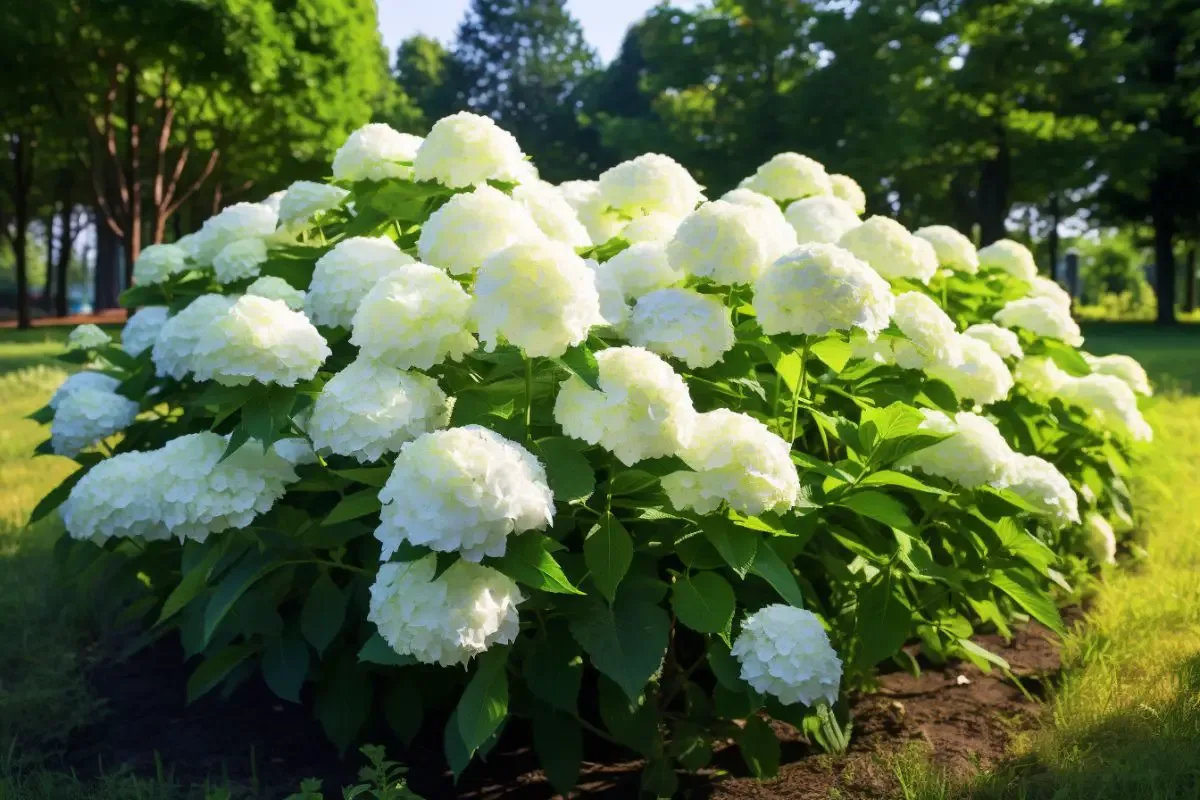
This is a classic, and for good reason. ‘Annabelle’ features stunning white, ball-shaped blooms that can grow up to 10 inches in diameter. These flowers have a timeless elegance and can brighten up any garden or bouquet.
2. ‘Endless Summer’ (Hydrangea macrophylla ‘Endless Summer’)

True to its name, this variety boasts a long blooming season, offering beautiful blue or pink blooms (depending on your soil pH). What I particularly love about ‘Endless Summer’ is its resilience. Even if a late spring frost comes along, you can expect this plant to bounce back and bloom.
3. ‘PeeGee’ (Hydrangea paniculata ‘Grandiflora’)

This is a more tree-like hydrangea, often growing into a small tree shape with time. ‘PeeGee’ offers cone-shaped flower clusters, which start off white and gradually take on a pinkish hue as they age. It’s a true marvel to watch the color transformation through the season.
Hydrangea Care
When it comes to hydrangeas, a bit of love and care can go a long way. Ensuring the right conditions and proper maintenance will keep your hydrangeas blooming season after season. Let’s dive into some care essentials to keep your plants thriving.
Planting
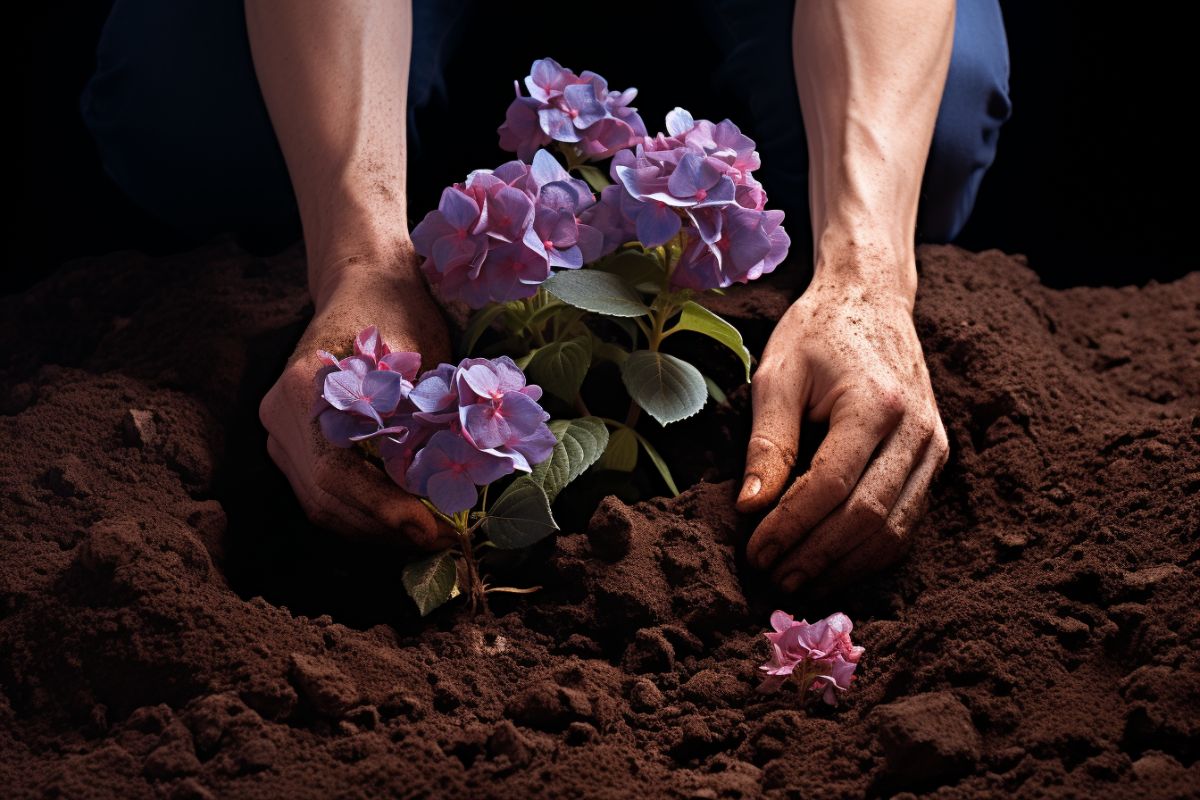
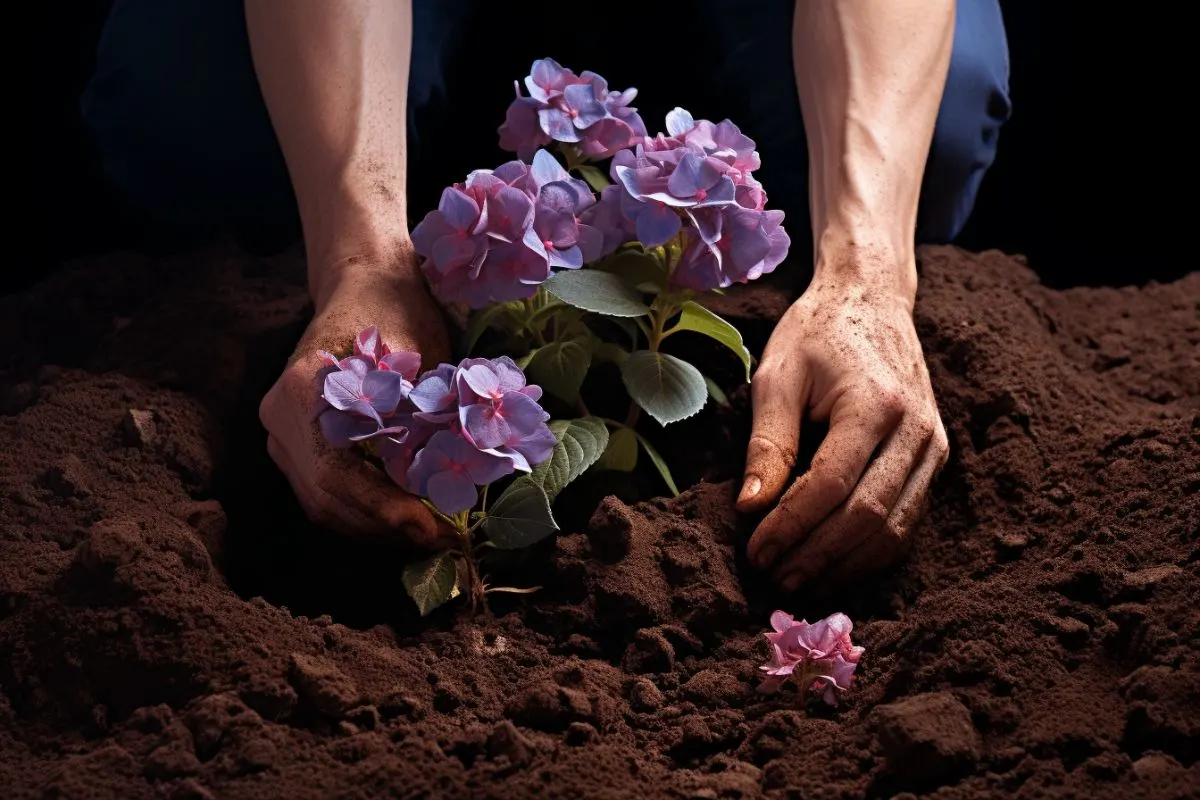
The foundation of a healthy hydrangea begins with its planting. Here are some steps to ensure your hydrangea gets off to a great start:
- Timing: The best time to plant hydrangeas is in the early spring or late fall when the plant is dormant. This allows it to establish roots before the main growth phase.
- Location: Choose a location that gets morning sun and afternoon shade. While some varieties can tolerate more sun, generally speaking, hydrangeas appreciate a bit of respite from the intense afternoon rays.
- Spacing: Give your hydrangeas ample space to grow. For most varieties, spacing them 3 to 10 feet apart is ideal. This ensures adequate air circulation, which is essential to prevent fungal diseases.
Light
Hydrangeas are versatile when it comes to light conditions. However, a general rule of thumb is:
- Morning Sun: A location that gets morning sunlight and dappled afternoon shade works best for most hydrangeas. The morning sun kickstarts their metabolic processes, while the afternoon shade prevents them from getting scorched.
Soil
The soil can greatly influence the health and color of your hydrangeas:
- pH Level: As mentioned earlier, the pH of your soil can alter the color of some hydrangea varieties. For blue flowers, aim for acidic soil (pH 5.5 and lower). For pink flowers, you’ll want more alkaline conditions (pH 6.5 and higher).
- Drainage: Hydrangeas prefer well-draining soil. Waterlogged roots can lead to root rot. If your soil is heavy clay, consider amending it with compost or organic matter to improve drainage.
Water
Proper hydration is key for lush hydrangea blooms:
- Frequency: Water your hydrangeas deeply once or twice a week, ensuring the soil remains consistently moist. In particularly hot or dry conditions, you might need to water more often.
- Method: Use a soaker hose or a watering can to water at the base of the plant, keeping the foliage dry. This helps prevent fungal diseases.
Temperature and Humidity
Hydrangeas are fairly adaptable, but here are some considerations:
- Temperature: Hydrangeas prefer temperate climates, with temperatures between 60°F to 80°F being ideal. However, they can tolerate occasional temperature spikes or drops.
- Humidity: While hydrangeas enjoy some humidity, ensure good air circulation to prevent excessive moisture, which can lead to fungal issues.
Fertilizer
Nourishing your hydrangeas ensures vibrant blooms:
- Frequency: Fertilize your hydrangeas once in the early spring and then again in mid-summer. Avoid fertilizing in late summer as this can lead to tender new growth that might be damaged by early frosts.
- Type: Use a balanced slow-release fertilizer. If you’re aiming for blue blooms, consider a fertilizer that’s high in potassium and has some aluminum sulfate.
Pruning
Pruning can seem like a daunting task for many gardeners, especially with a beloved plant like the hydrangea. But with the right approach, it can promote healthy growth and abundant flowering. Here’s how I like to approach it:
- Why Prune: Pruning helps in removing dead or old wood, allowing new growth to flourish. It can also shape your plant, maintaining a desired size or form.
- When to Prune: The best time to prune depends on the variety. Bigleaf and oakleaf hydrangeas are best pruned shortly after flowering, as they bloom on old wood. However, paniculata and smooth hydrangeas, which bloom on new wood, should be pruned in late winter or early spring.
- How to Prune: Use sharp, clean pruning shears. Remove any dead or weak stems from the base. If you’re looking to maintain size, trim back the plant by about a third, cutting above a set of large buds.
Propagating
Hydrangeas can be a gift that keeps on giving. Propagation allows you to create new plants from your existing ones:
- Cuttings: This is the most common method. In the summer, take a cutting of a non-flowering stem. Ensure it has 2-3 sets of leaves, and cut just below a leaf node. Remove the bottom set of leaves and dip the stem into the rooting hormone. Plant it in potting soil and keep it moist. In a few weeks, roots should form.
- Layering: Bend a low-hanging branch down to the ground and cover a section of it with soil. This buried section will grow roots over time. Once rooted, you can sever it from the parent plant and transplant it.
How to Grow Hydrangeas From Seed
While not as common as other propagation methods, hydrangeas can be grown from seeds:
- Collecting Seeds: After flowers have bloomed and faded, seed pods will form. Once these pods are dry, you can collect the seeds.
- Planting: In early spring, sow seeds in a seed tray filled with a mix of compost and perlite. Lightly cover with soil and mist to keep it moist.
- Germination: Place the tray in a warm, light spot. Seeds should begin to germinate in a few weeks. Once seedlings are large enough to handle, transplant them into individual pots.
Growing in Pots
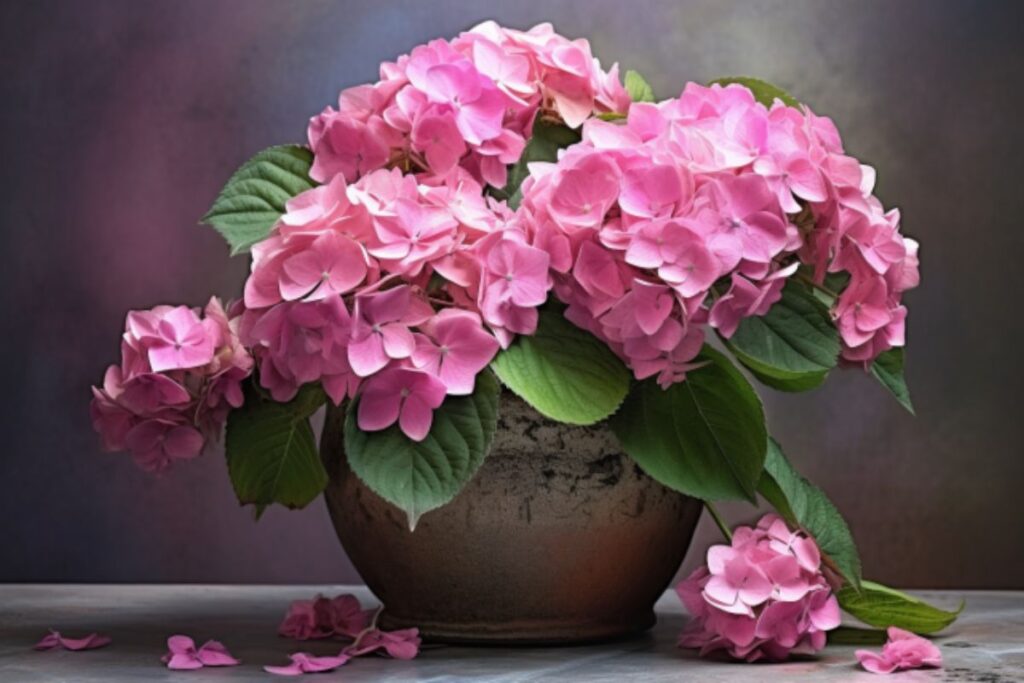
If you’re limited on garden space or just love the flexibility of container gardening, hydrangeas can thrive in pots:
- Choosing a Pot: Ensure your pot is large enough for your hydrangea’s growth. It should also have good drainage to prevent waterlogging.
- Soil: Use a high-quality potting mix. Ensure it’s well-draining.
- Watering: Potted plants generally require more frequent watering than their in-ground counterparts. Ensure the soil remains moist but not soggy.
- Winter Care: In colder regions, protect potted hydrangeas in the winter. Their roots are more exposed to cold in pots than in the ground. Consider wrapping the pot in burlap or moving it to a sheltered location.
Container gardening offers the advantage of moving your hydrangeas around, so you can always place them in the best spot depending on the season or your aesthetic preferences.
Overwintering
Winter can be a challenging time for garden plants, and hydrangeas are no exception. While some varieties are more cold-hardy than others, it’s always a good idea to give them a little extra care to ensure they come back even stronger in the spring.
- Mulching: This is my go-to winter protection method. Apply a thick layer of mulch (around 4-6 inches) around the base of the plant. This helps retain soil moisture and protects the roots from frost.
- Water: Before the first frost, give your hydrangeas a deep watering. This ensures that they enter winter well-hydrated.
- Protective Coverings: In particularly cold regions or for more delicate varieties, consider using burlap or frost cloths to wrap around your hydrangeas. This gives them an added layer of protection against harsh winter winds and frosts.
Transplanting
Sometimes, whether due to a garden redesign or a hydrangea outgrowing its spot, you’ll need to transplant. It might sound tricky, but with a bit of care, it’s straightforward:
- When to Transplant: Early spring or late fall is ideal, during the plant’s dormant period.
- Prep the New Spot: Dig a hole about twice the width of the hydrangea’s root ball. Mix in some compost to enrich the soil.
- Uprooting: Dig around the hydrangea, taking as much of the root ball as possible. Lift gently from the base.
- Replanting: Place the hydrangea in its new hole, ensuring it’s at the same depth as before. Fill with soil, water well, and mulch around the base.
Common Pests & Diseases
Even with meticulous care, hydrangeas can sometimes face issues. Here’s what to look out for and some tips on managing them:
- Aphids: These tiny pests suck sap from the plant, weakening it. They also excrete a sticky substance that can lead to mold. A strong jet of water or insecticidal soap can help keep them at bay.
- Powdery Mildew: This is a white, powdery fungus that can appear on leaves. Ensure good air circulation around your hydrangeas, and if needed, use a fungicide.
- Mites: These can cause leaf discoloration. They’re best dealt with using insecticidal soaps or neem oil.
- Rust: This is a fungal disease causing orange spots on the underside of leaves. Remove affected leaves and ensure you’re not overwatering.
Remember, the best defense against pests and diseases is a healthy plant. Regular care, timely watering, and ensuring good air circulation will go a long way in keeping your hydrangeas blooming beautifully.
Gardening, as I always say, is a journey, not a destination. Every challenge faced is an opportunity to learn and grow. And with each season, you’ll find that the bond you share with your garden deepens. Happy gardening!
