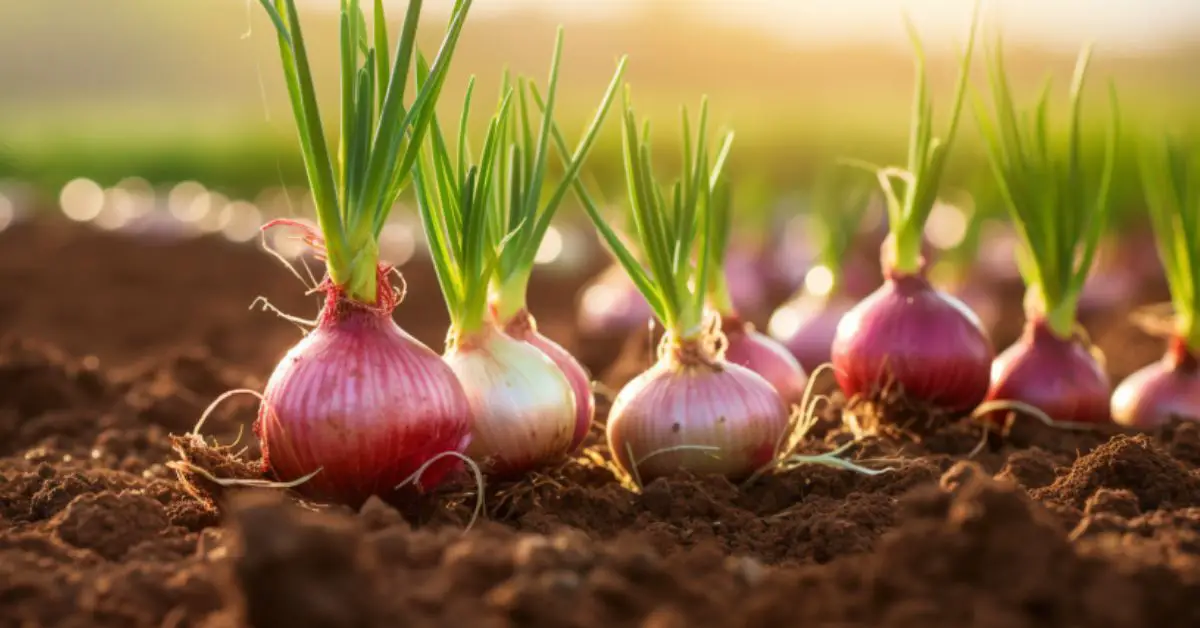

Onions are a staple in many kitchens worldwide. They’re the base of countless dishes, offering a unique combination of flavors ranging from sweet to tangy to pungent. But have you ever considered growing your own onions?
There’s something incredibly satisfying about harvesting fresh onions from your garden and using them in your favorite recipes. In this article, I’ll share some of the benefits of growing your own onions and introduce you to a few of my favorite varieties. Let’s dive in!
Benefits of Growing Onions

1. Freshness and Flavor
There’s a significant difference in taste between fresh onions from your garden and store-bought ones. When you grow your own, you’re guaranteed onions at their peak of flavor. The crispness, sweetness, and overall depth of flavor are incomparable.
Whenever I cook with my homegrown onions, I often receive compliments on how vibrant and tasty my dishes are.
2. Cost-Effective
Onions can be a bit pricey, especially if you’re purchasing organic or specialty varieties. Growing your own can save you quite a bit in the long run. Plus, with proper storage, you can enjoy your onion harvest for months. It’s a win-win: save money and savor delicious, fresh onions.
3. Therapeutic Gardening
There’s something therapeutic about tending to a garden. It’s a break from our busy lives, a chance to connect with nature, and the sheer joy of watching something grow from a tiny seed to a full-grown vegetable is rewarding.
For me, gardening has always been a meditative escape, and onions are among my favorite plants to nurture.
My Favorite Onion Varieties
1. Walla Walla Sweet
Hailing from Walla Walla, Washington, these onions are a gardener’s dream. They’re juicy, sweet, and perfect for salads or grilling. I’ve grown Walla Walla Sweets for years, and they’ve never disappointed.
They’re large, round, and have a delightful light yellow skin. When I bite into one, it’s almost like tasting a piece of garden candy!
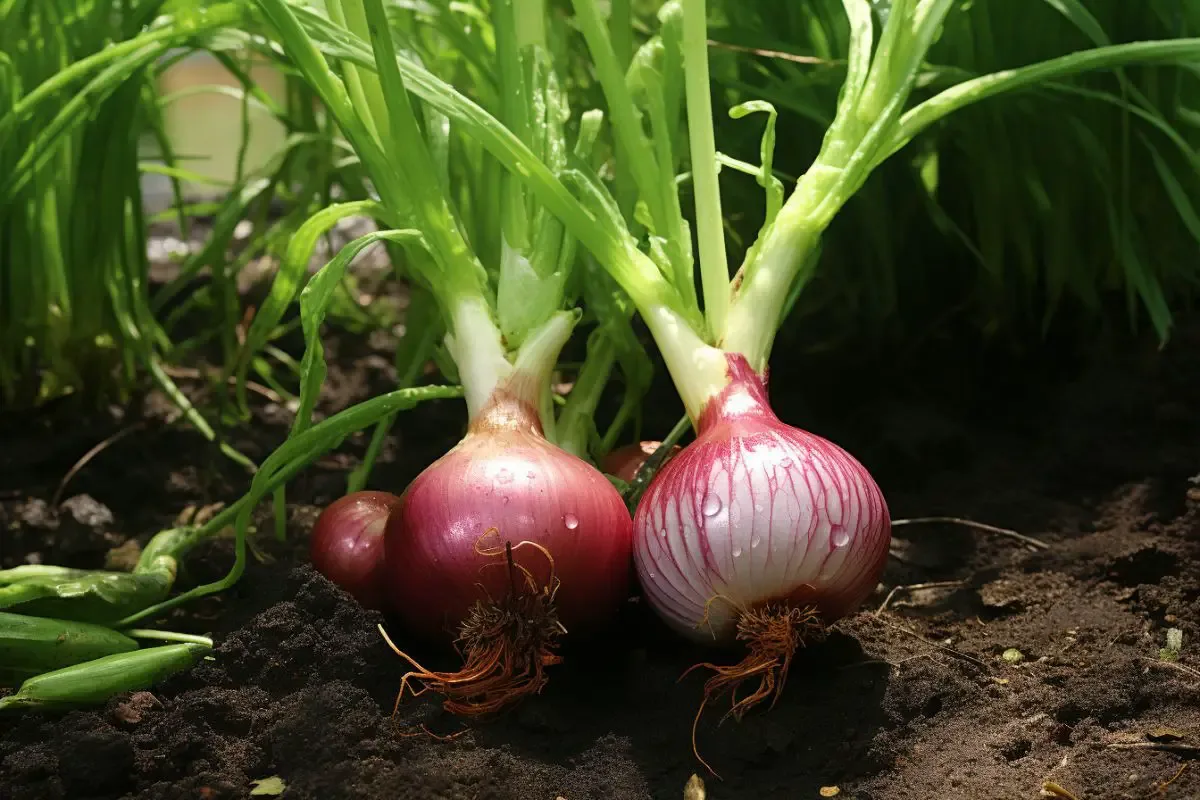
2. Bermuda Red
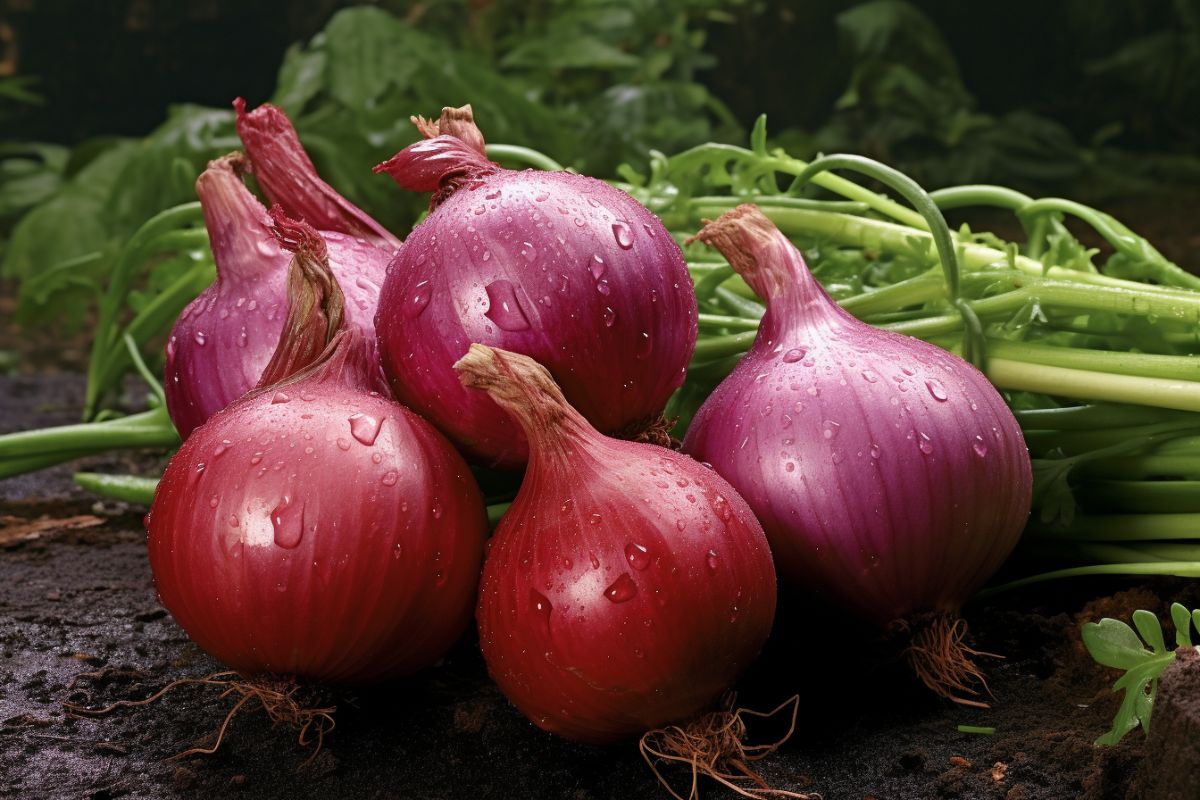

These onions are vibrant purplish-red, adding a splash of color to your garden and dishes. They have a mild flavor which makes them versatile for cooking. Bermuda Reds are especially great for adding a pop of color to salads or as a beautiful garnish. I’m personally a big fan of their slight sweetness when caramelized.
3. Yellow Spanish
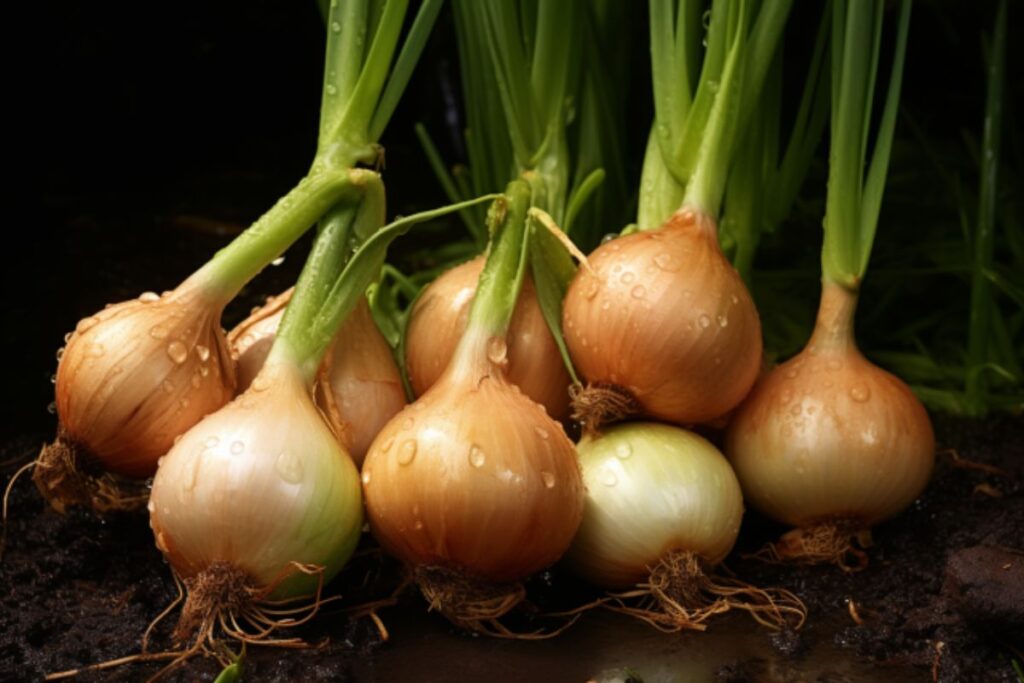

If you’re looking for a reliable, all-purpose onion, the Yellow Spanish is for you. They’re slightly pungent but become sweeter when cooked. Their round, uniform shape and rich golden color make them a favorite for many dishes. I often use them for my homemade soups, stews, and roasts.
Onion Care
Onions, though relatively easy to grow, do require specific conditions to thrive and produce the best bulbs. Whether you’re a seasoned gardener or a newbie, understanding the essential care elements for onions will ensure a bountiful harvest. Let’s delve into the nuances of onion care.
Planting

Onions can be grown from seeds, sets (small immature bulbs), or transplants. Here’s a quick guide based on my experiences:
- Seeds: Start seeds indoors about 6-8 weeks before the last expected frost. This gives them a head start. Once the seedlings are several inches tall and the outside temperatures are favorable, they can be transplanted into the garden.
- Sets: These are perfect for gardeners who might have missed the window for starting seeds indoors. Simply plant them pointy end up, about 1-2 inches deep and 4-5 inches apart.
- Transplants: If you purchase onion transplants, plant them 1 inch deep and 4-6 inches apart. They’re a great option if you want to skip the seed-starting process.
Light
Onions are full-sun lovers. They require at least 6-7 hours of direct sunlight daily. Ensure that the chosen spot in your garden gets ample sunlight. If you’re growing them in containers, be ready to move the containers around to chase the sun. My onion patches always thrive when they soak up those sun rays!
Soil
The ideal soil for onions is well-draining and slightly sandy. Onions are bulbous plants, and they’ll rot if they sit in wet soil for extended periods. Before planting, I always work in some compost or aged manure to enrich the soil.
A pH level of 6.2 to 6.8 has given me the best results. It’s a good idea to get a soil test if you’re unsure about your garden’s pH level.
Water
Onions have shallow roots, so regular watering is essential. They prefer a consistent amount of moisture. I water my onions deeply once a week, ensuring the soil stays moist but not soggy. In particularly hot and dry spells, you might need to water more frequently.
Temperature and Humidity
Onions are cool-season crops, meaning they prefer cooler temperatures, especially at the start. Seedlings can tolerate temperatures as low as 20°F. However, as they grow, onions prefer temperatures between 55°F to 75°F.
Onions can tolerate a range of humidity levels, but it’s crucial to ensure they’re watered appropriately in high humidity to prevent fungal diseases.
Fertilizer
Onions are heavy feeders, and nutrient-rich soil will guarantee a healthy harvest. I typically mix in a balanced, slow-release fertilizer at planting time and then side-dress with a nitrogen-rich fertilizer every few weeks until the bulbs start to form. From there, I stopped fertilizing to allow the bulbs to mature.
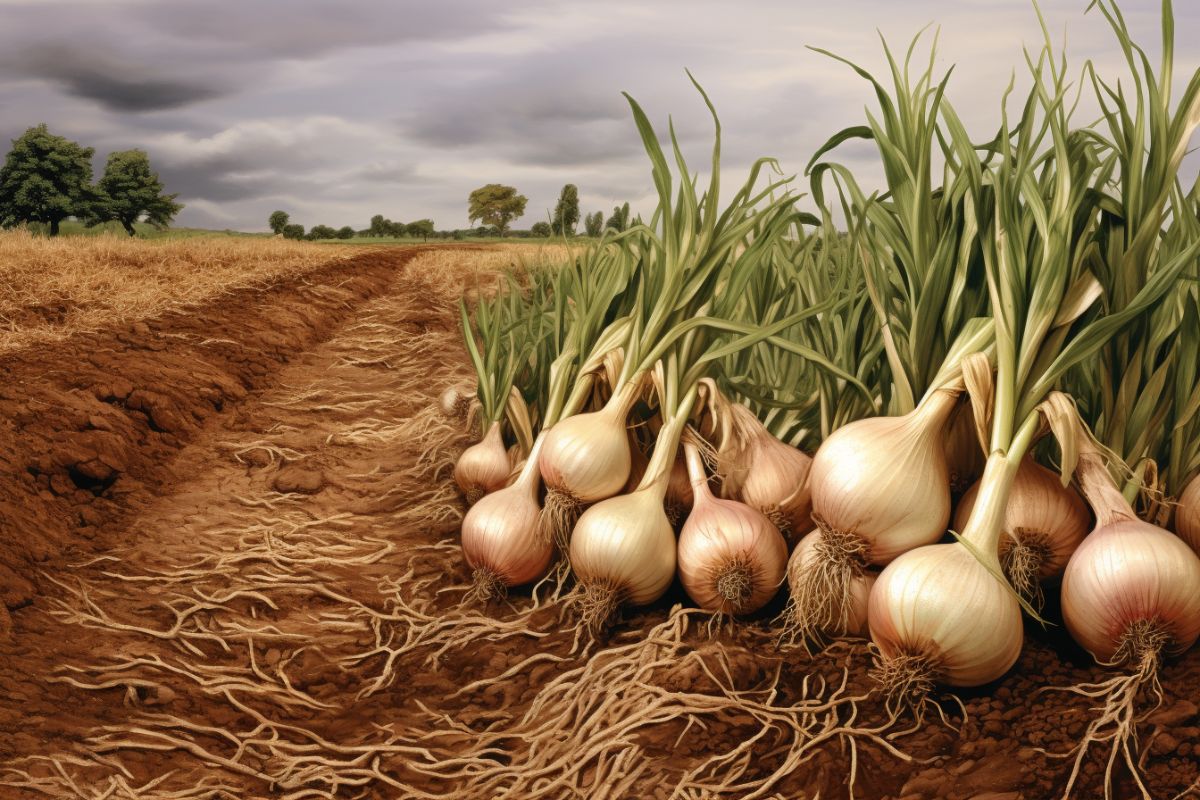
Harvesting Onions
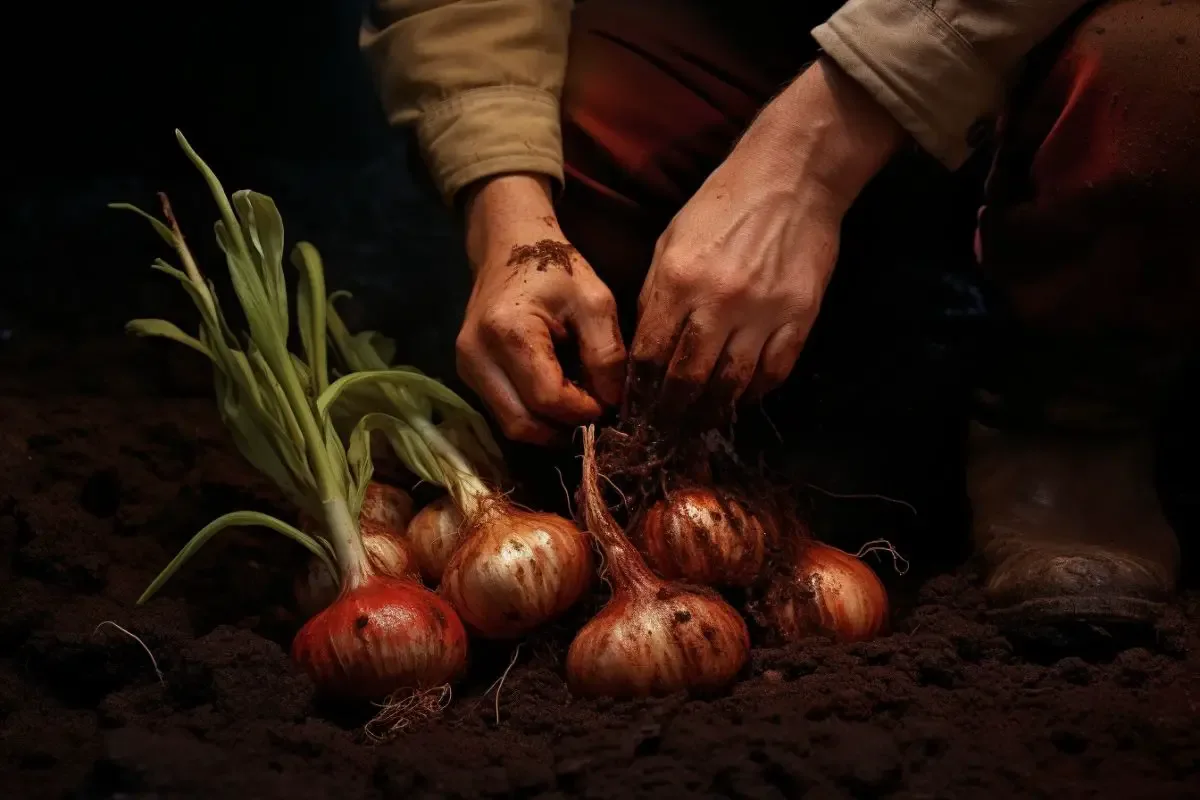
Ah, the moment we’ve all been waiting for harvest time! It’s always so satisfying to see the fruits (or in this case, bulbs) of your labor. Here’s how I determine the perfect time to harvest:
- Look at the Tops: When about half of the onion tops have fallen over, it’s typically a good sign that they’re ready.
- Weather Conditions: Try to choose a dry day for harvesting. Gently pull or dig the onions out of the ground.
- Drying: Lay them out in a well-ventilated, shady spot for a few days to let them dry. This step is crucial as it helps in increasing their storage life.
- Storing: Once dried, trim the tops leaving about an inch, and store in a cool, dry place. Mesh bags or braided strings work well for this purpose.
Pruning
Pruning, in the context of onion care, is more about removing any unnecessary parts of the plant that might be draining its energy. Here’s what you should know:
- Removing Flower Stalks: Occasionally, onions might start to bolt, which means they begin to produce a flower stalk. While the flowers can be pretty, allowing them to grow takes energy away from the bulb. As soon as you notice a flower stalk, snap or cut it off. This ensures that the plant’s energy goes back to growing a robust onion bulb.
- Trimming Damaged Leaves: If you notice any leaves that are damaged or diseased, it’s best to trim them off. This not only helps the onion plant look tidier but also prevents the potential spread of disease.
Propagating
Propagating onions can be a simple and efficient process, especially when using the method of dividing bulb clusters. This method is my go-to and has consistently yielded great results in my garden. Let me guide you through it.
- When to Divide: The best time to divide these clusters is at the end of the growing season. This is when the bulbs are dormant and ready for the next phase of growth.
- How to Divide: Carefully dig around the cluster to avoid damaging the bulbs. Gently pull apart the bulbs, making sure each division has some root structure attached.
- Replanting: Replant these individual bulbs at the same depth they were growing before, spacing them out to give each one enough room to grow.
How to Grow Onions From Seed
Growing onions from seed can be a bit more challenging than using sets or transplants, but it’s extremely rewarding. Let me walk you through the process.
- Timing: Begin by starting your seeds indoors about 6-8 weeks before your last expected frost date.
- Soil and Containers: Use a high-quality seed starting mix in shallow trays or pots.
- Planting: Sow the seeds about ¼ inch deep, covering them lightly with soil. Keep the soil moist but not waterlogged.
- Lighting: I use grow lights to ensure my seedlings get enough light. If you’re using natural light, place them near a sunny window.
- Temperature: Keep the seedlings in a warm area, around 65-70°F. Consistent temperature is key for germination.
Growing in Pots
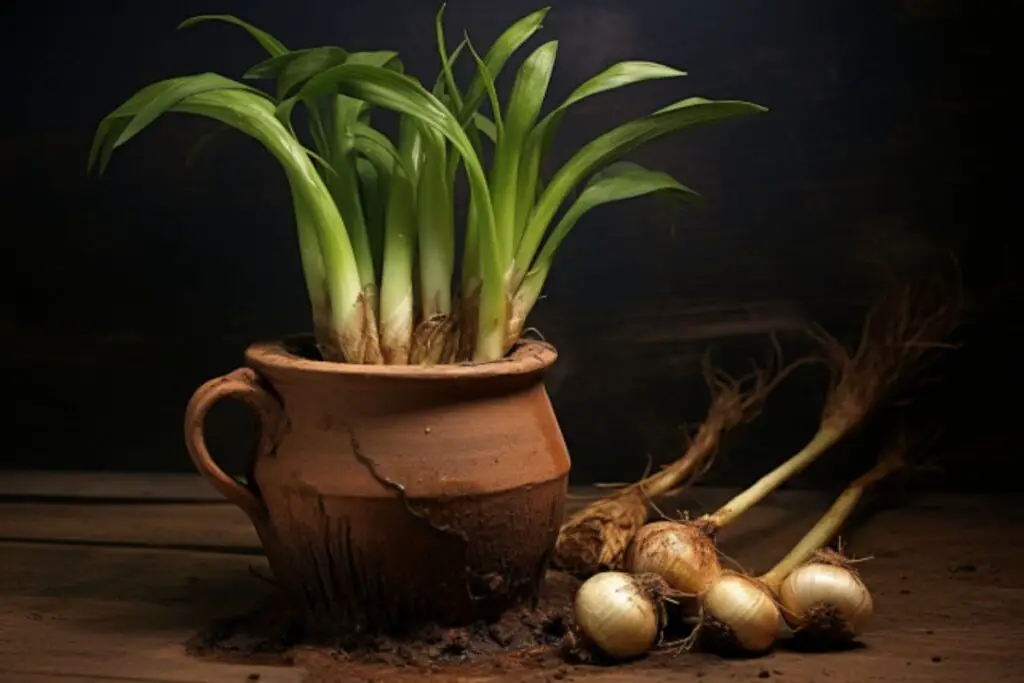

Growing onions in pots is a fantastic option for those with limited garden space or who prefer container gardening. It’s a process I’ve embraced over the years, finding it both convenient and rewarding. Let me share some key pointers to help you succeed in growing onions in containers.
- Container Size: Choose a pot that’s at least 10-12 inches deep. Ensure it has good drainage holes.
- Potting Mix: Use a well-draining potting mix. Mix in some compost for added nutrients.
- Planting: Whether you’re using sets, transplants, or direct seeding, ensure there’s adequate spacing between each onion.
- Care: Just like garden-grown onions, ensure they get ample sunlight, and consistent water, and feed them with a balanced fertilizer.
Overwintering
Overwintering onions means planting in the fall and harvesting the following summer. This method allows onions to have a head start and produce larger bulbs. Here’s how you can master the art of overwintering:
- Choosing the Right Variety: Not all onions are suitable for overwintering. It’s essential to pick varieties labeled as ‘winter-hardy’ or ‘overwintering’ varieties.
- Planting Time: Plant your onions in late summer to early fall, allowing them about 4-6 weeks of growth before the first hard frost.
- Mulching: As the colder months approach, mulch the onion bed with straw or leaves to provide protection against freezing temperatures.
- Spring Care: Once the risk of severe frost has passed in the spring, remove the mulch to allow the onions to resume growing. Water and feed them as you would with spring-planted onions.
Transplanting
Transplanting can seem daunting, but with a little care, your onions will thrive:
- When to Transplant: Onion seedlings are ready to be transplanted when they are about 3-4 inches tall, generally 6-8 weeks after sowing indoors.
- Hardening Off: Before transplanting, gradually expose your seedlings to outdoor conditions over a week to acclimate them.
- Planting: Dig a hole slightly larger than the root ball. Place the seedling in, ensuring the bulb’s top is level with the soil surface.
- Watering: After transplanting, give them a good watering to help settle the soil.
Common Pests & Diseases
Ah, the challenges every gardener faces! Onions, like other plants, can be susceptible to pests and diseases:
- Thrips: Tiny insects that can cause the foliage to become silvery. Regularly inspect plants and use insecticidal soap or neem oil to manage them.
- Onion Maggot: These larvae feed on the roots. Rotating crops and removing affected plants can help manage them.
- Downy Mildew: Appears as a white, fuzzy growth on leaves. Ensure good airflow and avoid overhead watering.
- Botrytis Leaf Blight: Presents as white spots with green or brown centers on leaves. Fungicides can help, but also ensure good spacing and avoid waterlogged soils.
In the fight against pests and diseases, early detection and prevention are key. Always keep an eye on your plants and ensure they’re growing in optimal conditions. Remember, a healthy plant is better equipped to fend off problems.
