
Welcome, fellow plant enthusiasts, to another deep dive into the wonderful world of orchids! As an avid gardener and orchid aficionado, I’m thrilled to share my knowledge and passion for these exotic and elegant plants.
Orchids, with their intricate blooms and lush foliage, have captured the hearts of gardeners worldwide, and it’s easy to see why. Whether you’re a seasoned orchid grower or just starting, this guide will provide valuable insights on how to cultivate and care for these captivating plants.
So grab your gardening gloves, and let’s embark on this orchid journey together!
Benefits of Growing Orchids

Orchids are more than just a pretty face; they offer a myriad of benefits that extend beyond their aesthetic appeal. Here are my top three reasons why growing orchids can be a rewarding experience:
1. Air Purification
Orchids are not only stunning to look at, but they also play a role in purifying the air. Like other houseplants, orchids undergo photosynthesis, absorbing carbon dioxide and releasing oxygen. Additionally, some species of orchids can help to remove toxins and pollutants from the air, creating a healthier living environment.
2. Boosting Mood and Reducing Stress
There’s something inherently soothing about tending to plants, and orchids are no exception. The act of caring for orchids can be a meditative and therapeutic experience, helping to reduce stress and elevate mood.
The vibrant colors and intricate patterns of orchid blooms are also a visual delight, brightening up any space and bringing a sense of joy and serenity.
3. A Rewarding Challenge
While orchids have a reputation for being finicky, they can be incredibly rewarding to grow. The sense of accomplishment that comes from successfully nurturing an orchid to bloom is unparalleled.
It’s a gratifying journey of patience and attentiveness, as you learn to understand and cater to the unique needs of your orchid.
My Favorite Orchid Varieties
Now, let’s talk about some of my favorite orchid varieties. Each type of orchid brings its own unique beauty and charm, and here are three that have a special place in my heart:
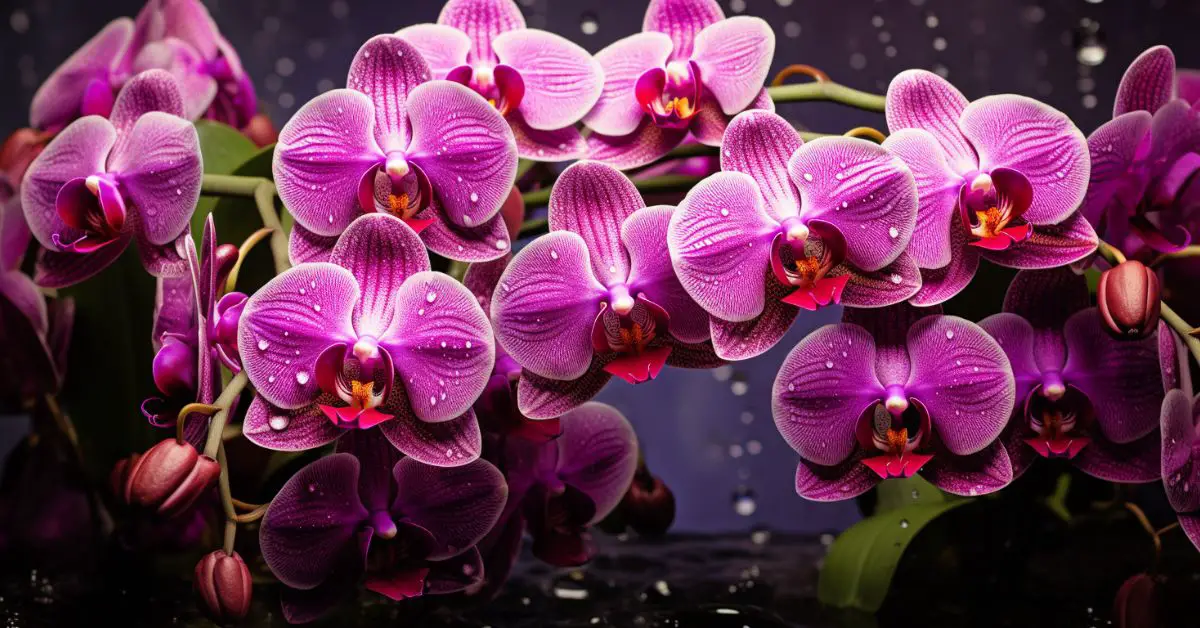
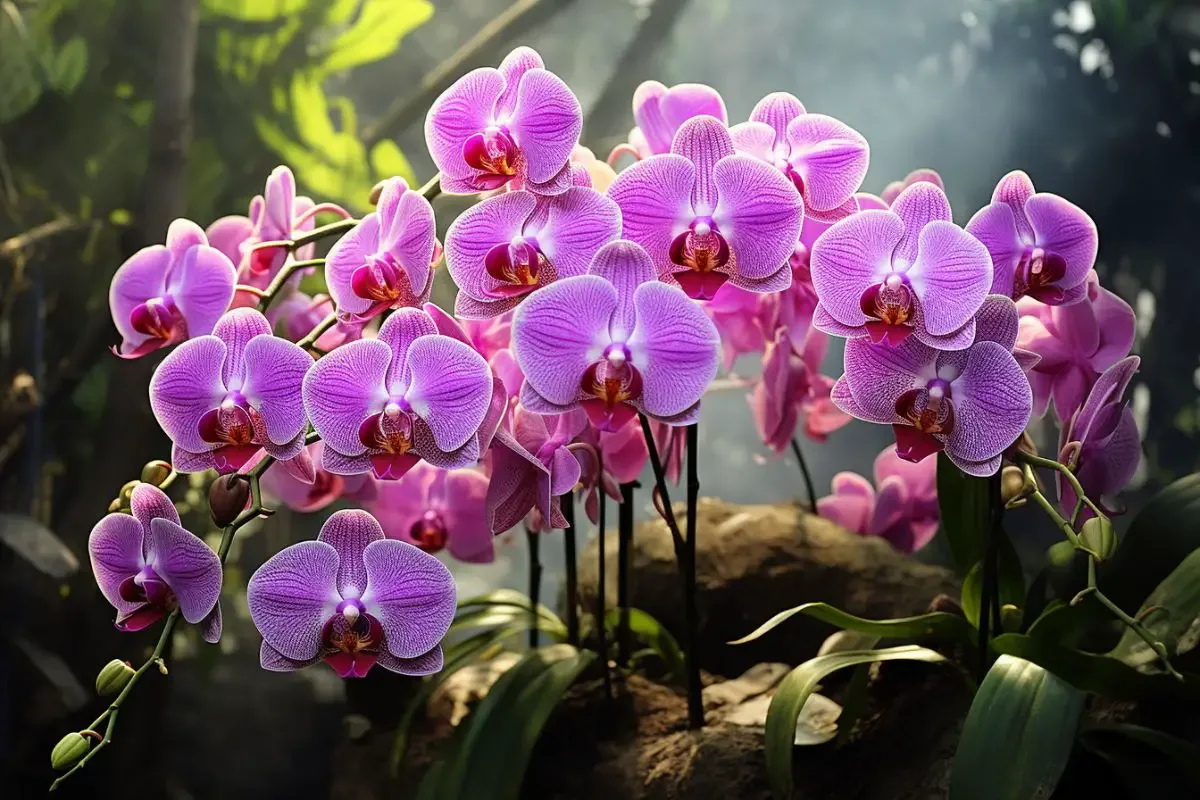
1. Phalaenopsis Orchids


Also known as the “Moth Orchid”, Phalaenopsis orchids are among the most popular and accessible varieties for home gardeners. They boast long-lasting flowers that come in a wide range of colors and patterns. What I love most about Phalaenopsis orchids is their resilience; they are relatively easy to care for, making them a great choice for beginners.
2. Cattleya Orchids


Known as the “Queen of Orchids”, Cattleyas are prized for their large, show-stopping blooms and delightful fragrance. They come in a dazzling array of colors, and their flowers can last for several weeks. I’m always excited when my Cattleyas are in bloom; they bring a touch of elegance and a sweet aroma to my home.
3. Dendrobium Orchids

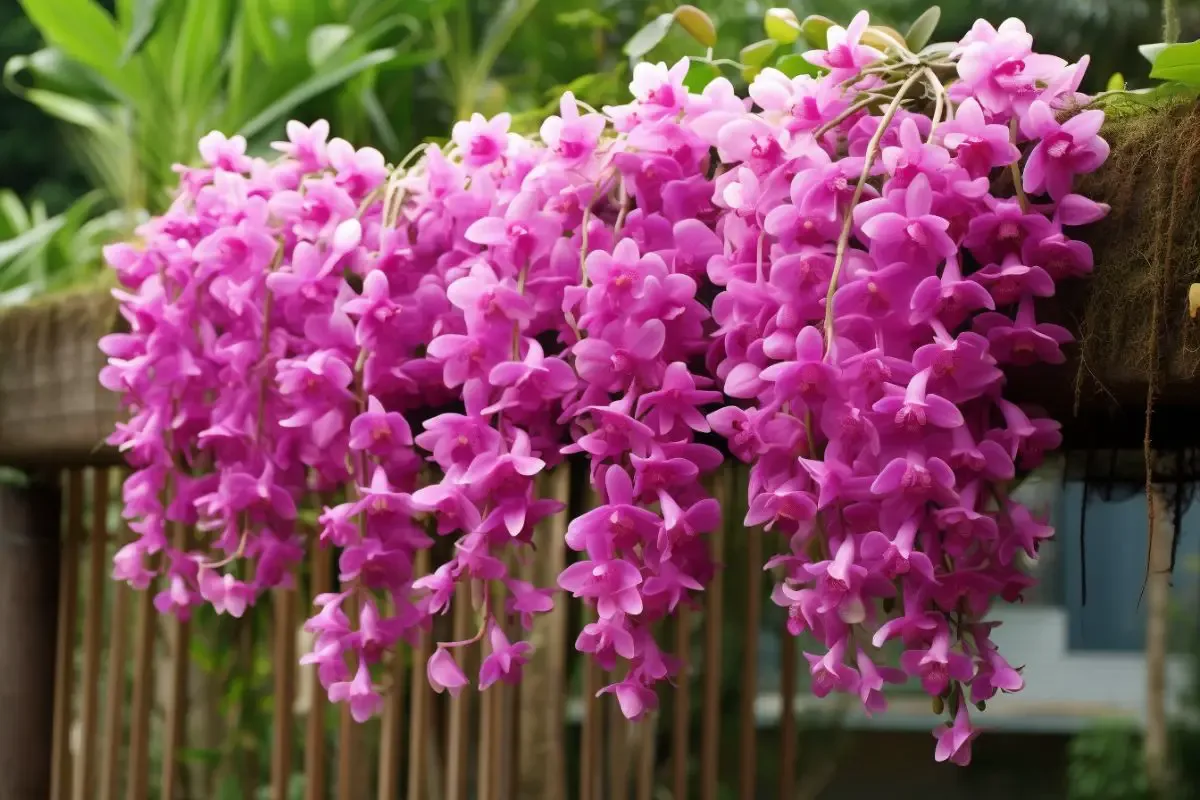
Dendrobiums are known for their long, cane-like stems and profuse, delicate flowers. They offer a diverse range of species, with some varieties having a pendulous growth habit, adding an interesting architectural element to the garden.
I adore Dendrobiums for their graceful appearance and the way they add a burst of color to my orchid collection.
Orchid Care
Caring for orchids can be a deeply rewarding endeavor, and with the right knowledge and attention, these stunning plants can thrive in your care. Let’s break down the essential aspects of orchid care to ensure your blooms are vibrant and your plants are healthy.
Planting
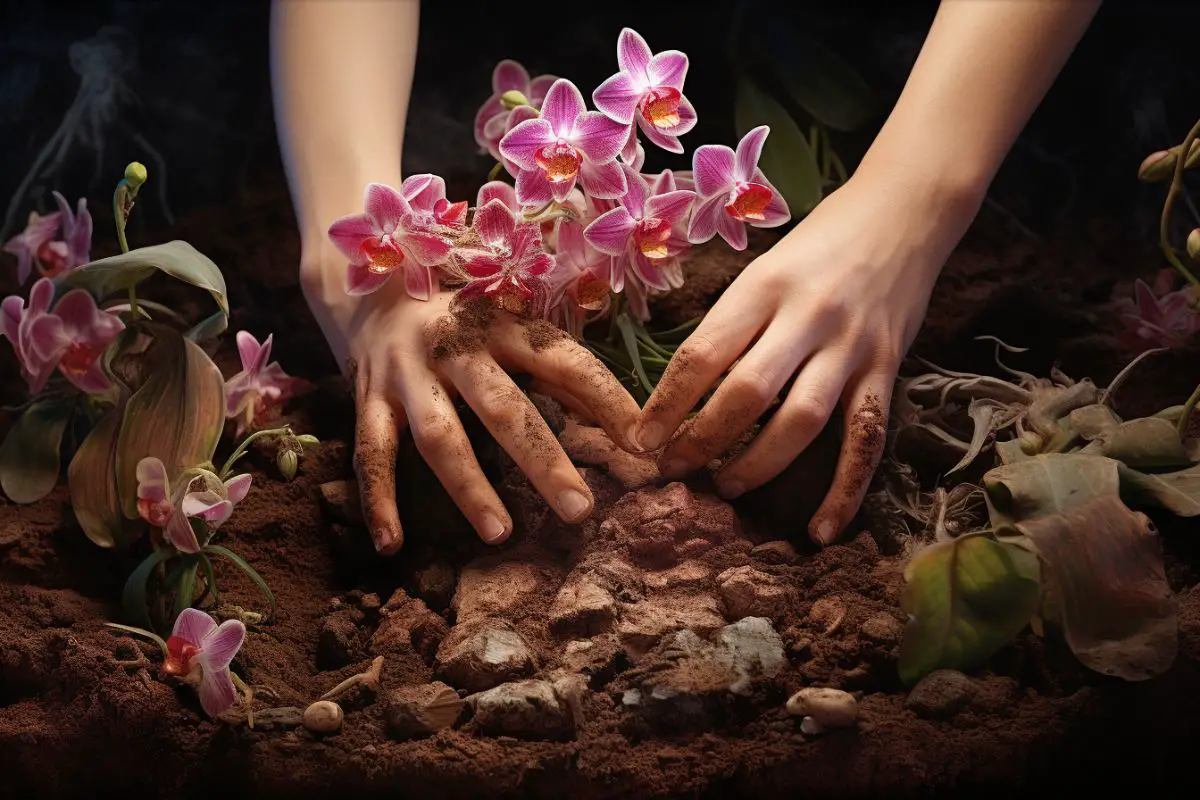

When it comes to planting orchids, it’s important to remember that these are not your typical houseplants. Most orchids are epiphytes, meaning they grow on other surfaces, like trees, in their natural habitats.
They require a special type of potting medium that provides ample aeration and drainage. Orchid bark or a specialized orchid mix, which usually contains bark, perlite, and charcoal, is a great choice. Ensure your pot has sufficient drainage holes to prevent water from pooling at the bottom, as this can lead to root rot.
Light
Orchids generally thrive in bright, indirect light. A north- or east-facing windowsill is ideal. However, the specific light requirements can vary depending on the variety of orchid. Phalaenopsis orchids, for example, do well in lower light conditions, while Cattleyas and Dendrobiums prefer more intense light.
Be mindful of direct sunlight, especially during the hotter parts of the day, as this can scorch the leaves. If you notice the leaves turning a dark green, this could be a sign that your orchid needs more light. Conversely, yellowing leaves may indicate too much direct sunlight.
Soil
Orchids require a well-draining growing medium. Regular potting soil is too dense for orchids and can lead to root rot. Instead, use a special orchid mix, which is designed to provide the necessary drainage and aeration.
Over time, the potting medium will break down and compact, reducing airflow to the roots. This is a sign that it’s time to repot your orchid, typically every one to two years.
Water
Watering is a critical aspect of orchid care, and it’s often where people go wrong. Orchids prefer to dry out between waterings, and their roots are susceptible to rot if left in standing water.
The frequency of watering will depend on the type of orchid, the growing medium, and the environment. A general rule of thumb is to water once a week but adjust as needed. When you water, do so thoroughly, allowing water to drain out of the bottom of the pot.
Temperature and Humidity
Orchids thrive in warm, humid conditions. Aim to keep the temperature between 65-75°F (18-24°C) during the day, with a slight drop at night. Humidity levels should be around 40-70%.
If you live in a drier climate, you may need to provide additional humidity through a humidifier or by placing a tray of water near the orchids. Be mindful of drafts and sudden temperature changes, as these can stress the plant.
Fertilizer
Orchids do not require a lot of fertilizer, but a balanced, water-soluble fertilizer can support healthy growth and bloom. Apply fertilizer once a month during the growing season, and reduce it to once every other month during the dormant season. Be sure to follow the package instructions, as over-fertilizing can damage the roots.
Pruning
Pruning is an essential part of orchid care, helping to maintain the plant’s shape and promote healthy growth. After an orchid has finished blooming, cut the flower spike back to just above a node, or to the base if the spike has turned brown.
This encourages the plant to focus its energy on root and foliage development, setting the stage for future blooms. Regularly remove any dead or yellowing leaves by cutting them off at the base with sterilized scissors. If you notice any roots growing out of the pot that appear shriveled or rotten, these can also be pruned to maintain the health of the plant.
Propagating
Propagating orchids can be a bit more challenging than other houseplants, but it’s certainly possible with a bit of patience and care. One common method is division, which is best done when repotting. Gently separate the plant into smaller sections, ensuring each section has at least two or three pseudobulbs (the swollen stems).
Plant each section in fresh orchid mix, and care for them as you would a mature plant. Another method is keiki propagation, where a baby plant (keiki) grows along the flower spike. Once the keiki has developed roots, it can be carefully cut from the spike and potted up separately.
How to Grow Orchids From Seed
Growing orchids from seed is a more advanced and time-consuming process, but it can be incredibly rewarding. Orchid seeds are tiny and lack the nutrients needed for germination, so they require a sterile, nutrient-rich medium to grow.
This is typically done in a laboratory setting, but with the right equipment and sterilization procedures, it can be done at home. The seeds are sown onto a gel-like medium in a sterile container and left to grow in a controlled environment. It can take months or even years for the seedlings to develop into mature plants ready for potting.
Growing in Pots

Most orchids are grown in pots, and choosing the right pot and medium is crucial for their health. Use a pot with plenty of drainage holes, and fill it with a specialized orchid mix. Ensure the orchid is positioned so that the top of the root ball is just below the rim of the pot, allowing space for water to sit.
Avoid burying the orchid too deep in the potting mix, as this can lead to rot. Water the orchid thoroughly, allowing excess water to drain out the bottom of the pot. Place the pot in a location with bright, indirect light, and maintain the temperature and humidity levels recommended for the specific type of orchid.
Overwintering
Orchids, with their exotic appearance, might seem like delicate flowers, but many varieties are quite resilient, especially when it comes to overwintering. The key is to adjust their care to accommodate the cooler temperatures and reduced light levels of the winter months.
Firstly, it’s crucial to move your orchids away from drafts and ensure they’re in a spot where the temperature remains consistent. Most orchids prefer temperatures between 60-70°F (15-24°C), but be sure to check the specific needs of your variety. Reduce watering during these months, allowing the growing medium to dry out a bit more than usual, as the plant’s growth slows down.
However, ensure the humidity level remains high, which might require using a humidity tray or a humidifier in particularly dry indoor environments. Adjusting fertilizer applications is also important; reduce feeding frequency to accommodate the slowed growth.
Transplanting
Orchids generally need to be repotted every 1-2 years, as the growing medium breaks down and becomes less effective at draining water. Transplanting also gives you a chance to inspect the roots and trim away any that are dead or rotting.
To transplant, remove the orchid from its current pot and gently shake away the old growing medium. Use sterilized scissors to trim any unhealthy roots, then repot the orchid in the fresh orchid mix in a clean pot.
Be sure to choose a pot that’s just large enough to accommodate the roots, as orchids prefer to be somewhat pot-bound. Water the plant thoroughly after transplanting, and keep it in a shaded, humid spot for a few days to allow it to recover.
Common Pests & Diseases
As with all plants, orchids can occasionally encounter issues with pests and diseases. As an avid gardener and orchid enthusiast, I’ve faced these challenges myself and have learned some effective strategies to manage them.
Here, I’ll share my insights on common orchid pests and diseases. Remember, early detection and proper care are key to keeping your orchids healthy and thriving.
- Spider Mites: Tiny pests causing silvery or yellow spots on leaves. Increase humidity and rinse leaves to manage.
- Mealybugs: White, cottony bugs. Remove with alcohol-dipped cotton or use insecticidal soap.
- Scale Insects: Look like brown bumps on stems/leaves. Treat similarly to mealybugs.
- Root Rot: Often from overwatering, leading to brown, mushy roots. Prevent by ensuring good drainage and proper watering.
- Fungal/Bacterial Infections: Spots on leaves. Maintain cleanliness, good air circulation, and dry leaves to prevent.
By staying vigilant and providing the right care, you can protect your orchids from these common issues and enjoy their beauty to the fullest.
