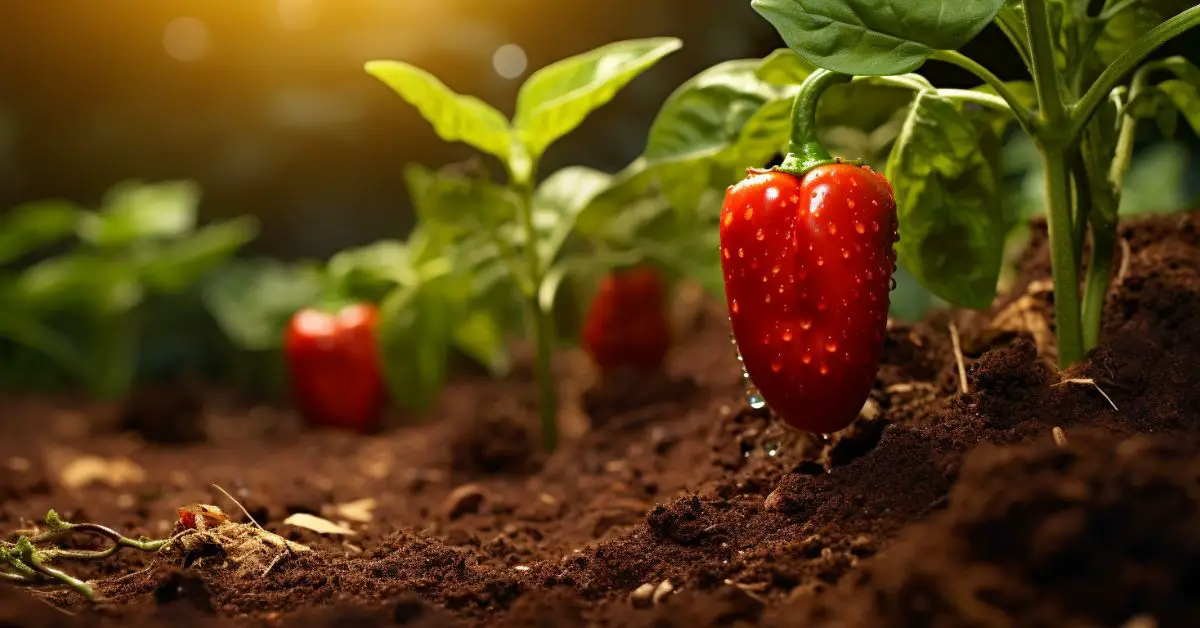

Peppers, with their vibrant colors and varied flavors, have always held a special place in my garden. Over the years, I’ve had my share of gardening trials and triumphs, and peppers have consistently been a source of joy.
If you’re considering adding peppers to your garden or simply want to enhance your pepper-growing game, you’re in the right place. Let’s dive into the world of peppers!
Benefits of Growing Peppers

1. Nutritional Powerhouses
One of the primary reasons I adore peppers is because of their outstanding nutritional benefits. They’re packed with vitamins, especially Vitamin C, and antioxidants.
When you grow your own, you’re assured of fresh, organic produce right at your fingertips. There’s something truly rewarding about consuming home-grown food that nourishes the body.
2. Versatile in Culinary Uses
From sweet bell peppers to fiery hot varieties, peppers can spice up any dish (literally!). Whether you’re making a fresh salad, a sizzling stir-fry, or simply grilling them for a smoky flavor, peppers have the ability to elevate your meals. And let’s not forget about making your own homemade hot sauce!
3. Aesthetically Pleasing
Beyond their taste and nutritional benefits, peppers add a splash of color to any garden. Watching the fruits transition from green to red, orange, yellow, or even purple is genuinely delightful. Their aesthetic appeal also extends to patio container gardening, where they can serve as decorative pieces while being functional.
My Favorite Pepper Varieties
1. Bell Peppers
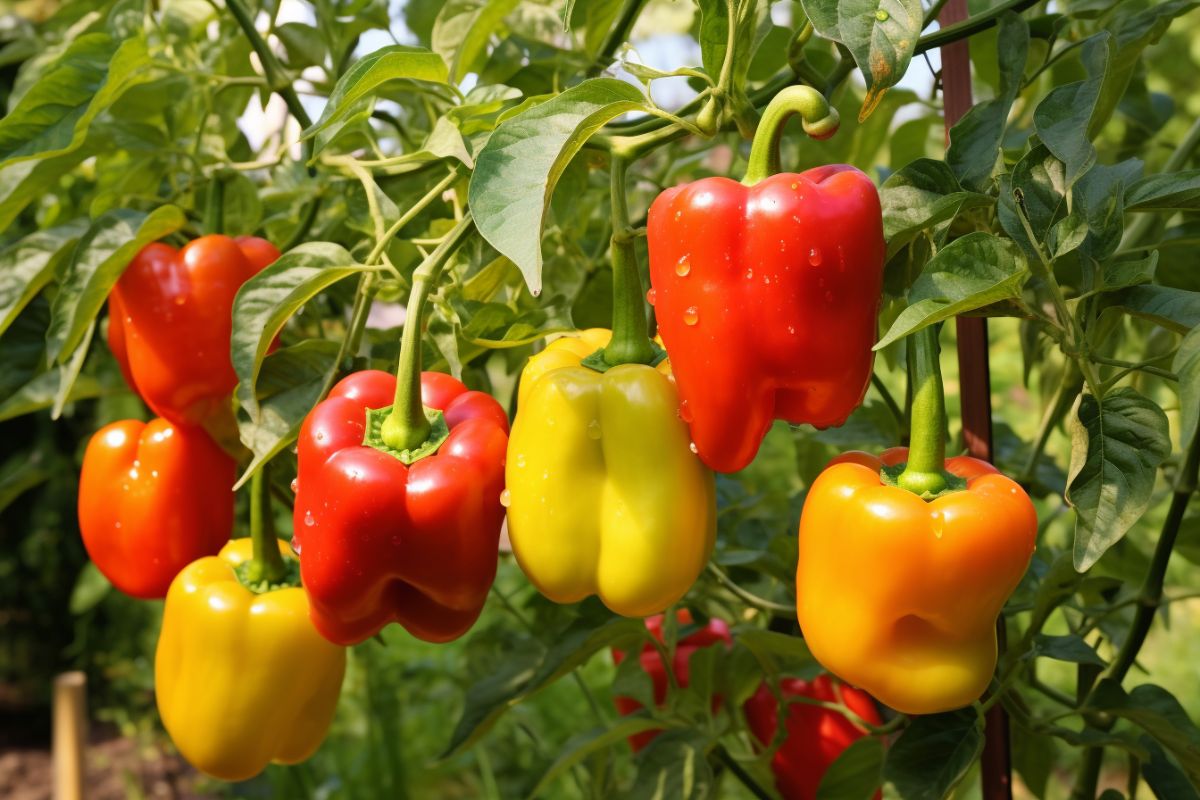

These are the classics and for a good reason. Bell peppers come in an array of colors like red, yellow, orange, and even purple. I have a soft spot for the red ones because of their sweetness.
They’re perfect for salads, stir-fries, and roasting. In my opinion, there’s no better feeling than slicing into a bell pepper you’ve nurtured from seed.
2. Jalapeños
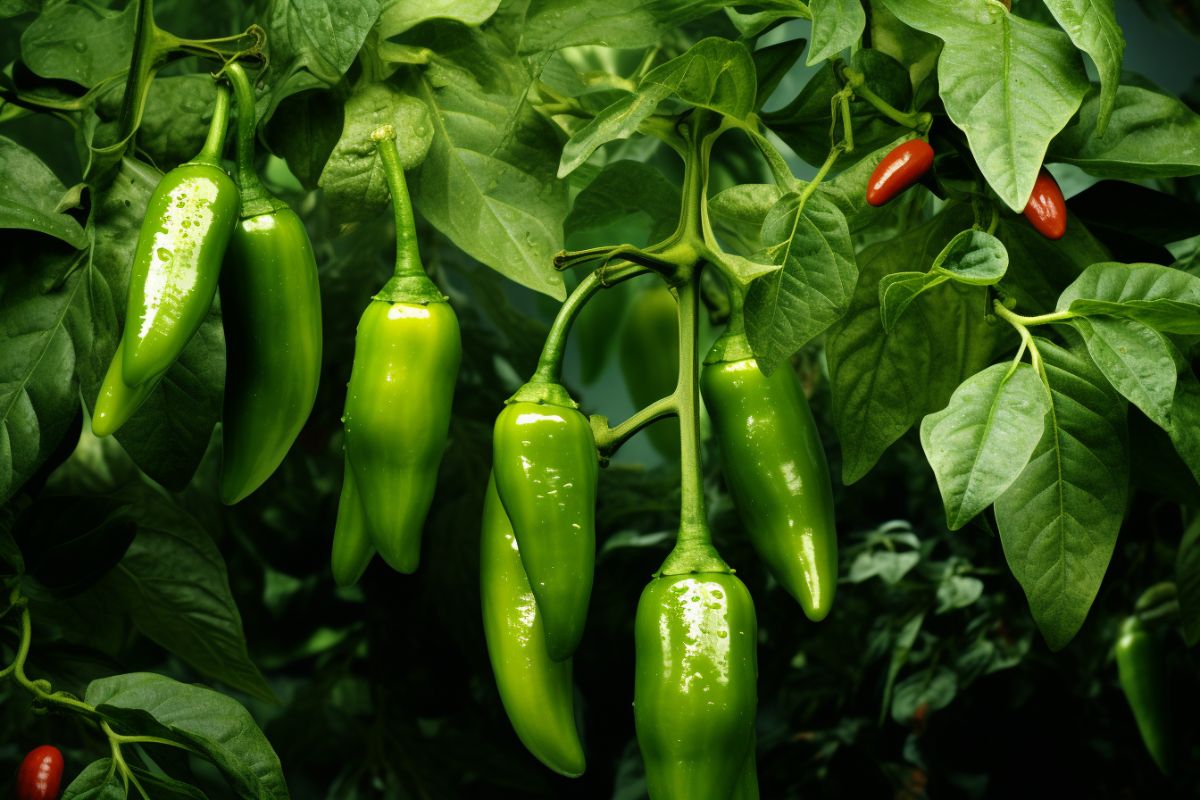
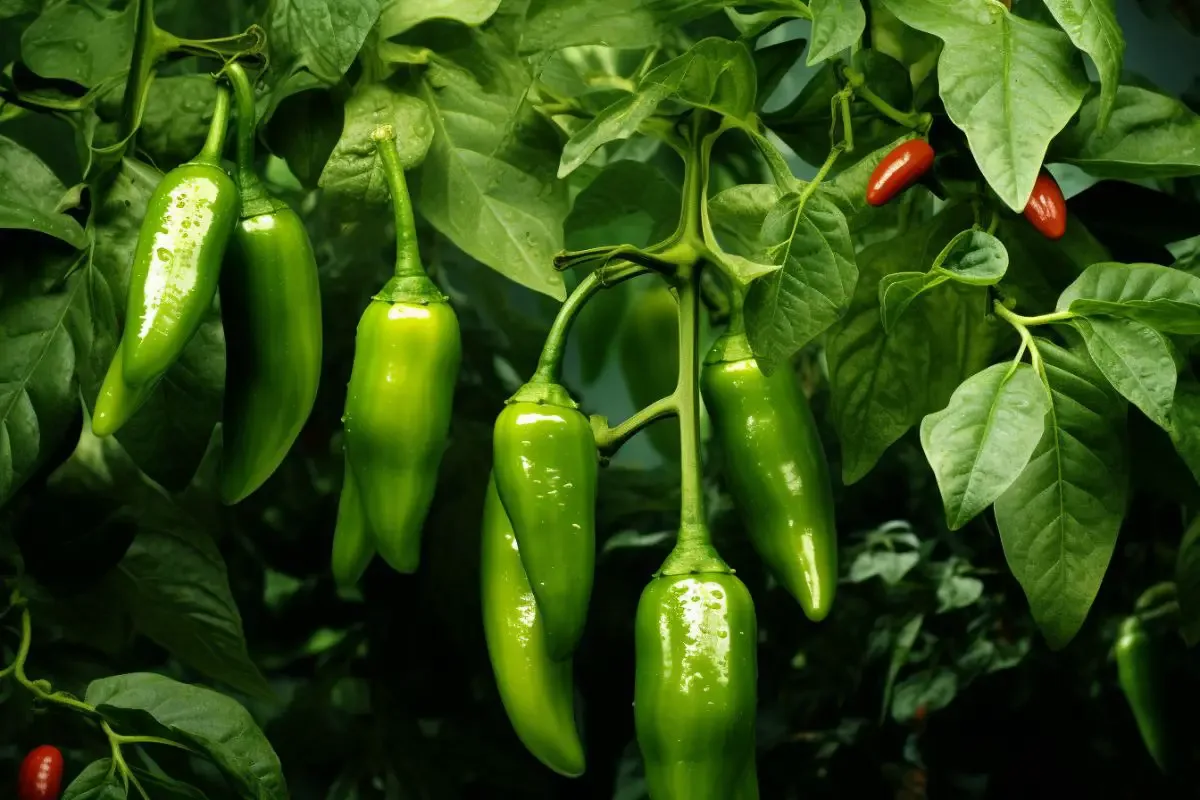
For those who like a bit of a kick in their food, jalapeños are the way to go. They have a moderate heat level, making them suitable for a wide variety of dishes. I often use them for homemade salsas and pickling. Tip: If you want them a bit milder, remove the seeds and inner membranes before using.
3. Habaneros

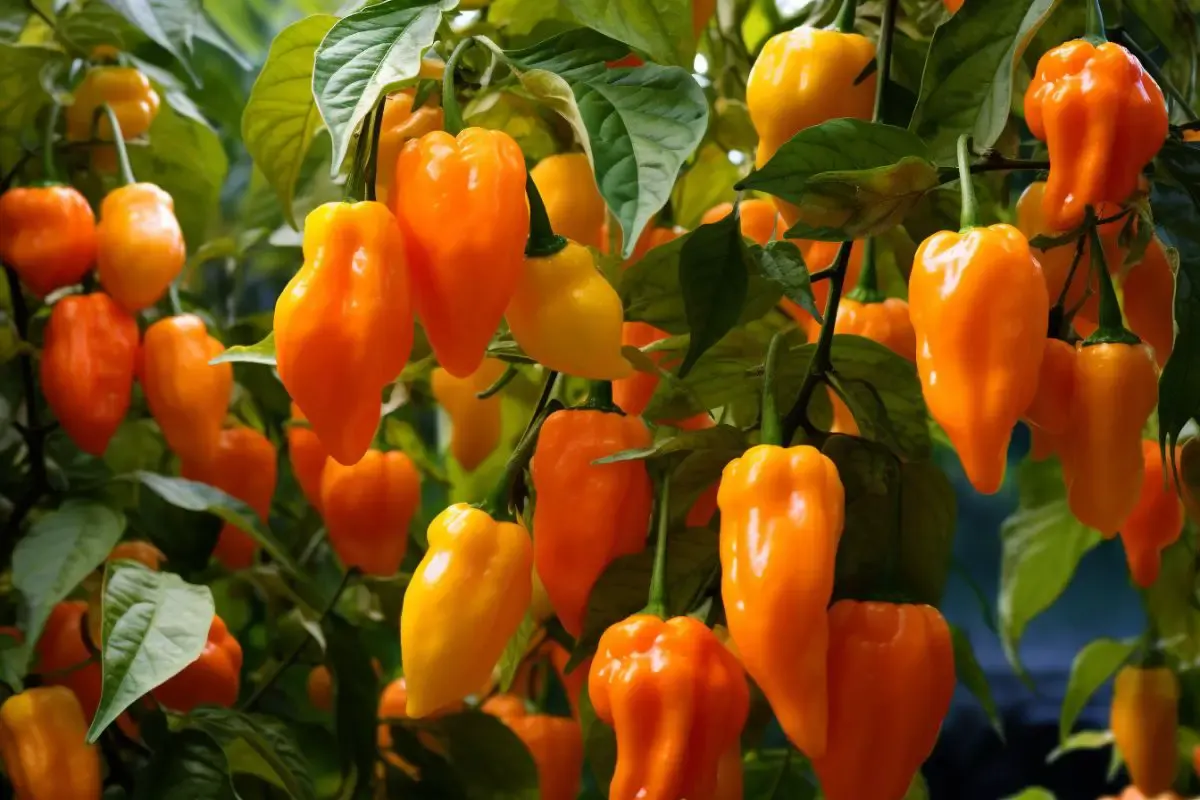
Not for the faint of heart! These little peppers pack a punch with their heat. But it’s not just about the spice; they also have a unique fruity flavor that can truly enhance a dish.
I enjoy making hot sauces with habaneros. However, always remember to wear gloves when handling them, and trust me on this one; I’ve learned the hard way!
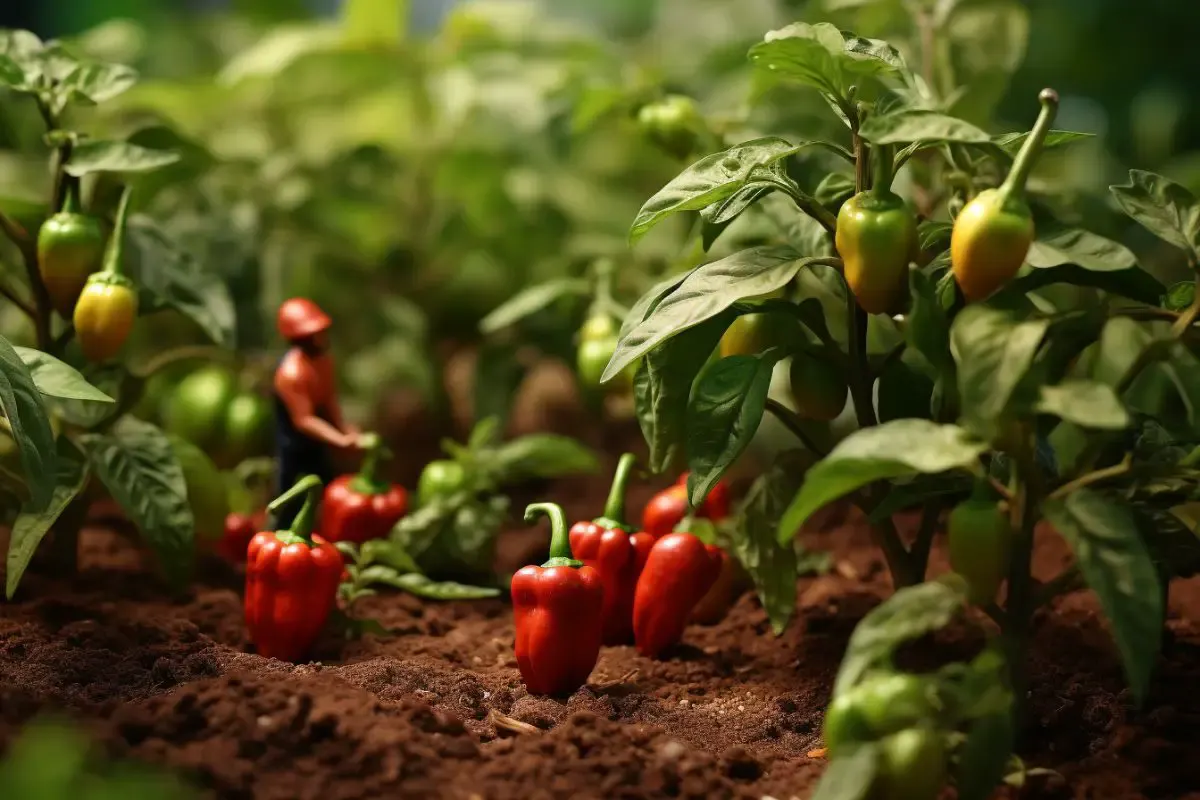
Pepper Care
Growing peppers can be an absolute joy, but like any plant, they require specific care to ensure a bountiful harvest. Let’s break down the essentials, from planting to the final stages, to help you achieve the best results in your garden.
Planting
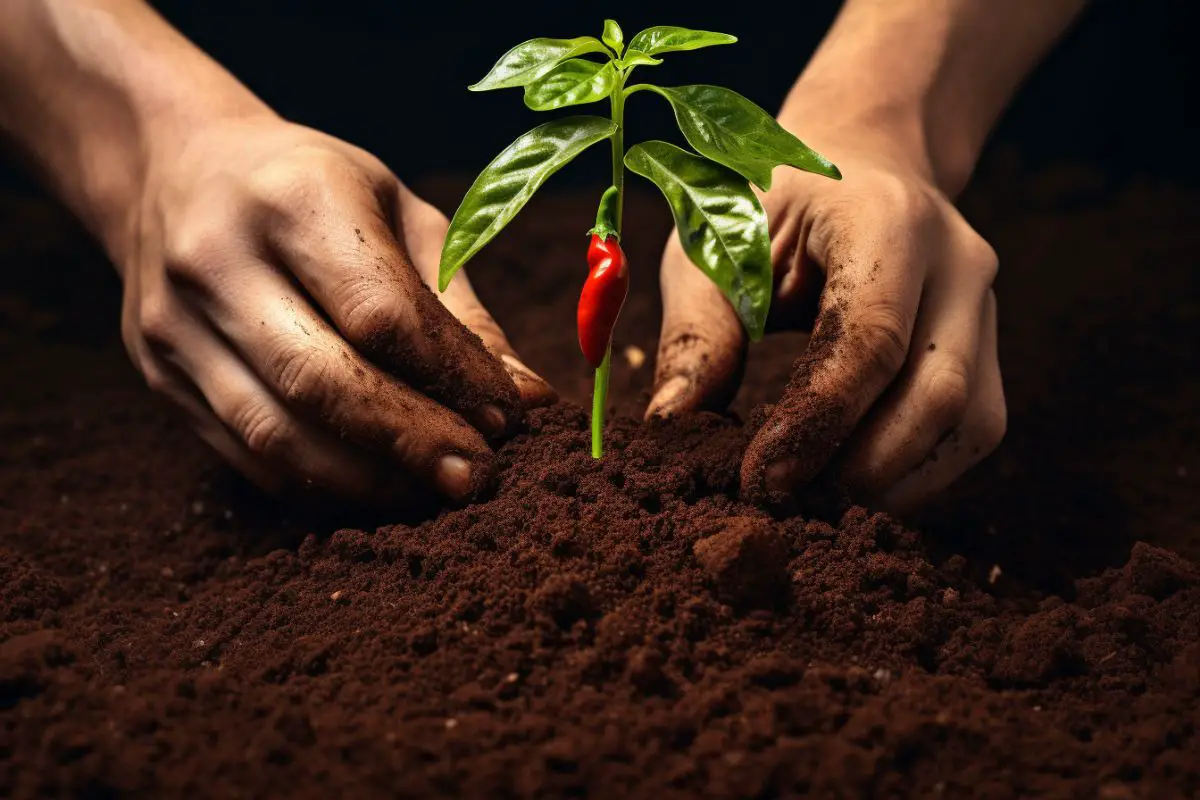

When it comes to planting peppers, timing is everything. Begin by starting seeds indoors 8-10 weeks before the last expected frost. Use a seed-starting mix and plant the seeds about 1/4-inch deep. Once the seedlings develop a couple of sets of true leaves, you can transplant them into individual pots.
When all risk of frost has passed and nighttime temperatures consistently stay above 55°F (13°C), you can transfer them outdoors. Spacing is vital; give each plant about 18 to 24 inches of space. This allows them ample room to grow and ensures proper air circulation, which reduces the risk of diseases.
Light
Peppers are sun lovers! They thrive with full sunlight and require a minimum of 6-8 hours daily. If you’re growing them indoors or in an area with limited natural light, consider using a grow light to supplement their needs. Ensuring they get enough light will result in healthier plants and a more generous harvest.
Soil
A well-draining soil is paramount for peppers. They prefer slightly acidic soil with a pH level between 6.2 to 7.0. Amend your garden soil with compost or well-rotted manure, which not only enhances drainage but also enriches the soil with nutrients. For container gardening, choose a premium potting mix designed for vegetables.
Water
Consistency is key with watering. Pepper plants don’t like to be soaked, nor do they want to dry out completely. Water deeply once the top inch of soil feels dry to the touch.
However, be cautious about over-watering, as this can lead to root rot. If you notice the leaves turning yellow or wilting despite regular watering, it might be an indication of waterlogged soil.
Temperature and Humidity
Peppers enjoy warmth. As mentioned earlier, ensure the nighttime temperatures are above 55°F (13°C) before transplanting outdoors. During the growing season, peppers thrive in temperatures between 70°F to 85°F (21°C to 29°C). They can handle some humidity, but ensure good spacing and air circulation to prevent fungal diseases.
Fertilizer
Feeding your peppers ensures they have all the nutrients they need to produce an abundant harvest. Start by mixing a slow-release granular fertilizer into the soil at planting time.
As the season progresses and once the first fruits start to form, switch to a liquid fertilizer high in potassium and phosphorus. This boosts fruit production and overall plant health.
Harvesting Peppers
The moment of truth in any gardener’s journey is the harvest. For peppers, the harvest period can be one of the most exciting times because peppers change color and flavor as they mature.
Typically, you can begin harvesting as soon as the peppers reach a size you like. Green peppers are generally immature, but they’re crisp, slightly bitter, and absolutely delicious. As they mature, they can turn yellow, orange, red, or even purple, becoming sweeter and more flavorful.
Use a pair of clean pruning shears or a sharp knife to cut the peppers off to avoid damaging the plant. Also, always leave a short stub of the stem attached to the fruit. Remember, the more you harvest, the more your plant will produce!
Pruning
Pruning can be a controversial topic among pepper enthusiasts. Some gardeners swear by it, while others opt to let nature take its course. Here’s my take: Pruning can help increase yields and reduce the risk of diseases.
By removing the lower leaves (which often don’t get enough light and can be more prone to disease) and some of the central leaves, you improve air circulation and direct more energy to fruit production.
To prune, use clean, sharp scissors or pruning shears. Make clean cuts and always prune during the early stages of the plant’s growth to shape it and promote branching.
Propagating
Propagating peppers is typically done through seeds, but you can also propagate through cuttings. To do this, take a healthy branch from an existing plant, preferably one without flowers or fruit.
Remove the lower leaves, dip the cut end in rooting hormone, and plant it in a pot with well-draining soil. Keep the soil moist and place the pot in a location with bright, indirect light. With luck and patience, the cutting will develop roots and can be transplanted as a new pepper plant.
How to Grow Peppers From Seed
Growing peppers from seed is a fulfilling endeavor. Here’s how you can get started:
- Choosing Seeds: Always start with fresh, high-quality seeds. You can purchase them from a reputable nursery or save them from a pepper you’ve eaten.
- Starting Indoors: About 8-10 weeks before the last expected frost, plant the seeds in a seed-starting mix. Place them about 1/4-inch deep and keep the soil moist but not soggy.
- Germination: Pepper seeds require warmth to germinate. Placing the pots on a heating mat or in a warm location can speed up the process. In about 7-21 days, you should see sprouts.
- Transplanting: Once the seedlings have at least two sets of true leaves, transplant them to larger pots. When the danger of frost is gone and they’ve been hardened off, transplant them to their final location in the garden or larger pots.
Growing in Pots

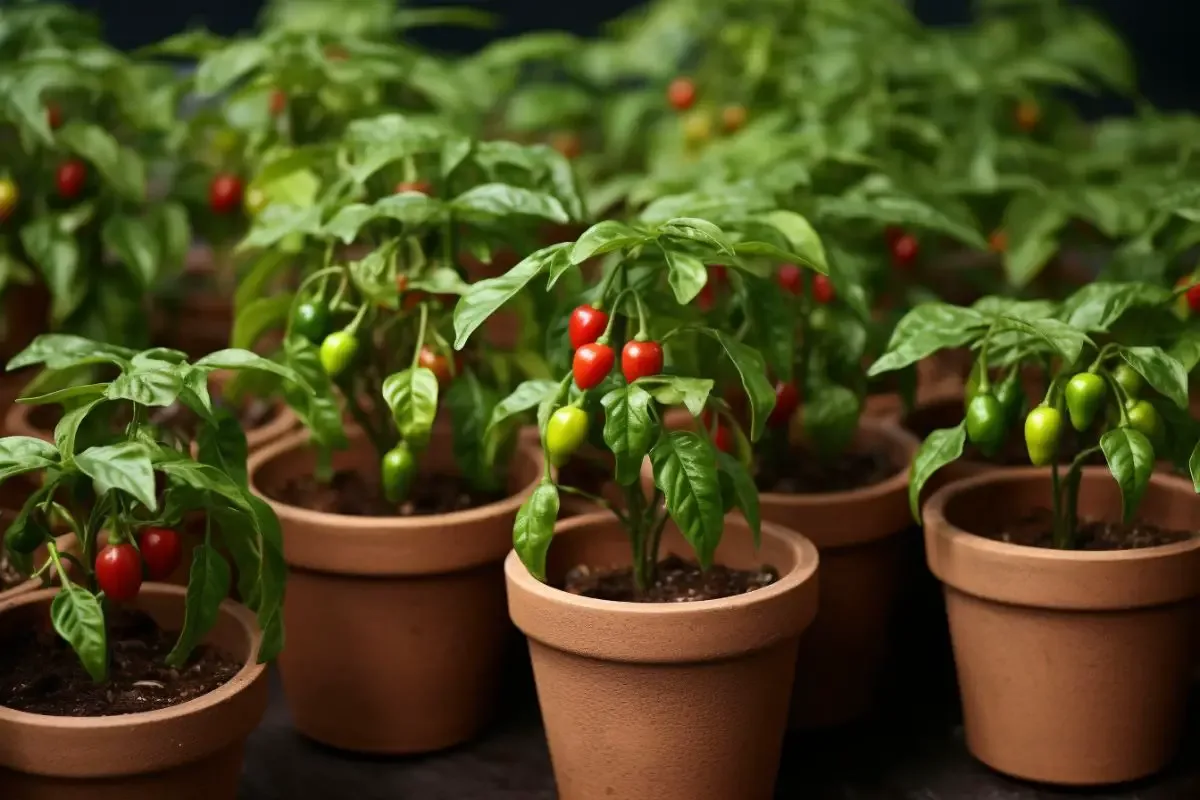
Not everyone has a sprawling garden, but peppers are perfectly happy in pots too! Here are some tips:
- Choosing a Pot: Select a pot that’s at least 12 inches deep with good drainage.
- Soil: Use a high-quality potting mix designed for vegetables.
- Sunlight: Place your pot in a location where it can get at least 6-8 hours of sunlight daily.
- Watering: Potted plants often require more frequent watering than those in the ground. Ensure the top inch of soil is dry before watering.
- Fertilizing: Container plants also benefit from regular feeding. Use a balanced, liquid fertilizer every 2-3 weeks.
Overwintering
Peppers, especially hot varieties, can be perennial if protected from cold temperatures. Overwintering is the process of keeping a pepper plant alive during the winter months, allowing it to be produced for more than one season. Here’s how I’ve successfully overwintered my pepper plants:
- Choose the Right Plants: Not all plants are suitable for overwintering. Choose healthy, mature plants without any signs of disease or pests.
- Prepare for Indoor Life: A few weeks before your first expected frost, start acclimating your pepper plants to life indoors. Gradually reduce the amount of sunlight they receive.
- Prune: Before bringing them inside, prune the plants back by about one-third to one-half. This makes them more manageable and reduces the chances of bringing pests indoors.
- Place Them in a Sunny Spot: A south-facing window is ideal. If natural sunlight is insufficient, consider using grow lights.
- Water Sparingly: Overwintering plants are in a semi-dormant state and require less water. Ensure the soil is dry to the touch before watering.
- Keep an Eye Out for Pests: Overwintered plants can sometimes attract pests like aphids. Regularly inspect your plants and treat any infestations promptly.
Transplanting
Transplanting can be a bit of a shock to pepper plants, but with a bit of care, they’ll bounce back and thrive. Here’s how:
- Hardening Off: Before transplanting seedlings outdoors, they need to be acclimated to outdoor conditions. This process, known as hardening off, involves exposing seedlings to outdoor conditions gradually, increasing the duration daily over a week.
- Choosing the Right Spot: Peppers adore sunlight. Ensure you’re transplanting them to a location that gets at least 6-8 hours of sun.
- Planting Depth: When transplanting, plant them at the same depth they were in their pots. If your pepper seedlings are leggy, you can plant them a bit deeper to provide support.
- Spacing: Give each plant space to grow. A distance of 12-20 inches between plants is typically ideal, depending on the variety.
- Watering: After transplanting, water the plants well to help settle the soil around the roots.
Common Pests & Diseases
Peppers, like all plants, can be susceptible to pests and diseases. Being proactive and attentive can save a lot of heartache. Here are some common issues and how I deal with them:
- Aphids: These tiny pests can be a real nuisance. They suck the sap from the plants, weakening them. A strong jet of water or insecticidal soap can help in controlling them.
- Cutworms: These caterpillars can cut down young seedlings at the soil line. Placing a collar around the base of the seedling when transplanting can deter them.
- Blossom End Rot: This is a disorder where the bottom of the pepper turns black and rots. It’s caused by a calcium imbalance, often due to irregular watering. Ensure consistent watering and consider a calcium-rich fertilizer.
- Leaf Spot Diseases: These are fungal infections that cause spots on leaves. Proper spacing (to ensure good airflow) and avoiding watering the leaves can help prevent this.
- Pepper Mosaic Virus: This causes mottled leaves and stunted growth. Unfortunately, there’s no cure. Prevent it by controlling aphids (which spread the disease) and promptly removing and destroying infected plants.
Vigilance is key. Regularly inspect your plants, act swiftly at the first sign of trouble, and remember – every gardener faces challenges. They’re just stepping stones on the path to a bountiful harvest!
