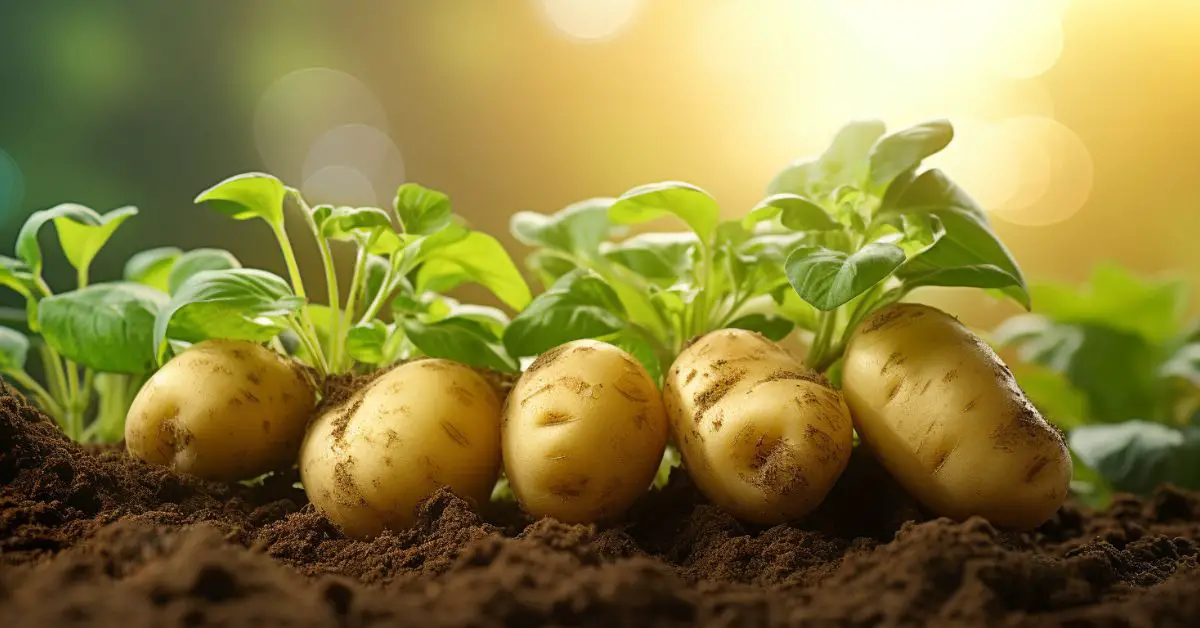

Potatoes are more than just a staple in many diets worldwide; they’re a gardener’s dream. Easy to grow, with the ability to adapt to various climates, they’re a delightful addition to any home garden.
As someone who’s grown a variety of potatoes over the years, I can personally attest to the joy and satisfaction they bring. Let’s dive into the wonderful world of potatoes and discover their many benefits and some of my favorite varieties.
Benefits of Growing Potatoes

1. High Yield with Minimal Space
One of the primary reasons I love growing potatoes is the yield. With the right care, a small plot can produce an abundant harvest. It’s perfect for urban gardeners or those with limited space.
2. Nutritional Powerhouse
Potatoes are rich in essential nutrients like vitamin C, potassium, and fiber. Growing them at home means you can be sure of their quality, ensuring your family gets the best of nature’s offerings.
3. Economic Savings
If you regularly consume potatoes, growing them can save you a good amount of money over time. Plus, there’s a unique joy in digging up your own potatoes. Trust me, they taste better when they’re fresh from your garden.
My Favorite Potato Varieties
As an avid gardener and potato enthusiast, I’ve experimented with quite a range of potato varieties over the years. Each variety has its unique characteristics and uses in the kitchen, making the choice of what to plant an exciting part of the gardening process. Here are my top picks that have never failed to impress:
1. Russet Potatoes

Known for their rough, netted skin and starchy insides, Russets are my go-to for baking and frying. They have a fluffy texture when cooked, which makes them perfect for mashed potatoes.
2. Yukon Gold

With their smooth skin and yellowish flesh, Yukon Golds are a versatile choice. They are ideal for boiling, mashing, and roasting. Their buttery flavor sets them apart, and they’ve always been a hit at my family dinners.
3. Red Potatoes

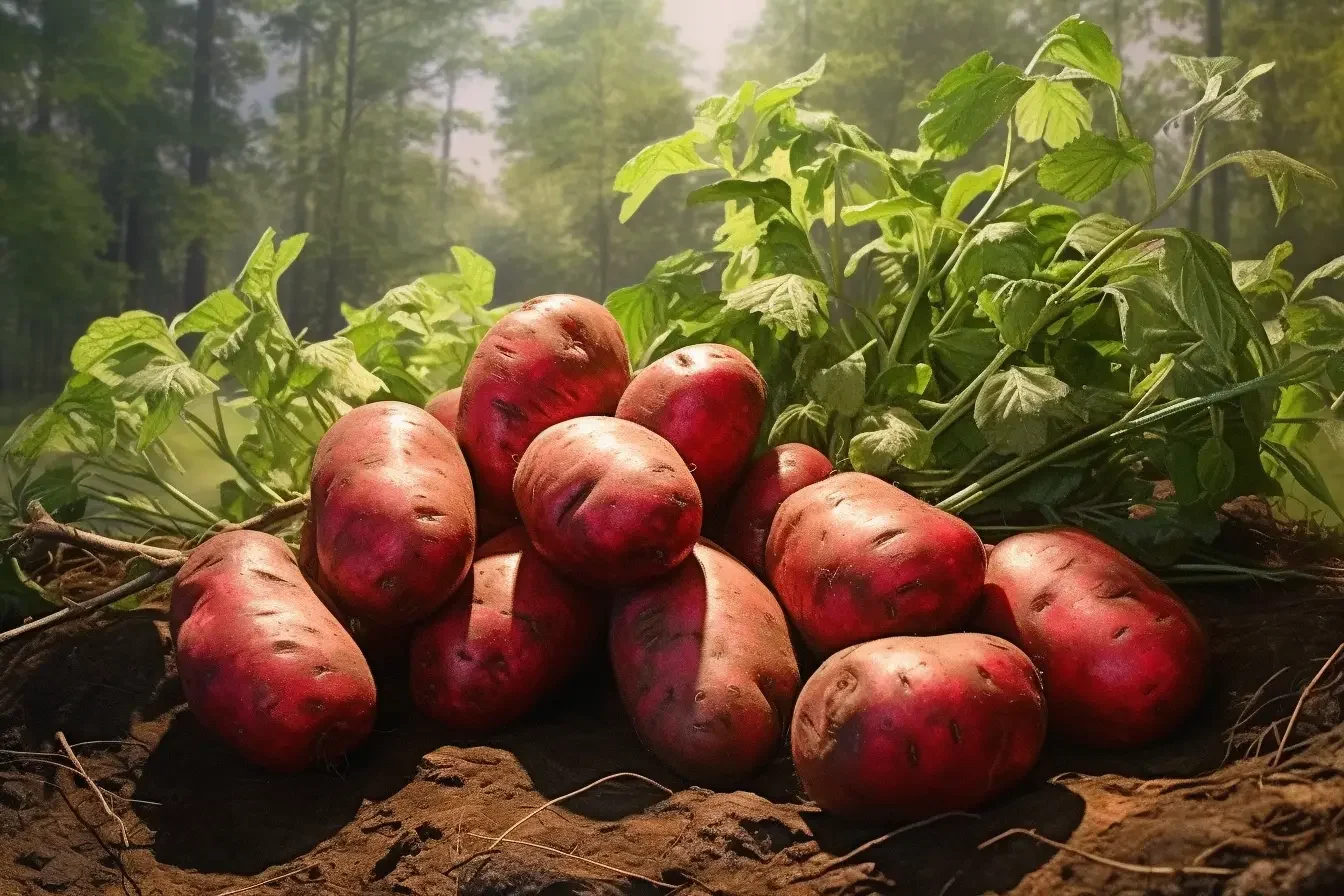
Smaller in size and with a waxy texture, red potatoes are excellent for potato salads and stews. They hold their shape well after cooking, making them a favorite for dishes where you want the potato chunks to remain intact.
Potato Care
When it comes to growing potatoes, a bit of TLC goes a long way. Let’s break down the essentials of potato care to ensure your spuds flourish.
Planting

Choosing the right time to plant is crucial. I recommend planting potatoes as soon as the ground can be worked in the early spring. Make sure to plant seed potatoes (small pieces of whole potato with at least one eye per piece) about three inches deep and 12 inches apart in rows. Giving them ample space allows the potatoes to develop fully. A little tip: I like to add a bit of compost to the planting hole to give them an extra boost.
Light
Potatoes thrive in full sunlight, needing around six to eight hours of direct light daily. Make sure to pick a spot in your garden that receives ample sunlight to ensure healthy growth.
Soil
A well-draining soil with a pH of around 5.0 to 7.0 is ideal for potatoes. They are not too picky, but they do best in loose, loamy soil. I always make sure to add plenty of organic matter to the soil before planting, as this helps to promote robust growth.
Water
Consistent watering is key, especially during the period when the plants are flowering and immediately following the flowering stage, as this is when the tubers are developing. I aim to water my potatoes at least once a week, providing them with 1-2 inches of water. Make sure not to overwater, as this can lead to rot.
Temperature and Humidity
Potatoes prefer cooler weather. The ideal growing temperature for potatoes is between 60-70°F. If the temperature rises above 80°F, the plants may stop forming tubers. In terms of humidity, it’s important not to let the area around your potatoes stay too damp, as this can encourage disease. Striking a balance is key.
Fertilizer
Potatoes are not heavy feeders, but they do appreciate a good balanced fertilizer. I apply a granular fertilizer at planting time and then side-dress with a balanced liquid fertilizer every few weeks throughout the growing season. Be careful not to over-fertilize, as this can lead to lush foliage but smaller tubers.
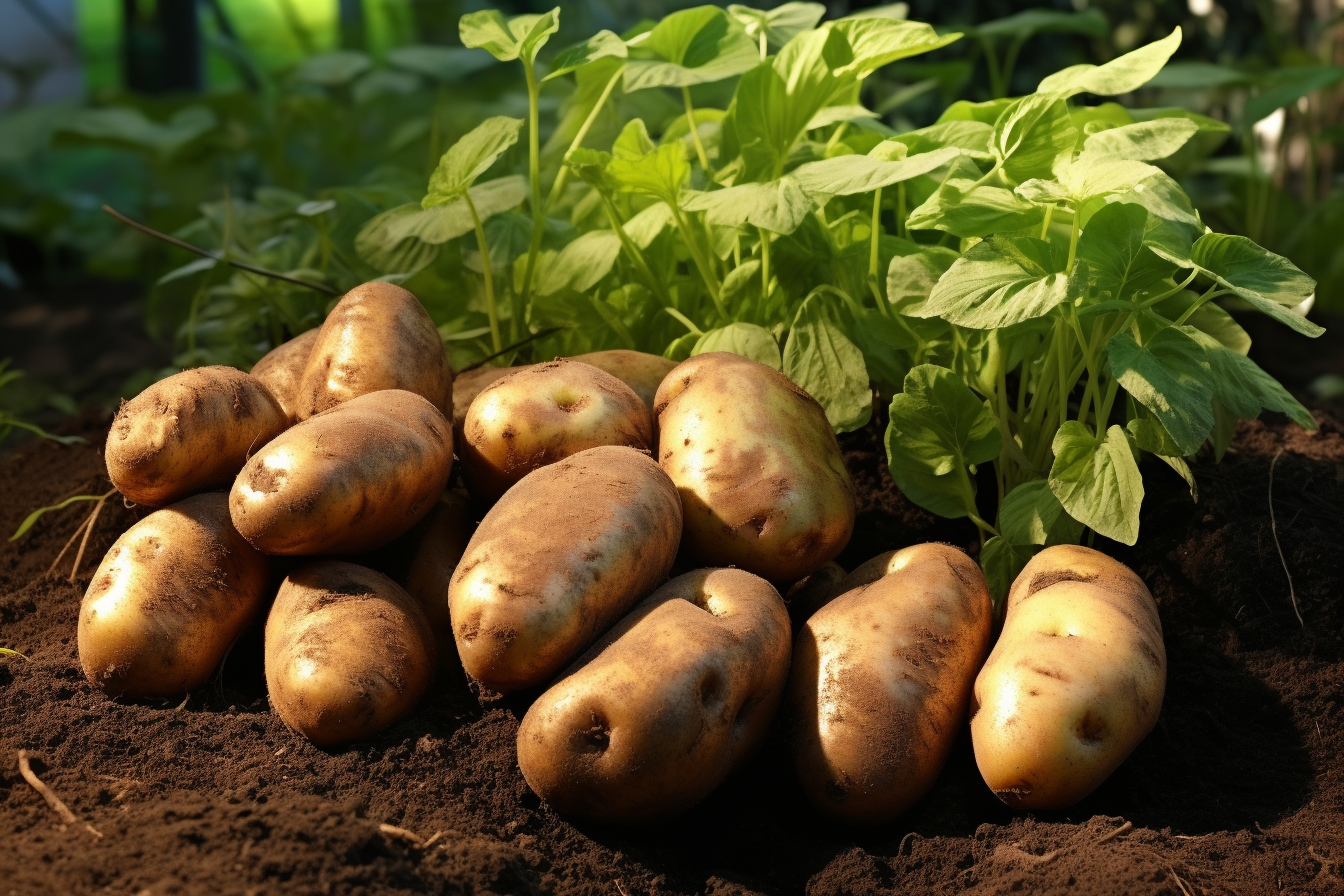
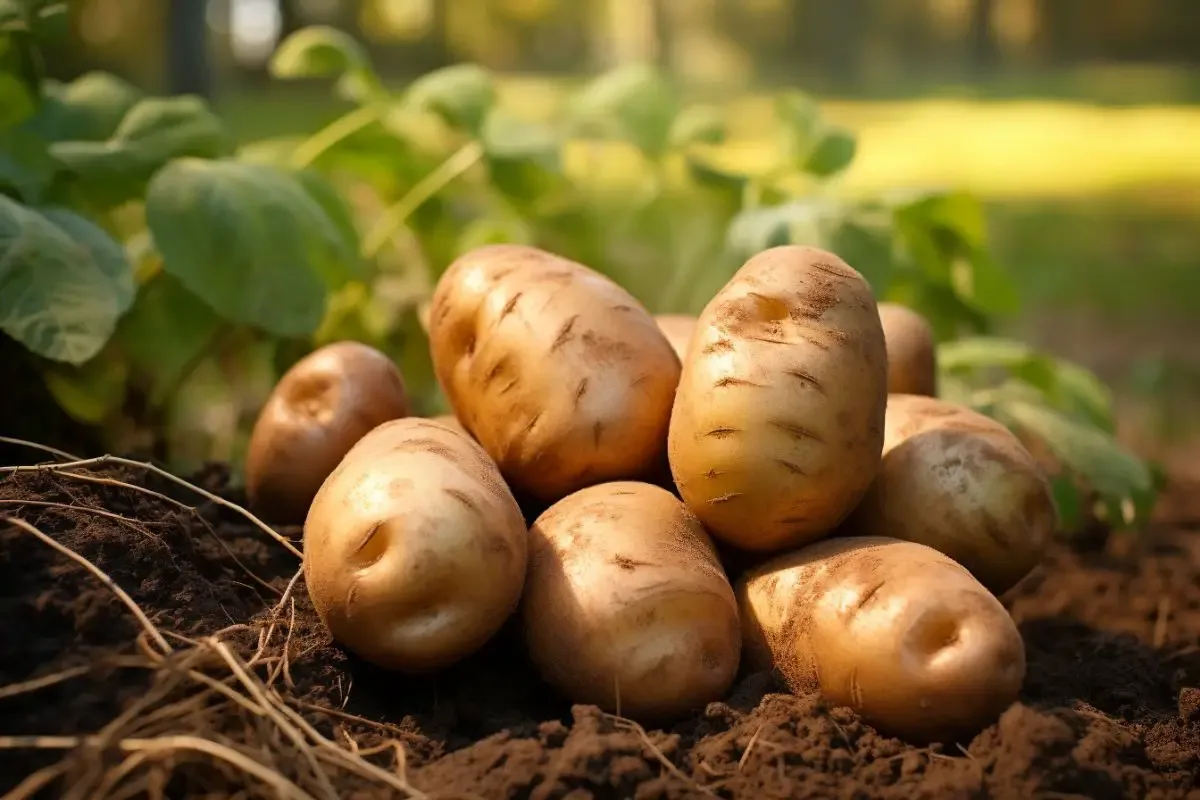
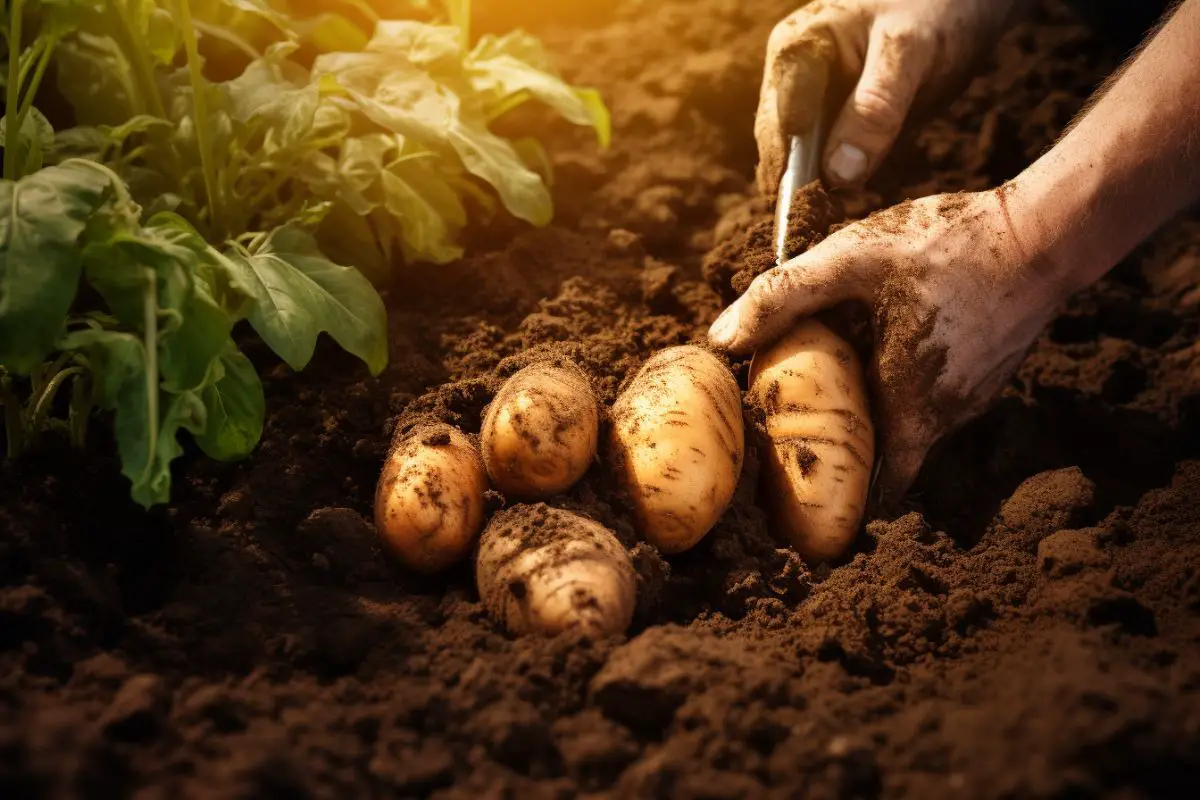
Harvesting Potatoes
Ah, the joy of harvest time! After months of nurturing and caring for your potato plants, the moment to reap the rewards finally arrives. To determine if your potatoes are ready for harvest, look for the vines to yellow and die back.
Typically, potatoes are ready about 10 weeks after the plants have flowered. Use your fingers or a gardening tool, to dig around the base of the plant to feel for potatoes. If you’re after “new” potatoes, or the smaller, tender ones, you can harvest a bit earlier.
But if you’re like me and prefer the larger, mature spuds, you’ll want to wait until the plant has fully died back. Remember to handle your potatoes gently to avoid bruising them.
Pruning
Pruning potatoes might sound unusual to some gardeners, but it’s a useful practice to ensure a healthy and productive crop. Let me guide you through the essentials of potato pruning:
- Start Early: Begin pruning when the plants are about 6-8 inches tall.
- Selective Pruning: Remove only the lower leaves to start. This helps prevent soil-borne diseases from splashing onto the foliage.
- Moderation is Key: Don’t over-prune, as the leaves are necessary for photosynthesis and growth.
Propagating
Potatoes can be easily propagated from seed potatoes. These are simply potatoes that have developed eyes or sprouts. When you’re preparing to plant, take your seed potatoes and ensure they have at least one or two eyes on them.
Each piece can be planted to produce a new potato plant. It’s like magic! Personally, I always set aside some of my best potatoes from each harvest to use as seed potatoes for the next season.
How to Grow Potatoes From Seed
Yes, you can also grow potatoes from true seeds! These seeds can be collected from the small berries that sometimes form after flowering. To grow potatoes from seed, plant them indoors 4-6 weeks before the last expected frost.
Once the seedlings are sturdy, and the danger of frost has passed, they can be transplanted outdoors. It’s a longer process than using seed potatoes, but it’s a fascinating journey watching them grow from tiny seeds!
Growing in Pots

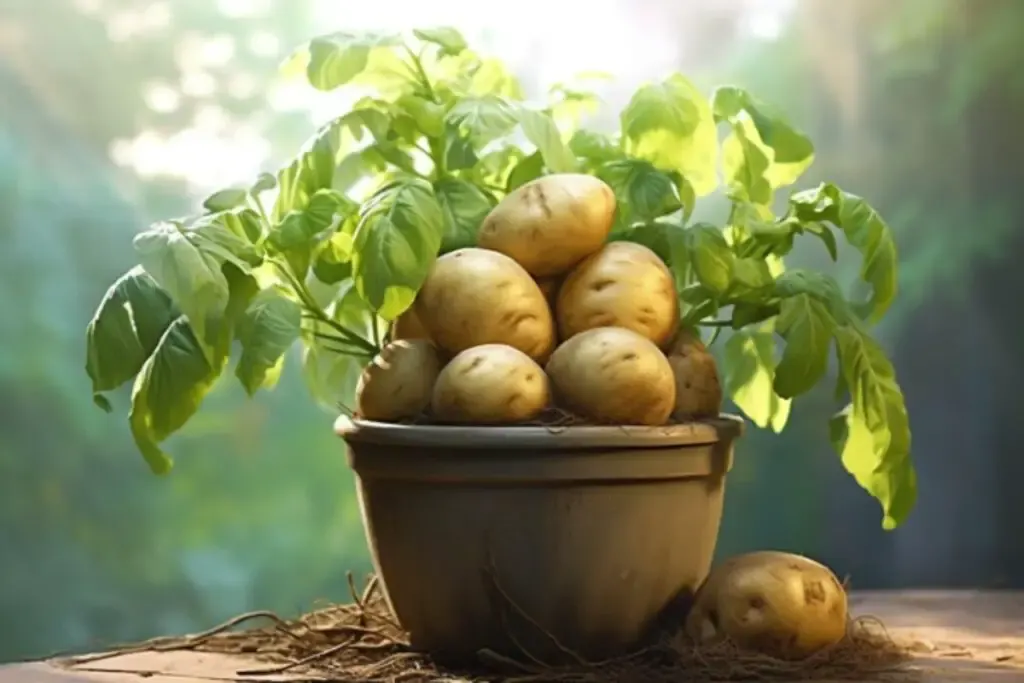
Don’t have a garden? No problem! Potatoes can be successfully grown in pots. Choose a large container with drainage holes, and fill it with a good-quality potting mix. Plant your seed potatoes as you would in the ground, ensuring they’re covered with at least 2 inches of soil.
As the plants grow, keep adding more soil, so the tubers remain covered. One of the benefits of growing potatoes in pots is that come harvest time, all you have to do is dump out the soil and pick out your potatoes. It’s especially fun if you have kids – it’s like a treasure hunt!
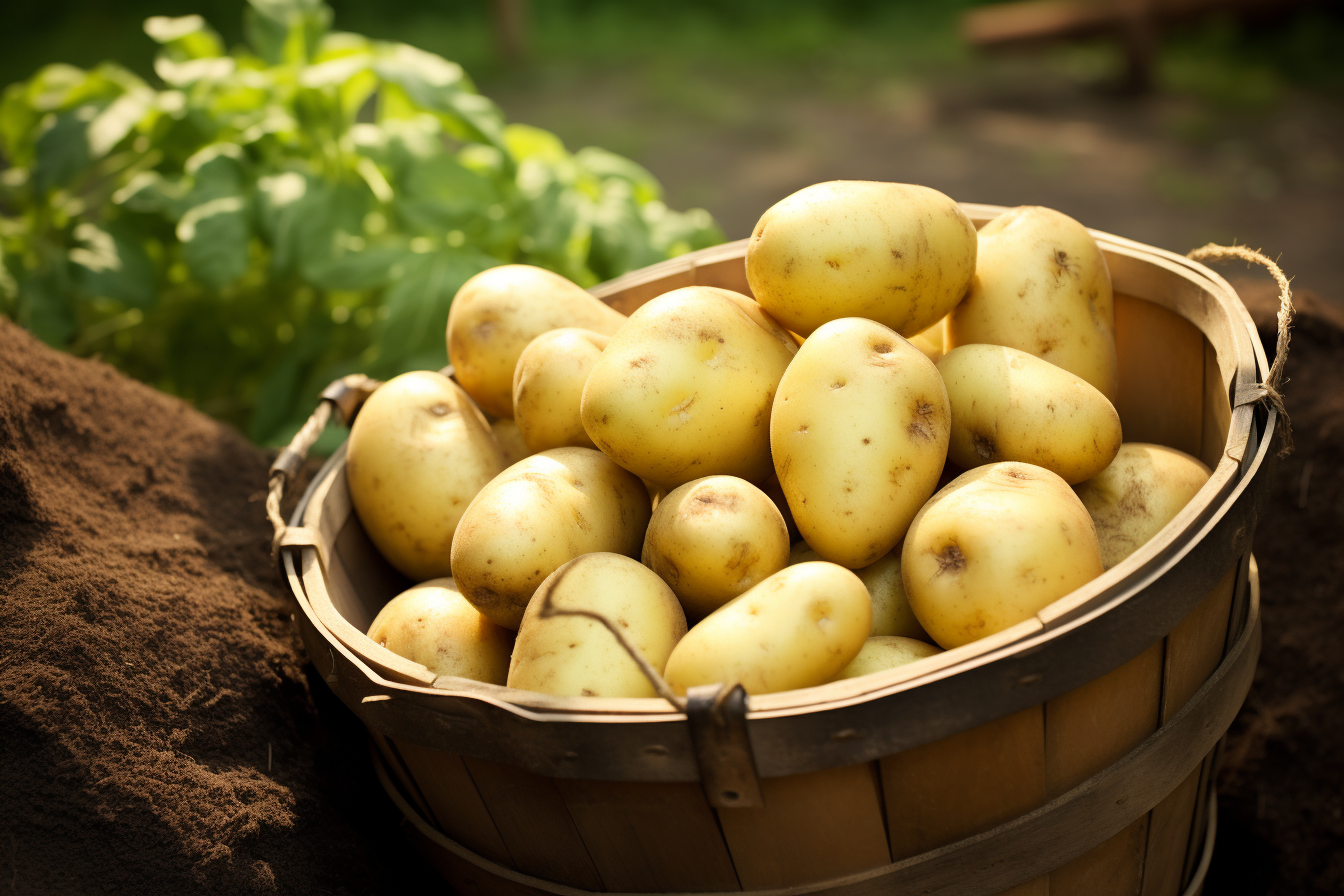
Overwintering
Winter can be a tricky time for our beloved potato plants, especially in colder regions. But with a few simple steps, you can ensure they thrive and return even stronger next spring. Overwintering potatoes is all about storage.
Once you’ve harvested your spuds, let them dry for a day or two in a shady, cool spot. This helps the skin to toughen up, which is key for long-term storage. Once dried, store your potatoes in a dark, cool, and well-ventilated area.
I use wooden boxes lined with newspaper, but burlap sacks or mesh bags work well too. The ideal storage temperature is between 35-40°F. Be sure to check on them occasionally and remove any that have sprouted or seem soft. And remember, never store potatoes near apples, as the ethylene gas emitted by apples can make your potatoes sprout.
Transplanting
If you’ve started your potatoes indoors or need to relocate them for some reason, transplanting is a straightforward process. Ensure the soil in the new location is well-prepared, with plenty of organic matter.
Dig a hole slightly larger than the root ball, place your potato plant in, and cover it with soil. Water thoroughly after transplanting to help the plant settle in. From my own experience, it’s best to transplant on a cloudy day or during the cooler part of the day to reduce transplant shock.
Common Pests & Diseases
Like all plants, potatoes aren’t immune to pests and diseases. But fear not! With a bit of vigilance and knowledge, you can keep these problems at bay.
Pests
- Colorado Potato Beetles: These striped beetles and their larvae can do significant damage by munching on potato leaves. Hand-pick them off or use an organic insecticide.
- Aphids: These tiny pests suck the sap from potato leaves. They can be controlled with insecticidal soap or by introducing beneficial insects like ladybugs to your garden.
Diseases
- Late Blight: This is the same fungus responsible for the Irish Potato Famine. It causes dark spots on leaves and can rot the potatoes. The best defense is prevention: plant-resistant varieties and ensure good air circulation.
- Potato Scab: This causes rough patches on potato skins. It’s mostly a cosmetic issue, but it’s best to rotate your crops and keep the soil slightly acidic to prevent it.
It’s essential to keep an eye on your potato plants and take action at the first sign of trouble. Most issues can be managed organically, ensuring you have a healthy and delicious crop! Always remember that a well-cared-for garden is your best defense against pests and diseases. Happy gardening!
