
Gardening enthusiasts often revel in the beauty and benefits of growing their own herbs, and dill is no exception.
As a hardy, versatile plant, dill is a wonderful addition to any culinary garden, and its feathery fronds are as attractive as they are tasty.
But what if you’re short on space, or you’re an urban gardener with only a sunny windowsill or balcony at your disposal? Fear not! Growing dill in pots is not only possible; it’s also a fantastic way to keep fresh herbs within arm’s reach.
In this article, I’ll walk you through everything you need to know to grow dill in pots like an expert.
Does Dill Grow Well in Pots?
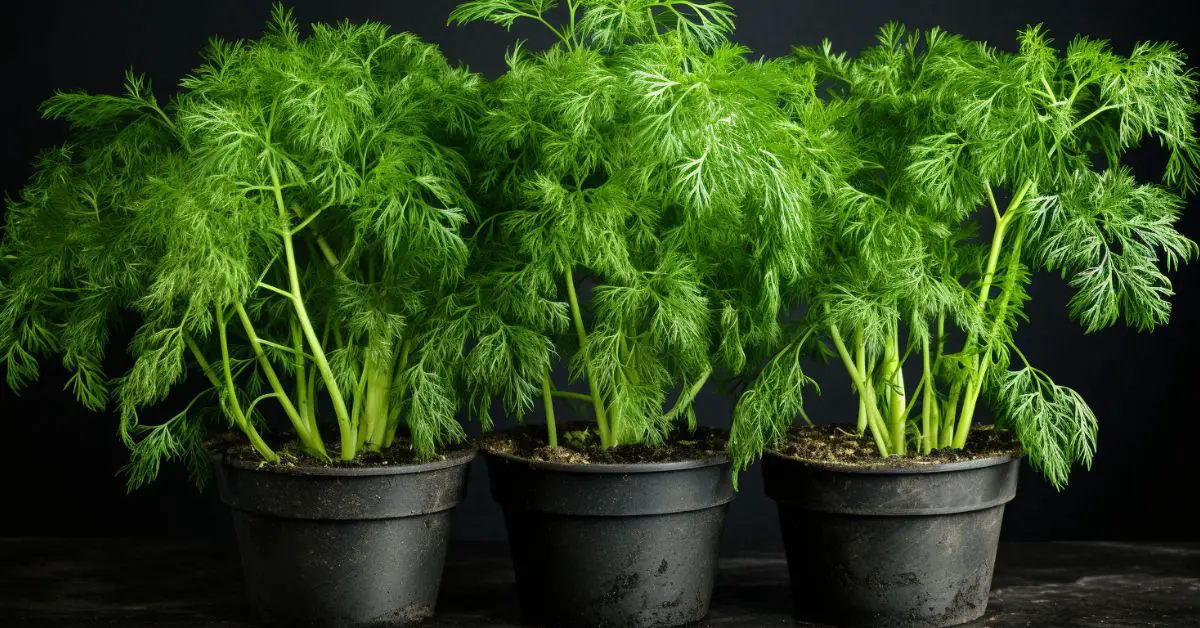
Absolutely! Dill is a plant that adapts well to container gardening. Its relatively shallow root system makes it ideal for pot life, provided you give it enough light and a little care.
One of the biggest perks of growing dill in pots is the ability to move the plants around to chase the sun, ensuring they get the six to eight hours of direct sunlight they love so much.
When selecting a pot, ensure it’s deep enough to accommodate growth—typically, a pot about 10 to 12 inches deep will do the trick. The container should have adequate drainage holes to prevent soggy soil, which could lead to root rot. As for the soil, a light, well-draining potting mix is your best bet, as dill doesn’t do well in heavy, wet soil.
Growing dill in pots also means you can keep it close to your kitchen, making it convenient to snip off a few sprigs here and there while cooking. Plus, if you live in a region with chilly winters, the potted dill can be brought indoors to extend the growing season.
Best Dill Varieties for Pots
Not all dill varieties are created equal when it comes to container gardening. Some are more suitable for pots due to their size and growth habits.
Here are my top three picks that have never failed me and always added that fresh zing to my dishes:
1. Fernleaf Dill

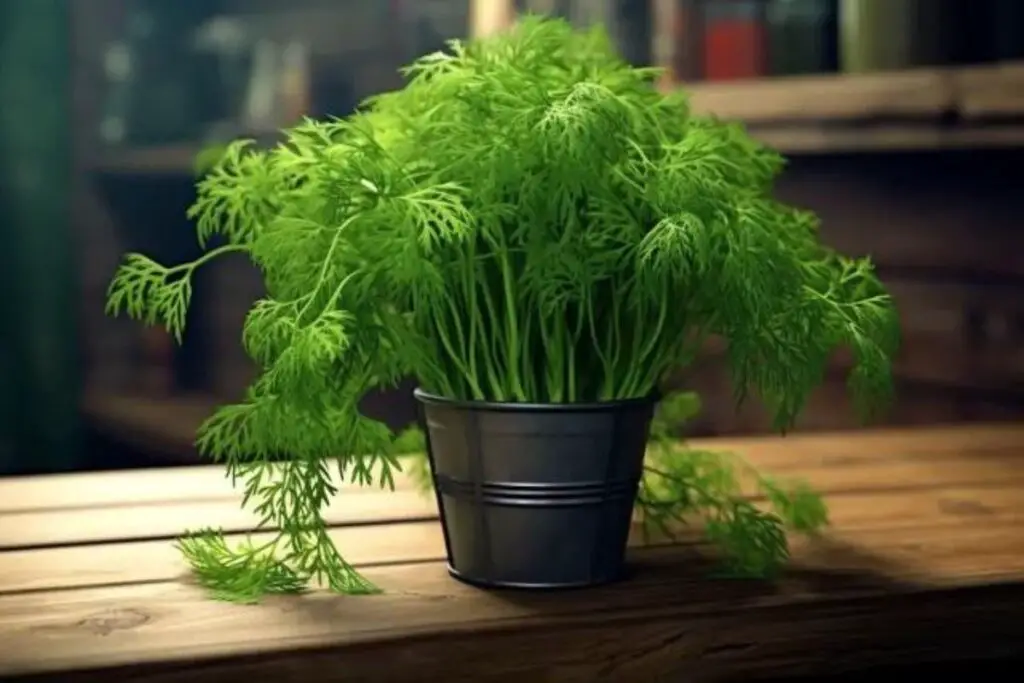
Fernleaf dill is my go-to variety when it comes to growing in containers. This dwarf variety is a perfect fit for small spaces, growing only about 18 inches tall. Its compact nature means it won’t become too top-heavy, making it less likely to topple over in your pot.
The delicate, feathery leaves are not only beautiful but also packed with flavor. I’ve found Fernleaf to be an excellent choice for continual harvesting and a lovely addition to any windowsill.
2. Bouquet Dill

Bouquet dill is a popular variety known for its abundant yields. While it can grow taller than Fernleaf, reaching up to 3 feet, it’s still manageable in a large pot.
I like Bouquet for its big seed heads, which are perfect for pickling. Remember, this one will need a bit more room to flourish, so go for a larger pot if you choose Bouquet.
3. Superdukat Dill

Superdukat dill is another variety I have a soft spot for, especially when I’m after a more intense flavor. This type boasts a higher oil content, which means the fronds and seeds have a stronger aroma and more potent taste than other varieties.
It’s relatively tall like the Bouquet but has sturdier stems, which helps it stand up to wind when I place it outdoors. Superdukat is also less prone to bolting in hot weather, which is a huge plus in my book.
How to Grow and Care For Dill in Pots
Growing dill in pots is not just a space-saver; it’s also a fantastic way to control the environment in which your dill thrives.
Let’s dig into the essential steps for planting and caring for your potted dill, ensuring you’re armed with all the knowledge to have your dill flourishing.
Planting
When planting dill, timing is everything. I always recommend sowing seeds directly into the pot where they will grow because dill doesn’t take kindly to being transplanted due to its delicate taproot. The best time to plant is after the last spring frost, as dill loves the warmth.
Place the seeds shallowly, about ¼ inch deep, and cover them with soil. Keep the soil moist until the seeds germinate. I’ve found success with starting seeds at different times to ensure a continuous crop.
Pot Size
Choosing the right pot size is critical for your dill’s success. As a general rule of thumb, a pot that’s at least 12 inches deep is a good start.
This gives the dill ample space for its roots to grow and support the tall stems. If you’re growing a more diminutive variety like Fernleaf, you can opt for a slightly smaller pot, but I never go smaller than 8 inches in diameter to give the plant enough room to breathe.
Light
Dill adores the sun—the more, the better! Aim for a spot that offers at least 6 to 8 hours of sunlight per day. If you’re growing dill indoors, a south-facing window is ideal. Sometimes I even use a grow light on gloomy days to ensure my dill isn’t left craving the sun’s rays.
Soil
Good drainage is key when it comes to soil for your dill. A lightweight, well-draining potting mix will prevent water from pooling at the roots.
I avoid heavy garden soils and often mix in some sand or perlite to enhance drainage. This also helps replicate the dill’s preferred conditions in the wild—open and not too fertile.
Water
Dill grown in pots require consistent moisture, but you must be careful not to overwater. The soil should be moist but not soggy.
I like to use the fingertip test—sticking my finger into the soil up to the first knuckle; if it’s dry, it’s time to water. In the heat of the summer, this could mean watering your dill every day, especially if the pot is in direct sunlight.
Temperature and Humidity
Dill is not particularly fussy about humidity and can tolerate the typical range found in most homes. As for temperature, if you’re comfortable, your dill likely is, too. It thrives in temperatures between 60 and 70 degrees Fahrenheit.
If growing your dill outside, remember that it can handle a bit of a chill but won’t survive a hard freeze.
Fertilizer
In terms of feeding, dill is not a heavy feeder. I usually mix in a slow-release organic fertilizer at planting time and let it do its thing.
If you’re planning to harvest your dill regularly, you could give it a light feed with a balanced, water-soluble fertilizer every four to six weeks during the growing season.
Pruning Potted Dill
Pruning dill is as much a part of growing it as sun and water. Regular pruning not only helps to maintain the size of your dill plant but also encourages a bushier growth habit, which means more for your kitchen use.
To effectively prune dill, snip off the top leaves once the plant has reached about 8 inches in height. This will stimulate the plant to branch out. Also, don’t shy away from harvesting the feathery leaves regularly; use a sharp pair of scissors or shears to cut just what you need.
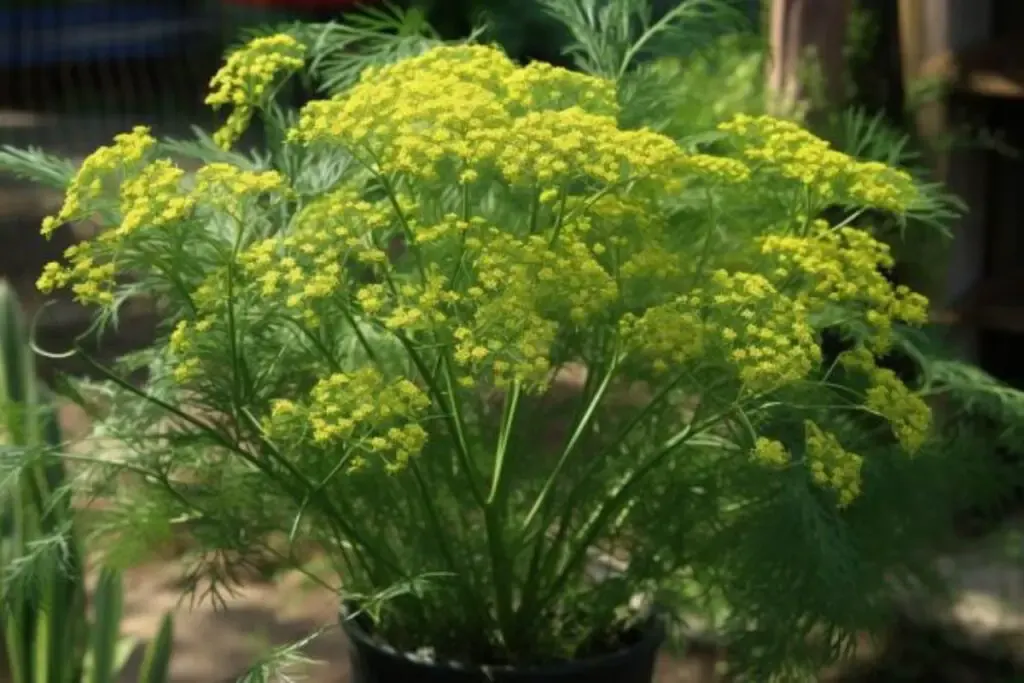
Be mindful of the flower heads; if you’re growing dill mainly for the leaves, pinch off the blooms. This will redirect the plant’s energy into foliage production rather than seeds. However, if you want to harvest dill seeds, allow some of the flowers to develop and go to seed. It’s all about what you want from your plant!
Overwintering
Overwintering dill in pots can be a bit tricky since it’s an annual that typically completes its life cycle within a single season. But with a little care, you can sometimes extend its life.
If you live in a region with mild winters, you can leave the pot outside, especially if the dill has already been seeded; it may self-sow for the next season. In colder climates, overwintering dill indoors is an option.
Before the first frost, move your potted dill to a sunny spot indoors. A south-facing window works wonders. Remember, the plant will need at least 6 hours of sunlight to survive. If natural light is limited, supplement with a grow light.
Reduce watering in the winter months, keeping the soil on the drier side to prevent root rot, but don’t let it completely dry out. There’s no need to fertilize during this time as the plant’s growth will slow down significantly.
In some cases, overwintering dill might not be worth the effort, as the plant can become leggy and weak. Instead, I often advise using the winter months to plan for the next season’s planting. You can harvest and save the seeds from your current dill plants to sow fresh when spring arrives. This way, you’ll have vigorous, robust dill plants each year.