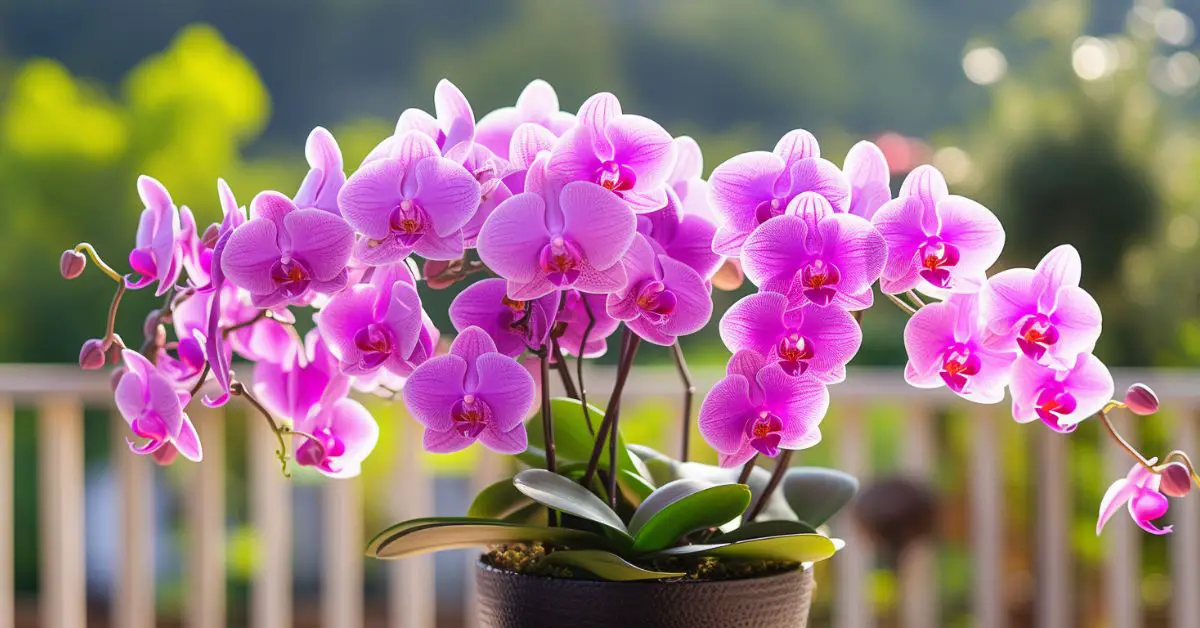

Orchids are among the most beautiful and captivating plants you can grow, with their stunning blooms and exotic appearance. However, they also have a reputation for being challenging to care for.
As a seasoned gardener and orchid enthusiast, I’ve learned that while orchids do have specific needs, avoiding common mistakes can lead to thriving, beautiful plants. In this article, I’ll share seven common orchid-growing mistakes and how you can avoid them to ensure your orchids flourish.
So, whether you’re a seasoned grower or just starting, these tips will help you on your orchid-growing journey.
1. Overwatering: A Common Culprit
One of the most common mistakes I see new orchid growers make is overwatering. Orchids are not like most other houseplants; they prefer to dry out between waterings. When you water too frequently, it can lead to root rot, a common issue that can quickly kill an orchid.
To avoid this, make sure you are using a well-draining potting mix and a pot with drainage holes. Water your orchid thoroughly, but then allow the potting mix to dry out before watering again. A good rule of thumb is to check the moisture level by sticking your finger into the potting mix. If it feels dry an inch below the surface, it’s time to water.
2. Incorrect Lighting: Striking the Right Balance
Orchids need plenty of light to thrive, but finding the right balance can be tricky. Too much direct sunlight can lead to leaf burn, while too little light can prevent your orchid from blooming.
To avoid this mistake, pay attention to the specific light requirements of your orchid variety. Most orchids do well in bright, indirect light. A south- or east-facing window is often ideal.
If you notice the leaves turning yellow or developing brown spots, it could be a sign of too much direct sunlight. On the other hand, if the leaves are dark green and your orchid isn’t blooming, it might need more light.
3. Using the Wrong Potting Mix: A Crucial Factor
The right potting mix is crucial for orchid health. Many new growers make the mistake of using regular potting soil, which doesn’t provide the aeration and drainage that orchids need.
To avoid this mistake, use an orchid-specific potting mix, which typically contains bark, perlite, and other materials that help promote drainage and airflow. You can find these mixes at your local garden center or online.
Additionally, be sure to repot your orchid every one to two years to refresh the potting mix and ensure your plant continues to thrive.
4. Neglecting Humidity: Creating a Tropical Oasis
Orchids are tropical plants, and they thrive in humid environments. A common mistake I see is growers not providing enough humidity, leading to dry, wrinkled leaves and poor blooming.
To create the perfect tropical oasis for your orchids, aim for a humidity level of around 60-70%. You can achieve this by placing a humidity tray under your orchid’s pot, misting the leaves regularly, or using a small humidifier in the room.
Additionally, grouping your orchids together can help create a microclimate with higher humidity.
5. Improper Fertilization: Less is More
Fertilization is another area where orchid growers often go wrong. Orchids do need fertilizer to thrive, but they require much less than other houseplants. Over-fertilization can lead to salt buildup in the potting mix, damaging the roots and leading to poor growth.
To avoid this mistake, use a balanced, water-soluble fertilizer formulated specifically for orchids. Follow the package instructions for dilution rates and frequency, and be sure to flush the potting mix with water every few weeks to prevent salt buildup. Remember, when it comes to fertilizing orchids, less is more.
6. Ignoring Pests: Keep a Watchful Eye
Pests can be a significant problem for orchid growers, and ignoring them can lead to severe damage to your plants. Common orchid pests include scale, mealybugs, and aphids, which can suck the sap out of your plant, weakening it and potentially spreading diseases.
To keep pests at bay, regularly inspect your orchids for signs of infestation, such as sticky residue on the leaves or the presence of small, disc-shaped insects. If you do find pests, you can remove them with a cotton swab dipped in rubbing alcohol or use an insecticidal soap.
Preventative measures, such as keeping your growing area clean and free of debris, can also help reduce the risk of pest infestations.
7. Inadequate Air Circulation: Keep it Breezy
Orchids thrive in environments with good air circulation, and not providing enough can lead to a host of problems, including fungal and bacterial diseases. A common mistake I see is placing orchids in stagnant, stuffy rooms, which can create an environment conducive to disease.
To ensure your orchids get the air circulation they need, place them in a location where they can receive gentle air movement. This could be near a fan on a low setting or in a room with good natural airflow. However, avoid placing orchids in direct drafts from air conditioners or heaters, as this can cause stress to the plant.
Avoiding these common orchid-growing mistakes can help ensure your plants thrive and produce stunning blooms year after year. Remember, orchids may have specific needs, but with a little care and attention, they can be a rewarding addition to any indoor garden.
Happy growing!
