Hydrangeas are the kind of plants that make you stop and stare. Their big, colorful blooms look like they belong in a painting. So what if you could have more of them without buying another plant?
The answer is simple. Propagation.
Propagating hydrangeas might sound like something only expert gardeners do, but don’t let the word scare you off. It’s easier than you think, and yes, you can absolutely do it even if you’re just starting out.
With a little time, patience, and the right steps, you can turn one hydrangea into many. Whether you want to fill your garden with these show-stopping shrubs or give baby plants to friends and family, propagation is a rewarding way to grow your love of gardening.
Let’s dig into exactly how to do it and have fun while you’re at it.
Best Time to Propagate for Healthy New Growth
When it comes to propagating hydrangeas, timing really matters. Choosing the right time of year can mean the difference between a thriving new plant and a cutting that never takes root.
The best time to propagate hydrangeas is in late spring through early summer. This is when the plant is actively growing and putting out fresh green stems.
These soft, flexible shoots are called softwood, and they’re full of life. They root much more easily than older, woody stems.
If you wait until late summer or fall, the stems begin to harden. These hardwood cuttings are much harder to root and take longer to grow.
That’s why beginners should stick with softwood cuttings. Spring and early summer offer the warm air and long days that help new roots form quickly.
Avoid propagating during extreme weather. Heatwaves and droughts put stress on the parent plant, and cuttings won’t take well. Frosty or cold conditions slow everything down and risk damaging tender new growth.
If your hydrangea has lush green stems and hasn’t bloomed yet, that’s your cue. Take a few cuttings and give them the best possible start.
It’s a small moment in the season, but it sets the stage for everything that comes next.
Steps to Take the Perfect Cutting
Taking a cutting sounds simple, but a few thoughtful steps can make all the difference. A healthy, well-prepared cutting gives your hydrangea the best shot at growing roots and becoming a full plant.
Start by finding a non-flowering stem. Once a hydrangea starts to bloom, it shifts energy away from growing roots. You want a stem that’s still focused on growing leaves and shoots.
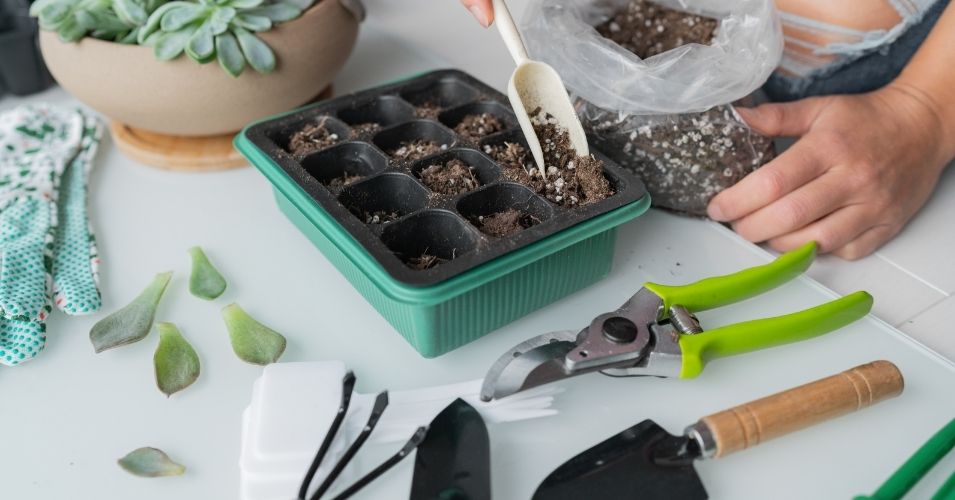
Pick a stem that’s 4 to 6 inches long. Using clean, sharp pruning shears, cut just below a leaf node. This is where leaves grow from the stem, and more importantly, where roots will develop.
Strip off the leaves from the bottom half of the cutting. Leave only two or three at the top. You can trim those in half to reduce moisture loss and help the plant focus on root growth.
Now, dip the cut end into rooting hormone if you’d like. It’s optional but helpful, especially if you’re trying propagation for the first time.
Next, prepare a small pot with moist, well-draining soil. Use a pencil to make a hole for the cutting, then insert it gently. Press the soil around it to hold it upright.
That’s it. You’ve just created a new hydrangea plant.
The rest of the journey is all about creating the right environment and waiting patiently.
How to Care for a Fresh Cutting
This stage is delicate. Your cutting doesn’t have roots yet, so it can’t absorb water from the soil. That means your job is to help it stay hydrated and comfortable while roots begin to form.
Light is the first piece. Place your cutting in a spot with bright but indirect light. Harsh sun will dry it out, but total shade can slow growth.
Humidity is key. A plastic bag or dome over the pot helps trap moisture and warmth. Just make sure the bag doesn’t touch the leaves. Use a small frame or chopsticks to hold it up.
Open the bag for a few minutes every day to let in fresh air and reduce mold risk.
Check the soil often. It should stay slightly moist but never soggy. Overwatering can rot the stem. Underwatering will dry it out. Touch the top of the soil with your finger and water when it feels dry.
Temperature matters too. Keep the plant somewhere warm, between 65 and 75 degrees Fahrenheit. Avoid spots near cold drafts or strong vents.
In two to four weeks, roots will start to form beneath the soil. You won’t see them at first, but signs will start to show above ground.
It’s a quiet process, but one worth waiting for.
Signs That Your Cutting Is Taking Root
Watching for roots can test your patience. But your cutting will give you hints when things are going well.
One of the first signs is a new leaf. Even a small one means the plant is adjusting and starting to grow.
Try a gentle tug after two or three weeks. If the cutting pulls out easily, it’s still unrooted. If it resists, roots are forming below the surface.
A green stem and firm leaves are also good signs. If the cutting is brown, shriveled, or mushy, it probably didn’t make it. That happens sometimes, and it’s okay.
If your cutting is thriving, start removing the plastic cover a little each day. This lets your plant get used to regular humidity and air flow.
By week four, a successful cutting should be anchored, green, and showing new growth. That means it’s almost ready for the next step.
These are the small wins that mean everything in gardening.
When and How to Transplant a Rooted Cutting
Once your cutting has rooted and shows healthy leaves, it’s time to move it to a bigger space.
If you’re keeping it in a pot, choose one slightly larger than the current container. Too big, and the soil stays too wet. Use fresh potting mix and plant the cutting at the same depth as before.
Water gently and keep the pot in a spot with partial shade. In a few days, you can move it into brighter light.
If you’re planting in the ground, wait for mild weather, spring or fall is ideal. Pick a location with morning sun and afternoon shade.
Dig a hole just a bit larger than the root ball. Set the plant in, fill in the soil, and water deeply. Add mulch to keep the moisture in and protect the roots.
Your young hydrangea might not bloom this year. That’s normal. Focus on helping it grow strong roots and steady stems.
The flowers will come in time.
Final Thoughts
Propagating hydrangeas is part science, part patience, and part garden magic. You start with a stem and a little hope. You end with a thriving plant and the joy of knowing you helped it grow.
This process teaches you to slow down, to care, and to appreciate every tiny leaf and root.
Even if it doesn’t work the first time, try again. Each cutting is a chance to learn something new.
With practice and attention, you’ll soon have a garden full of blooms that all started from a single plant. And every one of them will be a reminder of what you’re capable of growing.
All it takes is a snip, some soil, and a little faith.